1. Introduction
Thank you for choosing the Blooming 1060 Deluxe Bidet Toilet Seat. This manual provides essential information for the safe and efficient installation, operation, and maintenance of your new bidet seat. Please read these instructions thoroughly before use and retain them for future reference.
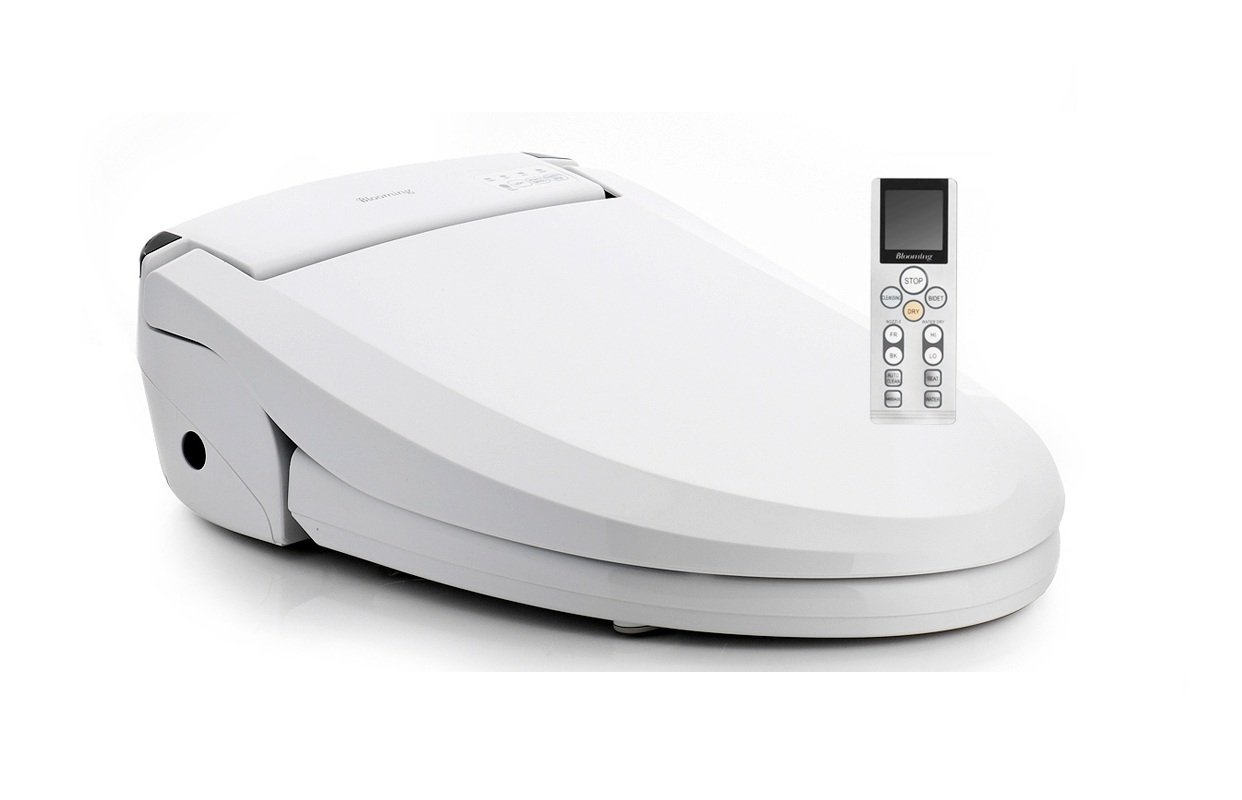
Image 1.1: The Blooming 1060 Deluxe Bidet Toilet Seat with the lid closed.
2. Safety Precautions
- Ensure the power outlet is properly grounded.
- Do not immerse the unit in water or spray water directly onto the electrical components.
- Unplug the unit before cleaning or maintenance.
- Do not attempt to repair the unit yourself. Contact qualified service personnel.
- Keep out of reach of children.
3. Setup and Installation
This section outlines the general steps for installing your bidet toilet seat. Professional installation is recommended.
3.1 Pre-Installation Check
Before beginning installation, ensure your toilet dimensions are compatible with the bidet seat. Refer to the dimension diagram below.

Image 3.1: Dimensional drawing of the bidet seat, showing measurements in millimeters for proper fitment.
3.2 Installation Steps
- Remove Existing Toilet Seat: Turn off the water supply to the toilet and flush to empty the tank. Disconnect the existing toilet seat.
- Install Mounting Plate: Secure the bidet seat mounting plate to the toilet bowl using the provided bolts and washers.
- Connect Water Supply: Install the T-valve to the toilet's water supply line. Connect the bidet's water hose to the T-valve.
- Attach Bidet Seat: Slide the bidet seat onto the mounting plate until it clicks into place.
- Connect Power: Plug the bidet seat into a grounded electrical outlet.
- Restore Water Supply: Slowly turn on the water supply valve and check for leaks.
4. Operating Instructions
The Blooming 1060 Deluxe Bidet Toilet Seat is operated via a wireless remote control. Ensure the remote has fresh batteries and is within range of the bidet seat.

Image 4.1: The bidet seat with the lid open, revealing the retractable nozzle for washing functions.
4.1 Basic Wash Functions
- Rear Wash: Press the 'Rear' button on the remote for posterior cleansing.
- Feminine Wash (Lady Shower): Press the 'Lady' button for a softer, wider spray for feminine hygiene.
- Stop: Press the 'Stop' button to cease any wash or dry function.
4.2 Adjustments
- Water Pressure: Use the '+' and '-' buttons on the remote to adjust water spray intensity.
- Water Temperature: Adjust the water temperature using the dedicated temperature control buttons. Options typically include ambient, low, medium, and high.
- Nozzle Position: Use the nozzle adjustment buttons to move the spray nozzle forward or backward for optimal cleansing. The oscillating nozzle function provides a wider cleaning area.
- Heated Seat: Activate and adjust the heated seat temperature using the remote control.
4.3 Drying Function
- Heated Air Dryer: After washing, press the 'Dry' button. The bidet will dispense warm air for drying. Adjust air temperature as desired.
4.4 Special Features
- Massage Function: Activates a pulsating water spray for a massage effect.
- LED Night Light: The integrated LED night light illuminates the toilet bowl for convenience during nighttime use.

Image 4.2: A close-up view of the LED night light feature, providing illumination inside the toilet bowl.
- Soft-Close Seat: The seat and lid are designed to close gently and quietly.
- Energy-Saving Mode: Activates a power-saving function to reduce electricity consumption when the unit is not in active use.
- User Sensor: The bidet will only operate when a user is seated on the unit.
5. Maintenance
5.1 Nozzle Cleaning
The bidet features an automatic self-cleaning nozzle function. The nozzle will rinse itself before and after each use. For manual cleaning:
- Ensure the unit is unplugged.
- Gently pull out the nozzle.
- Clean the nozzle with a soft brush and mild, non-abrasive cleaner.
- Rinse thoroughly and push the nozzle back into its housing.
5.2 Unit Cleaning
Wipe the exterior of the bidet seat with a soft, damp cloth and a mild detergent. Do not use harsh chemicals, abrasive cleaners, or scrub brushes, as these can damage the surface. Ensure no water enters the electrical components.
6. Troubleshooting
If you encounter issues with your bidet seat, refer to the following common problems and solutions. The unit also features an auto-diagnosis system for identifying certain malfunctions.
| Problem | Possible Cause | Solution |
|---|---|---|
| No water spray | Water supply valve closed; clogged nozzle; user not seated. | Open water supply valve; clean nozzle; ensure proper seating. |
| No heated water | Heater off; temperature setting too low; energy-saving mode active. | Check heater setting; increase temperature; deactivate energy-saving mode. |
| Remote control not working | Dead batteries; remote out of range; signal obstruction. | Replace batteries; move closer to unit; remove obstructions. |
| Unit not powering on | Power cord unplugged; circuit breaker tripped. | Check power connection; reset circuit breaker. |
If the problem persists after attempting these solutions, please contact customer support.
7. Specifications
| Feature | Detail |
|---|---|
| Model | Blooming 1060 Deluxe |
| Control Type | Wireless Remote Control |
| Wash Functions | Rear Wash, Feminine Wash (Lady Shower), Oscillating Nozzle, Massage |
| Water Temperature | Adjustable (Preheated) |
| Water Pressure | Adjustable |
| Drying Function | Heated Air Dryer |
| Seat Features | Heated Seat, Soft-Close Seat |
| Nozzle | Antibacterial coated aluminum, Self-cleaning |
| Additional Features | LED Night Light, Energy-Saving Function, Auto-Diagnosis, User Sensor |
| Batteries Required | No (for main unit), Yes (for remote control) |
8. Warranty and Support
The Blooming 1060 Deluxe Bidet Toilet Seat comes with a 3-year warranty from the date of purchase, covering manufacturing defects under normal use. Please retain your proof of purchase for warranty claims.
For technical assistance, troubleshooting beyond this manual, or warranty service, please contact your retailer or the manufacturer's customer support. Do not attempt to service the unit yourself, as this may void the warranty.