
1. Important Safety Instructions
Please read and understand all instructions before using this appliance. Failure to follow all instructions listed below may result in electric shock, fire, or serious personal injury. Keep this manual for future reference.
- This appliance is intended for household use only.
- Do not immerse the appliance in water or any other liquid.
- Always disconnect the appliance from the power supply before cleaning or maintenance.
- Do not use the appliance on unsealed wooden floors, unglazed ceramic floors, or any floor that is sensitive to moisture or heat. Test on an inconspicuous area first.
- Keep children and pets away from the appliance during operation.
- Use only distilled or demineralized water in the water tank to prevent mineral buildup.
- Never direct steam at people, animals, or electrical appliances.
2. Product Overview
Familiarize yourself with the components of your BLACK+DECKER FSM1605 Steam Mop.
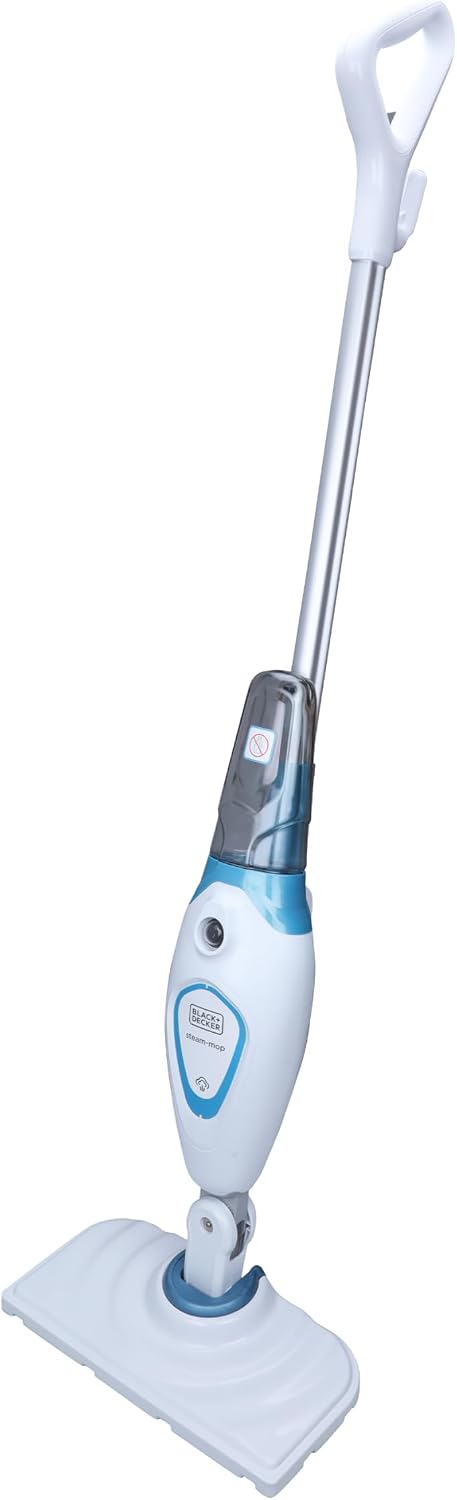
Figure 2.1: The BLACK+DECKER FSM1605 Steam Mop in its upright position.

Figure 2.2: Labeled components of the steam mop, including the handle, on/off switch, cable tidy hooks, and steam head.
Key Components:
- Handle: Ergonomically designed for comfortable grip and control.
- On/Off Switch: Activates and deactivates the steam mop.
- Water Tank: Reservoir for holding water to generate steam.
- Steam Head: The base of the mop where the cleaning pad attaches and steam is emitted.
- Cleaning Pad: Removable, washable pad for cleaning surfaces.
- Cable Tidy Hooks: For neat storage of the power cord.
3. Technical Specifications
Detailed specifications for the BLACK+DECKER FSM1605 Steam Mop.

Figure 3.1: Visual representation of the steam mop's voltage, power, weight, and tank capacity.
| Feature | Specification |
|---|---|
| Model Number | FSM1605 |
| Power | 1300 Watts |
| Voltage | 220-240V |
| Water Tank Capacity | 350 ml |
| Item Weight | 2.3 kg |
| Cable Length | 4 meters |
| Product Dimensions | 14.6 x 68 x 30.2 cm |
4. Setup and Assembly
Follow these steps to prepare your steam mop for first use.
4.1 Attaching the Handle
- Insert the handle into the main body of the steam mop until it clicks securely into place.
- Ensure the handle is firmly attached before proceeding.
4.2 Attaching the Cleaning Pad

Figure 4.1: The steam head with a white cleaning pad securely fastened.
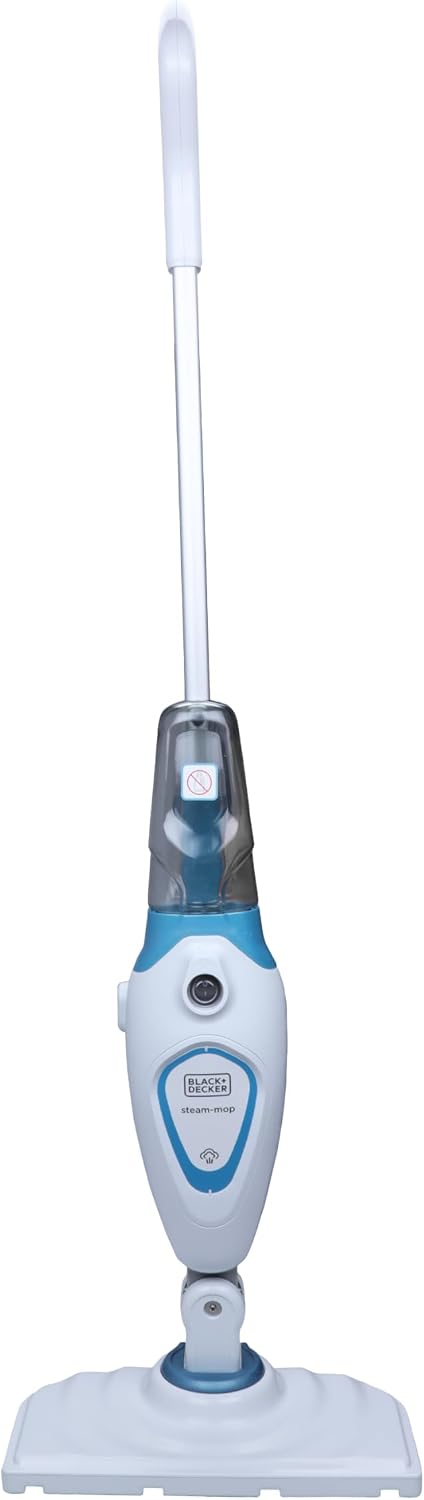
Figure 4.2: Detailed view of how the cleaning pad attaches to the steam head.
- Place the cleaning pad on the floor with the hook and loop fasteners facing upwards.
- Align the steam head over the cleaning pad and press down firmly to secure the pad.
4.3 Filling the Water Tank
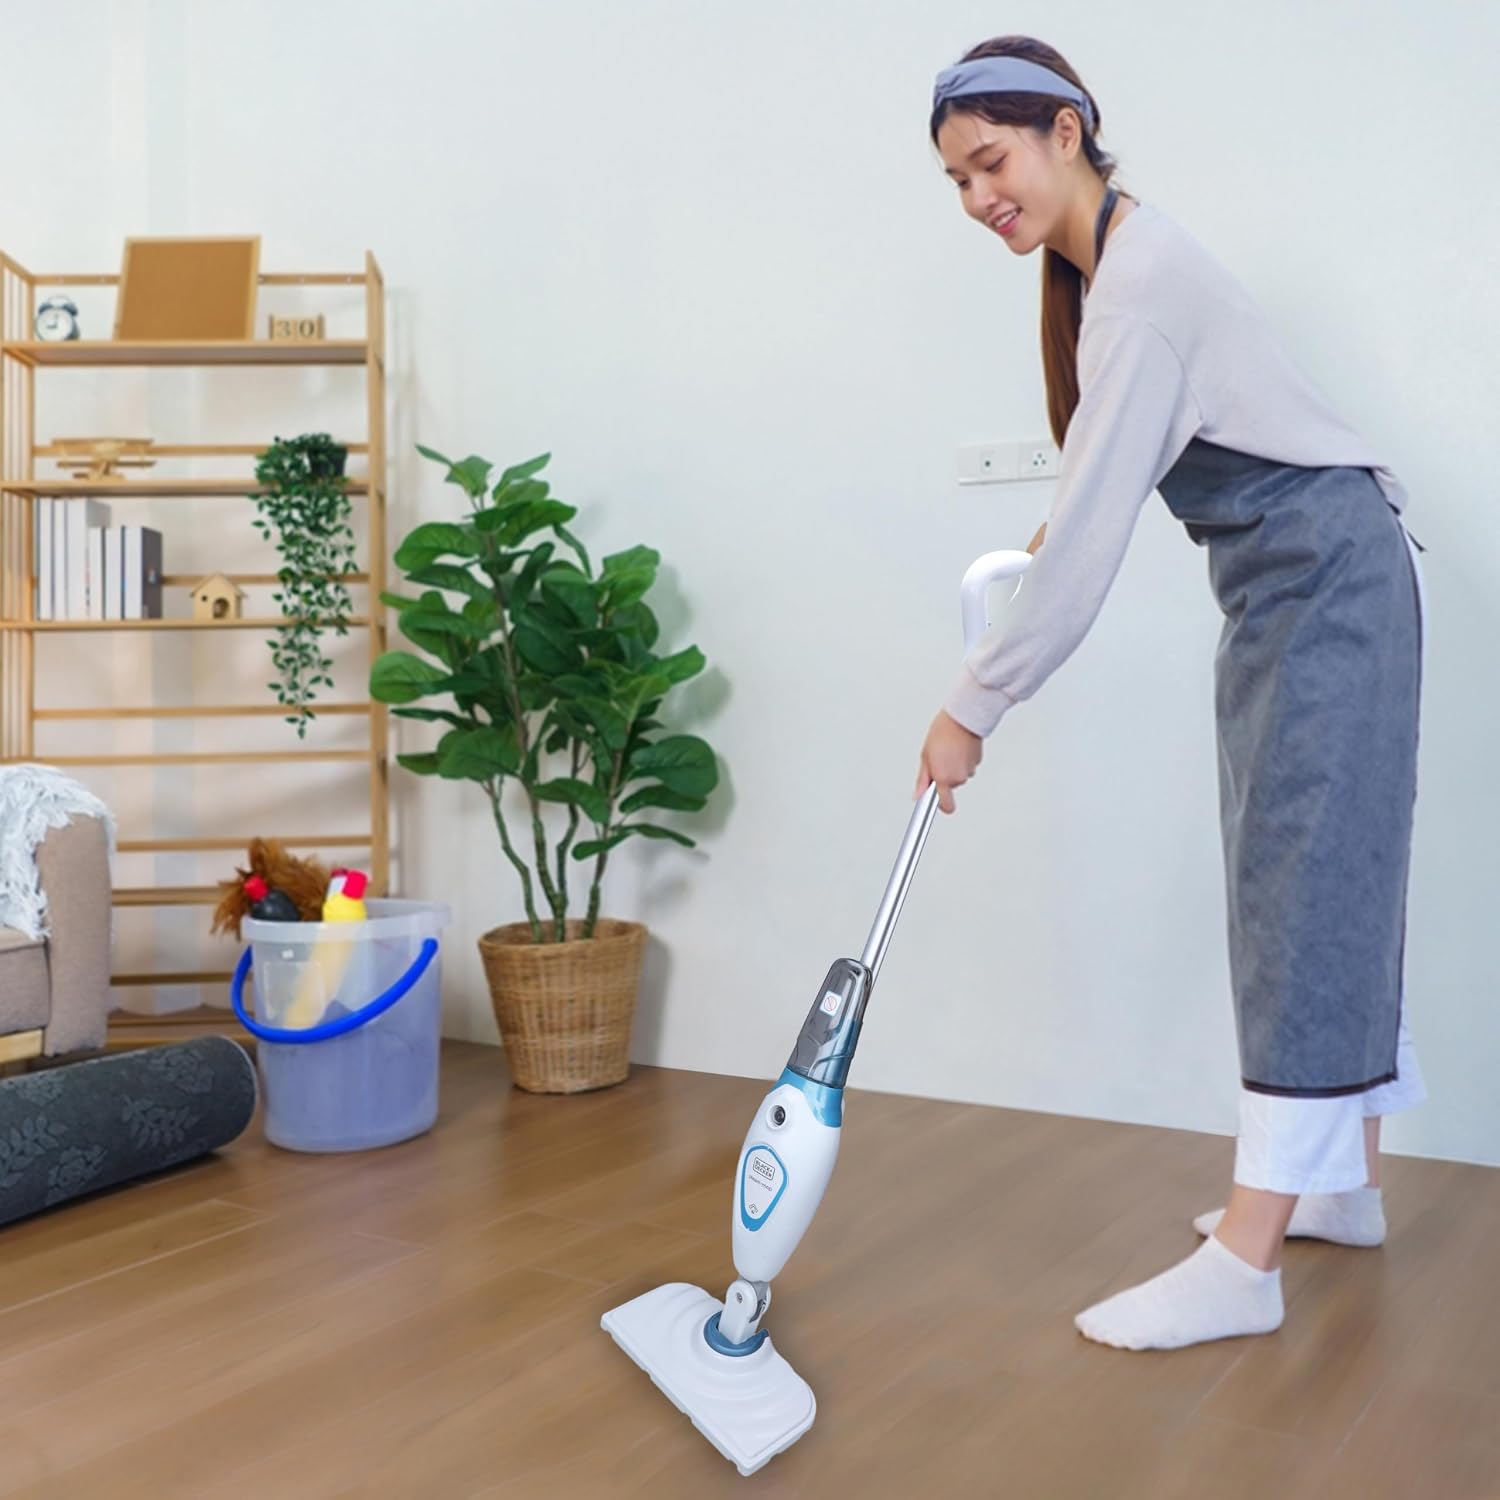
Figure 4.3: Demonstrates the process of refilling the water tank.

Figure 4.4: A detailed view of the water tank cap, indicating where to open for refilling.
- Ensure the appliance is unplugged.
- Open the water tank cap.
- Fill the water tank with distilled or demineralized water. Do not overfill.
- Close the water tank cap securely.
5. Operating Instructions
Learn how to effectively use your steam mop for cleaning various surfaces.
5.1 Powering On and Heating Up
- Plug the power cord into a suitable electrical outlet.
- Press the On/Off switch. The indicator light will illuminate.
- Allow approximately 30 seconds for the mop to heat up and generate steam. The indicator light may change or stop flashing when ready.
5.2 Steam Cleaning

Figure 5.1: A user demonstrating the steam mop in action on a hard floor surface.
Figure 5.2: Close-up of the steam mop head releasing steam during cleaning.
- Once the mop is ready, move it slowly and steadily across the floor surface.
- For stubborn stains, hold the steam mop over the area for a few seconds to allow the steam to penetrate.
- Avoid leaving the steam mop stationary on any one spot for an extended period to prevent damage to the floor.
- When the water tank is empty, the steam production will stop. Refill as per Section 4.3.
5.3 Finishing Operation
- When finished cleaning, press the On/Off switch to turn off the appliance.
- Unplug the power cord from the electrical outlet.
- Allow the mop to cool down completely before storing.
6. Maintenance and Cleaning
Regular maintenance ensures optimal performance and extends the life of your steam mop.
6.1 Cleaning the Cleaning Pads

Figure 6.1: The cleaning pad is suitable for machine washing.
- Remove the cleaning pad from the steam head once the mop has cooled.
- Machine wash the cleaning pads with similar colors at a low temperature. Do not use bleach or fabric softener.
- Air dry the pads or tumble dry on low heat.
6.2 Descaling the Appliance
To prevent mineral buildup and maintain steam performance, descale your steam mop periodically, especially if using hard water.
- Mix a solution of equal parts white vinegar and distilled water.
- Pour the solution into the water tank.
- Plug in the mop and allow it to heat up.
- Operate the mop until the tank is empty, directing steam into a sink or bucket.
- Repeat with fresh distilled water to rinse out any vinegar residue.
6.3 Storage
- Ensure the water tank is empty and the appliance is cool and dry before storing.
- Wrap the power cord around the cable tidy hooks.
- Store the steam mop in an upright position in a dry, safe place.
7. Troubleshooting
Refer to this section for common issues and their solutions.
| Problem | Possible Cause | Solution |
|---|---|---|
| No steam produced | Water tank is empty Appliance not plugged in Appliance not heated up | Refill water tank Ensure power cord is securely plugged in Allow 30 seconds for heating |
| Poor cleaning results | Cleaning pad is dirty Mineral buildup in appliance | Replace or wash cleaning pad Descale the appliance (refer to Section 6.2) |
| Water leaking from steam head | Cleaning pad not properly attached Overfilling water tank | Ensure cleaning pad is securely attached Do not overfill water tank |
8. Warranty and Support
For warranty information, service, or support, please contact BLACK+DECKER customer service.

Figure 8.1: BLACK+DECKER Total Care contact information for support.
Contact Information:
- Phone: 1800-203-0644 (Monday-Saturday, 09:00 AM - 06:00 PM IST, except government holidays)
- Email: SBD-CUSTOMERCOMMUNICATIONS@SBDINC.COM
- WhatsApp: Click to Chat on WhatsApp
- Authorized Service Centers: 500+ locations