Introduction
This manual provides essential instructions for the safe and efficient operation, maintenance, and troubleshooting of your Oster Multifunctional Oil-Free Fryer, Model CKSTAF631-057. This appliance utilizes innovative Hot Air Technology to circulate hot air at high speed, allowing you to prepare a variety of foods with little to no oil, resulting in healthier meals.
Please read this manual thoroughly before first use and keep it for future reference.
Important Safety Information
WARNING: To prevent electric shock, always ensure the appliance is unplugged from the outlet before cleaning or when not in use. Do not immerse the cord, plug, or the appliance in water or other liquid.
- Always operate the appliance on a stable, heat-resistant surface.
- Do not block any ventilation openings.
- Keep hands and utensils away from the heating element during operation.
- Ensure the voltage rating of the appliance matches your local power supply (220 Volts for this model).
- Supervise children closely when the appliance is in use.
- Do not use abrasive cleaners or scouring pads on the non-stick surfaces.
- Always allow the appliance to cool completely before cleaning or storing.

Image: Safety certification mark (INMETRO SGS OCP 0040) indicating compliance with safety standards.
Product Overview
The Oster Multifunctional Oil-Free Fryer is designed for versatile cooking, offering a healthier alternative to traditional frying. It features a compact design and intuitive controls.
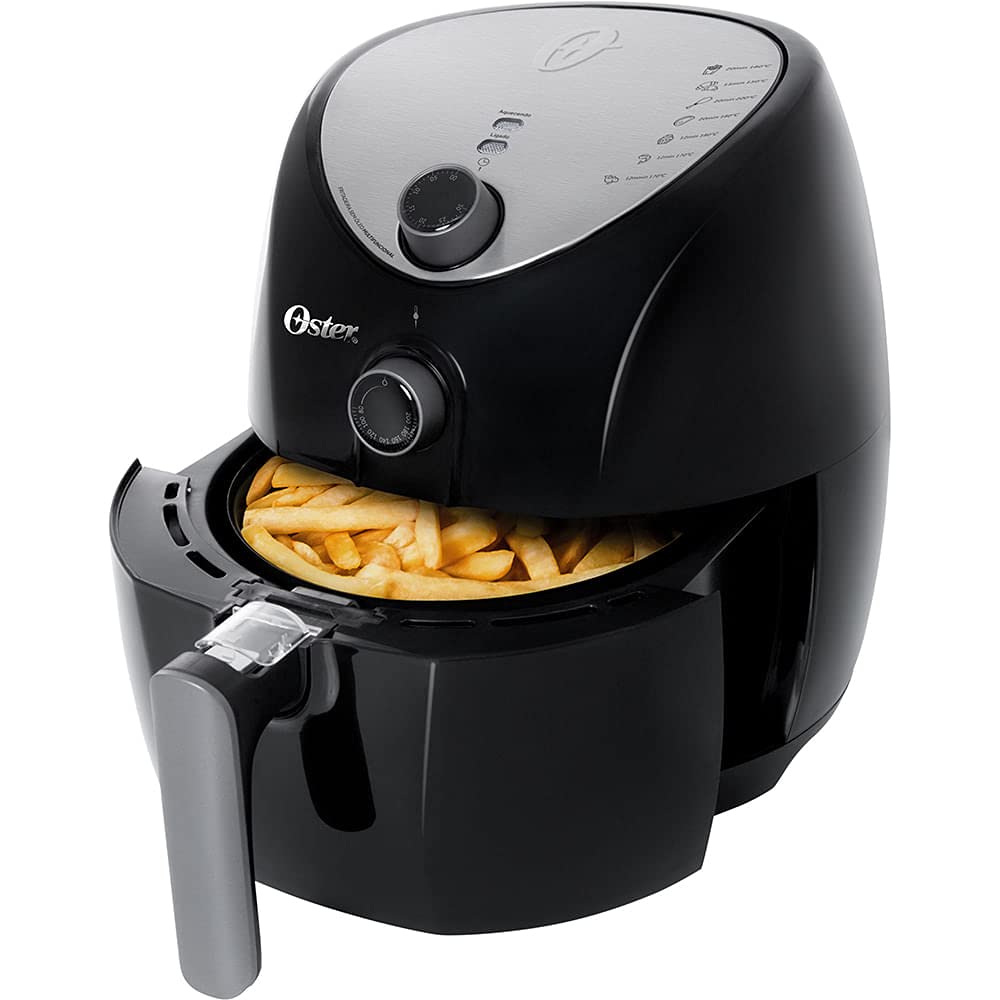
Image: Front view of the Oster Multifunctional Oil-Free Fryer, black with silver accents and control dials.
Components:
- Main Unit with Heating Element and Fan
- Removable Frying Basket with Non-Stick Coating
- Temperature Control Dial
- Timer Dial with Automatic Shut-off
- Power Indicator Light
- Heating Indicator Light
- Handle for Frying Basket

Image: The Oster Air Fryer with its frying basket partially pulled out, showing the interior.
Included Accessories:
- Baking Pan: For baking cakes, casseroles, or other dishes.
- Grill Rack: To elevate food for better air circulation or to cook multiple layers.

Image: The Oster Air Fryer displayed with its removable frying basket, a separate baking pan, and a grill rack accessory.
Setup and First Use
Unpacking:
- Carefully remove the fryer and all accessories from the packaging.
- Remove any stickers or labels from the appliance.
- Retain packaging materials for storage or recycling.
Initial Cleaning:
- Wash the frying basket, baking pan, and grill rack in warm, soapy water. Rinse thoroughly and dry completely.
- Wipe the exterior of the fryer with a damp cloth. Do not immerse the main unit in water.
Curing the Non-Stick Coating (Recommended):
Before first use, it is recommended to cure the non-stick coating to enhance its durability and performance:
- Lightly coat the interior of the frying basket and baking pan with a small amount of cooking oil.
- Place the basket back into the fryer.
- Set the temperature to 150°C (300°F) and the timer for 10 minutes.
- Allow the fryer to complete the cycle and cool down. This process helps to seal the non-stick surface.
Placement:
Place the fryer on a stable, level, heat-resistant surface, ensuring adequate ventilation around the appliance (at least 10 cm / 4 inches of space on all sides and above).
Power Connection:
Ensure your power outlet is 220 Volts. Plug the power cord into a grounded electrical outlet.
Operating Instructions
Basic Operation:
- Prepare Food: Place your ingredients into the frying basket or baking pan. Do not overfill; ensure air can circulate. The maximum capacity is 3.2 liters.
- Insert Basket: Slide the frying basket firmly back into the main unit until it clicks into place.
- Set Temperature: Use the temperature control dial to select the desired cooking temperature.
- Set Timer: Use the timer dial to set the desired cooking time. The fryer will automatically turn off when the timer reaches zero.
- Preheating: For best results, preheat the fryer for 3-5 minutes at the desired temperature before adding food.
- Cooking: The power and heating indicator lights will illuminate during operation. Some foods may require shaking or turning halfway through cooking for even results.
- Removal: When the timer sounds, carefully pull out the frying basket using the handle. Use heat-resistant gloves or mitts.
- Serve: Remove cooked food from the basket. Allow the appliance to cool before cleaning.

Image: The air fryer basket containing sliced vegetables, demonstrating its cooking capability.

Image: The air fryer basket containing stuffed tomatoes with melted cheese, showcasing its versatility for different dishes.
Example Recipe: Homemade Cereal Bars
This video demonstrates how to prepare homemade cereal bars using the Oster Multifunctional Oil-Free Fryer. Follow the steps below:
Video: Official Oster video demonstrating the preparation of homemade cereal bars using the air fryer. This video highlights the appliance's baking capabilities.
- Prepare the Syrup: In a saucepan, combine 1/2 cup water, 1 tbsp cornstarch, 2 tbsp brown sugar, and 100g butter. Heat and stir until the mixture thickens.
- Combine Dry Ingredients: In a large bowl, mix 1 cup rolled oats, 1 cup granola, and 100-200g of chopped dried fruits and nuts (e.g., cashews, apricots, raisins).
- Mix: Pour the hot syrup over the dry ingredients. Mix well for approximately 5 minutes until everything is thoroughly combined.
- Form Bars: Press half of the mixture firmly into the non-stick baking pan, creating a layer about one finger's height.
- Air Fry: Place the baking pan with the mixture into the air fryer basket. Cook for 15 minutes at 150°C (300°F).
- Cool: Once the timer signals, carefully remove the pan from the fryer using oven mitts. Allow the cereal bar to cool completely before slicing and serving.
Care and Maintenance
Cleaning:
- Unplug and Cool: Always unplug the fryer and allow it to cool completely before cleaning.
- Wash Removable Parts: The frying basket, baking pan, and grill rack are dishwasher safe, or can be washed by hand with warm, soapy water and a non-abrasive sponge.
- Clean Interior: Wipe the interior of the fryer with a damp cloth. For stubborn residue, use a mild detergent. Avoid metal scouring pads.
- Clean Exterior: Wipe the exterior with a damp cloth. Do not use harsh chemicals or abrasive materials.
- Dry Thoroughly: Ensure all parts are completely dry before reassembling or storing.
Storage:
Store the clean and dry fryer in a cool, dry place. The power cord can be neatly wrapped for compact storage.
Troubleshooting
| Problem | Possible Cause | Solution |
|---|---|---|
| Appliance does not turn on. | Not plugged in; timer not set; power outage. | Ensure plug is securely in outlet; set the timer; check household circuit breaker. |
| Food is not cooked evenly. | Basket overloaded; food not shaken/turned. | Do not overload the basket; shake or turn food halfway through cooking. |
| White smoke coming from the appliance. | Grease residue from previous use; fatty ingredients. | Clean the basket and interior thoroughly; remove excess fat from ingredients. |
| Food not crispy. | Too much moisture; not enough oil (for certain foods). | Pat food dry before cooking; lightly brush with oil for extra crispiness. |
If you encounter issues not listed here, please contact Oster customer support.
Product Specifications
- Model Number: CKSTAF631-057
- Brand: Oster
- Type: Oil-Free Multifunctional Fryer
- Capacity: 3.2 Liters
- Voltage: 220 Volts
- Control Method: Manual Dials (Temperature and Timer)
- Special Features: Temperature Control, Automatic Shut-off Timer, Non-stick Coating
- Dimensions (D x W x H): 32.5 cm x 32.5 cm x 35 cm
- Item Weight: 5200 Grams (5.2 kg)
- Material: Plastic (exterior), Non-stick coated metal (basket/pan)
- Recommended Use: Frying, Baking, Roasting
- UPC: 034264487093

Image: Diagram showing the dimensions of the Oster Multifunctional Oil-Free Fryer: 32.5 cm depth, 32.5 cm width, and 35 cm height.
Warranty and Support
For warranty information, product registration, or technical support, please refer to the warranty card included with your purchase or visit the official Oster website. Keep your proof of purchase for any warranty claims.
You can also visit the Oster Brand Store for more product information and support resources.