
Introduction
This user manual provides essential information for the safe and effective operation, maintenance, and troubleshooting of your BLACK+DECKER FSMH13E10 Steam Cleaner. Please read this manual thoroughly before first use and retain it for future reference.

Image: The BLACK+DECKER FSMH13E10 Steam Cleaner, a versatile 10-in-1 steam mop and handheld unit, shown in its upright mop configuration.
Important Safety Instructions
When using electrical appliances, basic safety precautions should always be followed to reduce the risk of fire, electric shock, and personal injury. Read all instructions before using this appliance.
- Always ensure the appliance is unplugged from the power outlet before cleaning or performing any maintenance.
- Do not direct steam at people, animals, or electrical outlets.
- Use only distilled or demineralized water in the water tank to prevent mineral buildup and extend the life of the appliance.
- Never immerse the appliance in water or any other liquid.
- Keep children and pets away from the appliance when it is in use.
- Do not use the appliance on unsealed wooden floors, unglazed ceramic tiles, or any surface that is sensitive to heat or moisture.
- Always allow the appliance to cool down completely before storing.
Included Components
Your BLACK+DECKER FSMH13E10 Steam Cleaner comes with the following accessories:
- Nozzle
- Cleaning Pad (Mop Pad)
- Measuring Cup
- Brass Brush
- Squeegee
- Nylon Brush
- Carpet Glider
- Hose
- Funnel
- Extension Tube
- Towel Sleeve
- Plastic Brush
- Grout Brush
- User Manual (this document)
Setup
1. Assembling the Steam Mop
- Insert the handle into the main body of the steam cleaner until it clicks securely into place.
- Attach the mop head to the main body by aligning the connection points and pushing firmly until it locks.
- Secure the cleaning pad to the bottom of the mop head. The pad typically attaches with hook-and-loop fasteners.

Image: A person demonstrating how to attach the mop head to the main steam unit, ensuring a secure connection for floor cleaning.

Image: A foot gently pressing down on the mop head to ensure the cleaning pad is securely attached to the bottom of the unit.
2. Filling the Water Tank
- Ensure the appliance is unplugged.
- Locate the water tank cap, usually on the top or side of the main unit. Open the cap.
- Using the provided measuring cup and funnel, carefully fill the water tank with distilled or demineralized water. Do not overfill. The tank volume is 380 milliliters.
- Close the water tank cap securely.

Image: A hand opening the water tank cap on the steam cleaner, revealing the fill port.

Image: A person filling the water tank of the steam cleaner directly from a kitchen faucet, demonstrating the ease of refilling.
Operating the Steam Cleaner
General Operation
- Plug the appliance into a grounded electrical outlet. The power indicator light will illuminate.
- Wait for the appliance to heat up. This typically takes a short time due to its rapid heat-up feature. The indicator light may change or turn off when ready.
- Press the steam release button or trigger to begin steaming. Move the steam cleaner slowly over the surface to be cleaned.
Using as a Steam Mop (for Sealed Hard Floors)
Attach the mop head and cleaning pad as described in the Setup section. Use on sealed hard floors such as tile, laminate, and sealed wood.

Image: A woman using the BLACK+DECKER steam mop on a carpeted area, demonstrating its use with the carpet glider attachment.
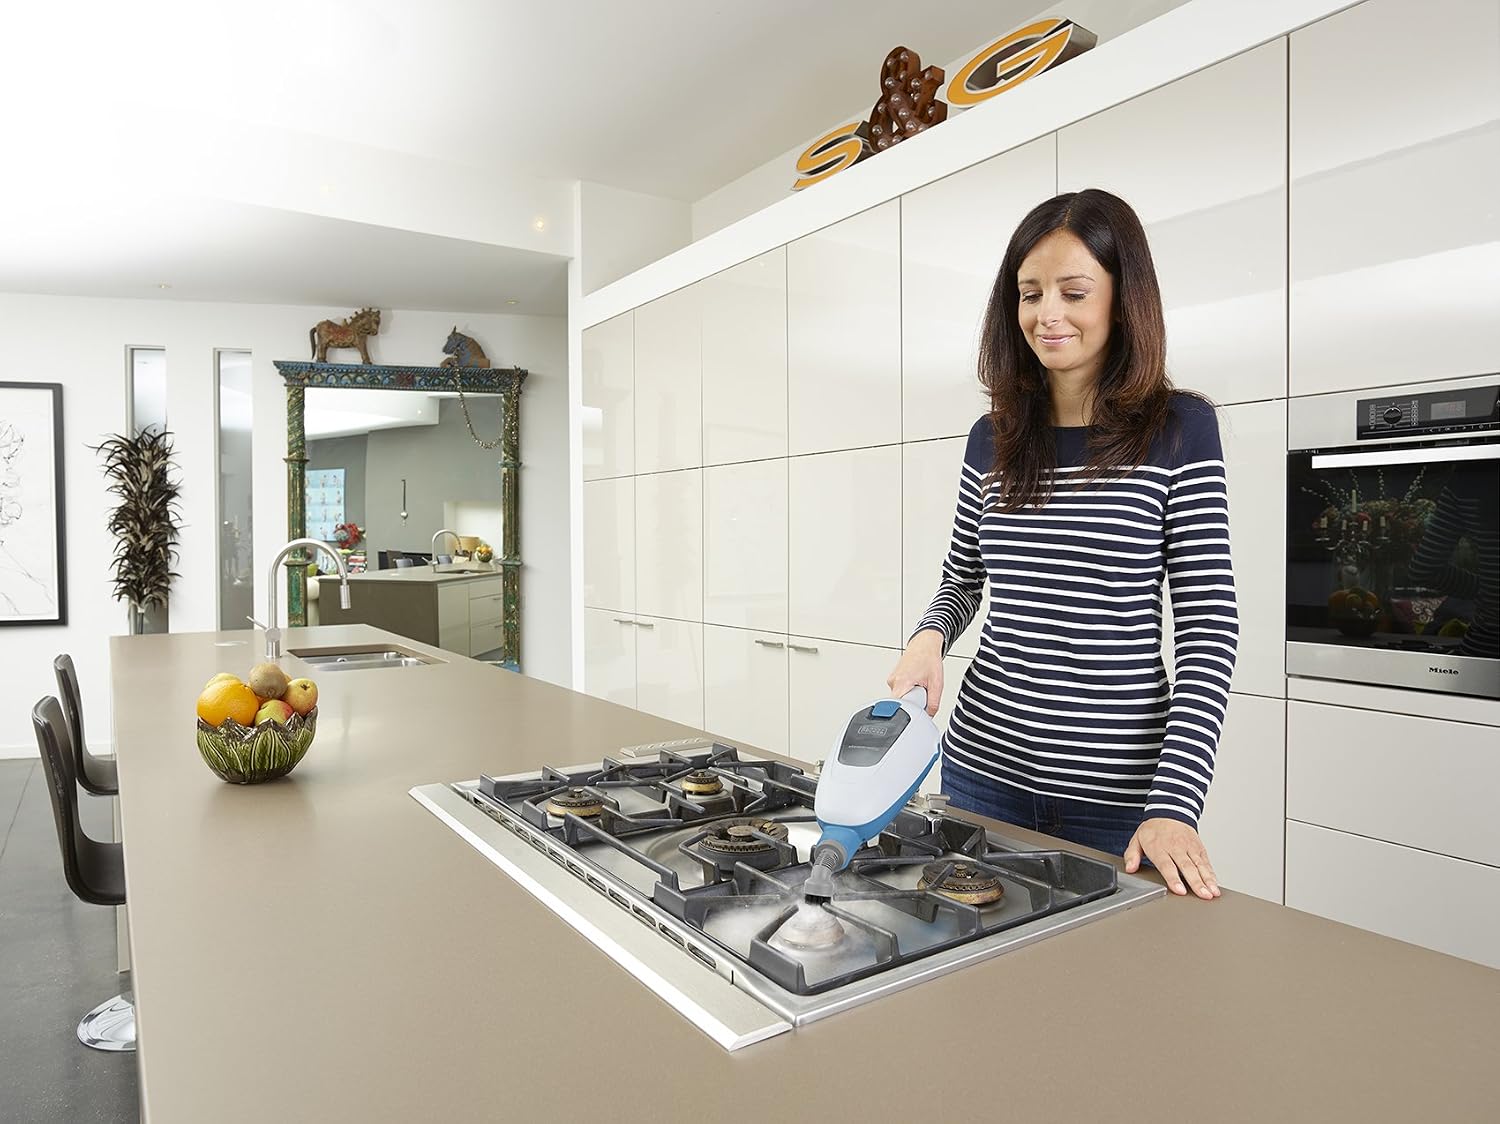
Image: A woman operating the steam mop on a hard floor surface, showing the steam effectively cleaning the area.

Image: Close-up of the steam mop head emitting steam, illustrating its powerful cleaning action on a hard floor.
Using as a Handheld Steam Cleaner
Detach the main body from the handle and mop head to use as a versatile handheld unit. Attach appropriate accessories for specific tasks.

Image: Hands attaching a brush accessory to the handheld steam unit, preparing it for detailed cleaning tasks.
Cleaning Bathroom Surfaces (Tiles, Grout)
Attach the nylon brush or grout brush for effective cleaning of bathroom tiles and grout lines.

Image: A person using the handheld steam cleaner with a brush attachment to clean bathroom wall tiles, demonstrating its effectiveness on vertical surfaces.
Garment Steaming
Attach the towel sleeve over the nozzle for steaming garments and fabrics to remove wrinkles and refresh.

Image: A woman using the handheld steam cleaner to steam wrinkles out of a red dress hanging on a door, showcasing its garment steaming capability.
Cleaning Kitchen Surfaces (Ovens, Stovetops, Grills)
Use the brass brush or plastic brush for stubborn grease and grime on oven doors, stovetops, and grills.
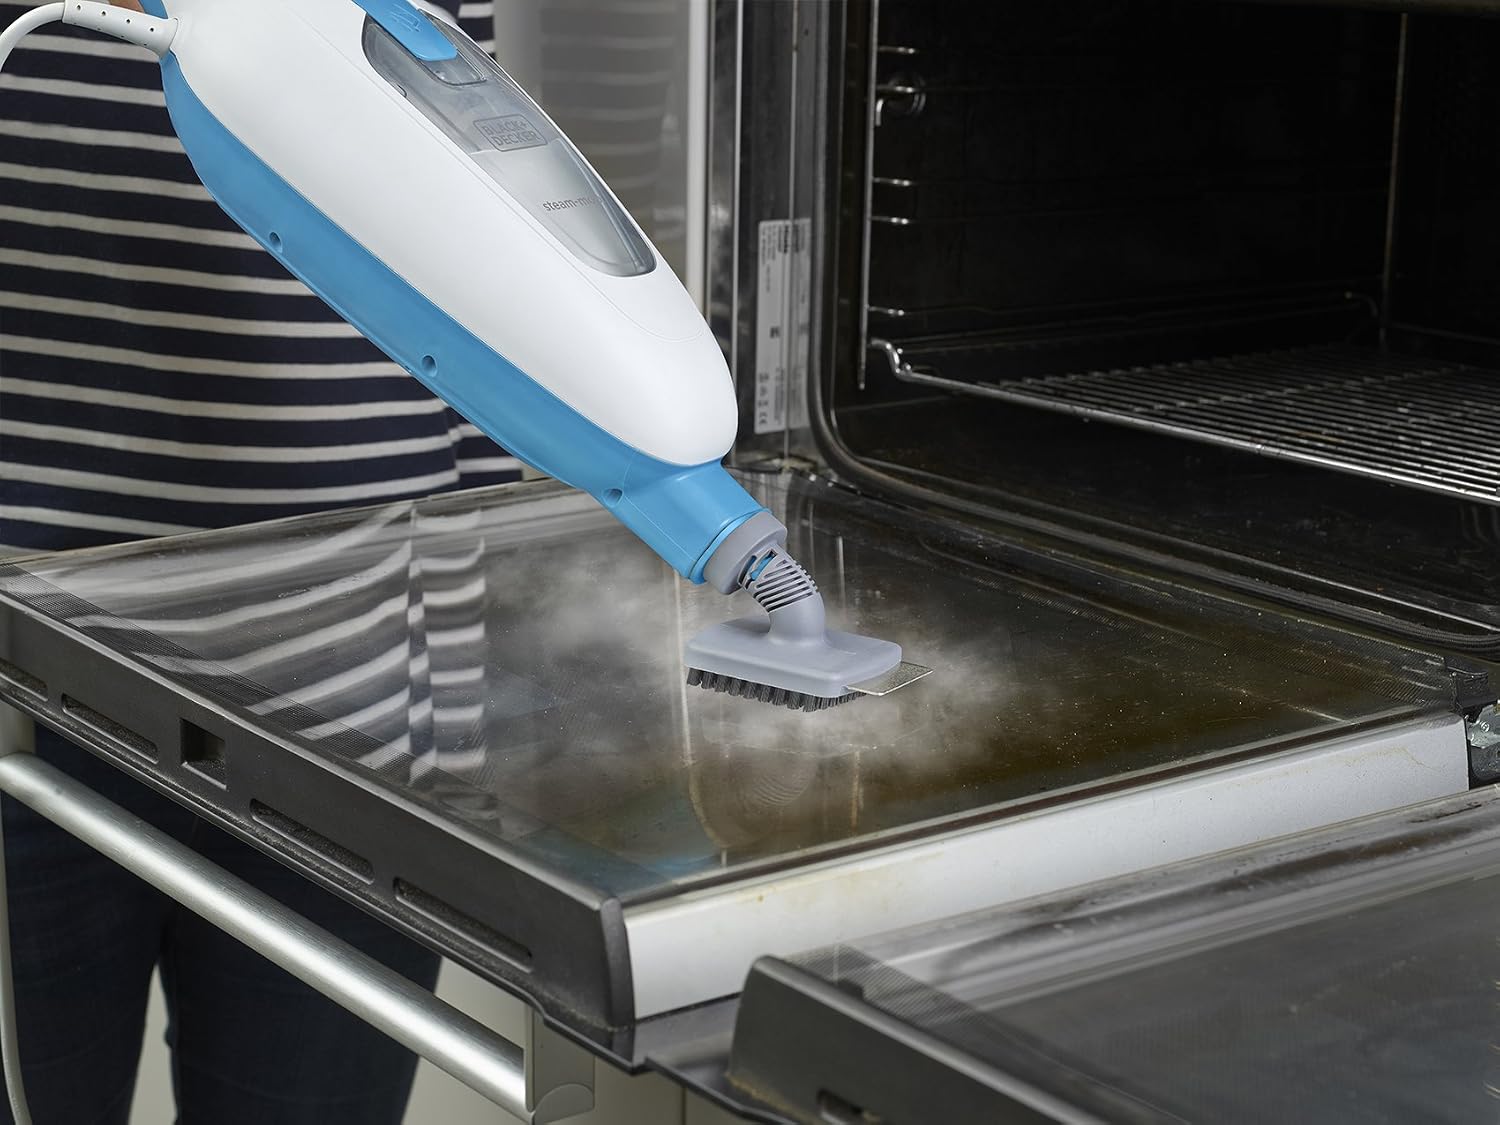
Image: A person cleaning the glass door of an oven with the handheld steam cleaner and a brush attachment, effectively removing baked-on residue.

Image: A woman using the handheld steam cleaner with a brush attachment to clean a gas stovetop, targeting grime around the burners.

Image: A woman cleaning a barbecue grill grate with the handheld steam cleaner and a brush attachment, demonstrating its use for outdoor cleaning.
Window and Glass Cleaning
Attach the squeegee accessory for streak-free cleaning of windows, mirrors, and other glass surfaces.

Image: A woman using the steam cleaner with a squeegee attachment and extension tube to clean a large glass door, showing its reach for higher surfaces.

Image: A woman cleaning a glass door with the handheld steam cleaner and squeegee attachment, demonstrating precise cleaning.
Maintenance
Cleaning the Cleaning Pads
After each use, remove the cleaning pad from the mop head. The pads are machine washable. Wash them with similar colors and air dry. Do not use bleach or fabric softeners.
Draining the Water Tank
After each use, or before storing for an extended period, unplug the appliance and allow it to cool. Carefully open the water tank cap and drain any remaining water. This helps prevent mineral buildup.
Descaling (as needed)
If you notice a decrease in steam output or hear unusual noises, descaling may be necessary. Consult the full user manual for detailed descaling instructions, typically involving a vinegar solution or a commercial descaling agent.
Troubleshooting
| Problem | Possible Cause | Solution |
|---|---|---|
| No steam output | Water tank empty; Appliance not plugged in; Appliance not heated up; Mineral buildup. | Fill water tank; Plug in appliance; Wait for heat-up; Perform descaling. |
| Low steam output | Mineral buildup; Incorrect accessory attached. | Perform descaling; Ensure correct accessory is securely attached. |
| Water leaking from unit | Water tank cap not secured; Overfilled water tank; Damaged seal. | Secure water tank cap; Do not overfill; Contact customer support if seal is damaged. |
| Appliance not turning on | Not plugged in; Power outlet issue; Appliance fault. | Check power connection; Try a different outlet; Contact customer support. |
Specifications
| Brand | BLACK+DECKER |
| Model Name | FSMH13E10 |
| Item Model Number | FSMH13E10-QS |
| Wattage | 1300 watts |
| Voltage | 230 Volts (AC) |
| Tank Volume | 380 Milliliters |
| Item Weight | 3.86 Pounds |
| Product Dimensions | 4.61 x 7.6 x 27.64 inches |
| Special Feature | Rapid Heat Up |
| Surface Recommendation | Sealed Hard Floors, Kitchen Surfaces, Bathrooms, Windows |
Warranty and Support
BLACK+DECKER products are manufactured to high quality standards and are guaranteed for professional and domestic use. For detailed warranty information, including terms and conditions, please refer to the warranty card included with your product or visit the official BLACK+DECKER website.
For technical support, spare parts, or service, please contact BLACK+DECKER customer service. Contact information can typically be found on the product packaging or the official brand website: www.blackanddecker.com.
Important Note on Videos
No official product videos from the seller were available in the provided data to embed in this manual. For visual demonstrations, please refer to the manufacturer's official website or support channels.

