1. Introduction
The TELEFUNKEN M80 Dynamic Custom Shop microphone is engineered to provide superior audio capture for a variety of applications. It offers a wide frequency response and high Sound Pressure Level (SPL) capabilities, delivering performance typically associated with condenser microphones within a robust dynamic design. This makes the M80 suitable for capturing vocals, instruments, and drums in both live stage and studio environments.
This manual provides essential information for the proper setup, operation, and maintenance of your M80 microphone to ensure optimal performance and longevity.
2. Product Overview
The M80 features a low-mass capsule and a thin, yet durable, capsule membrane. This design allows the microphone to capture a broad range of sonic detail and emotion, providing a clear and intimate sound reproduction.
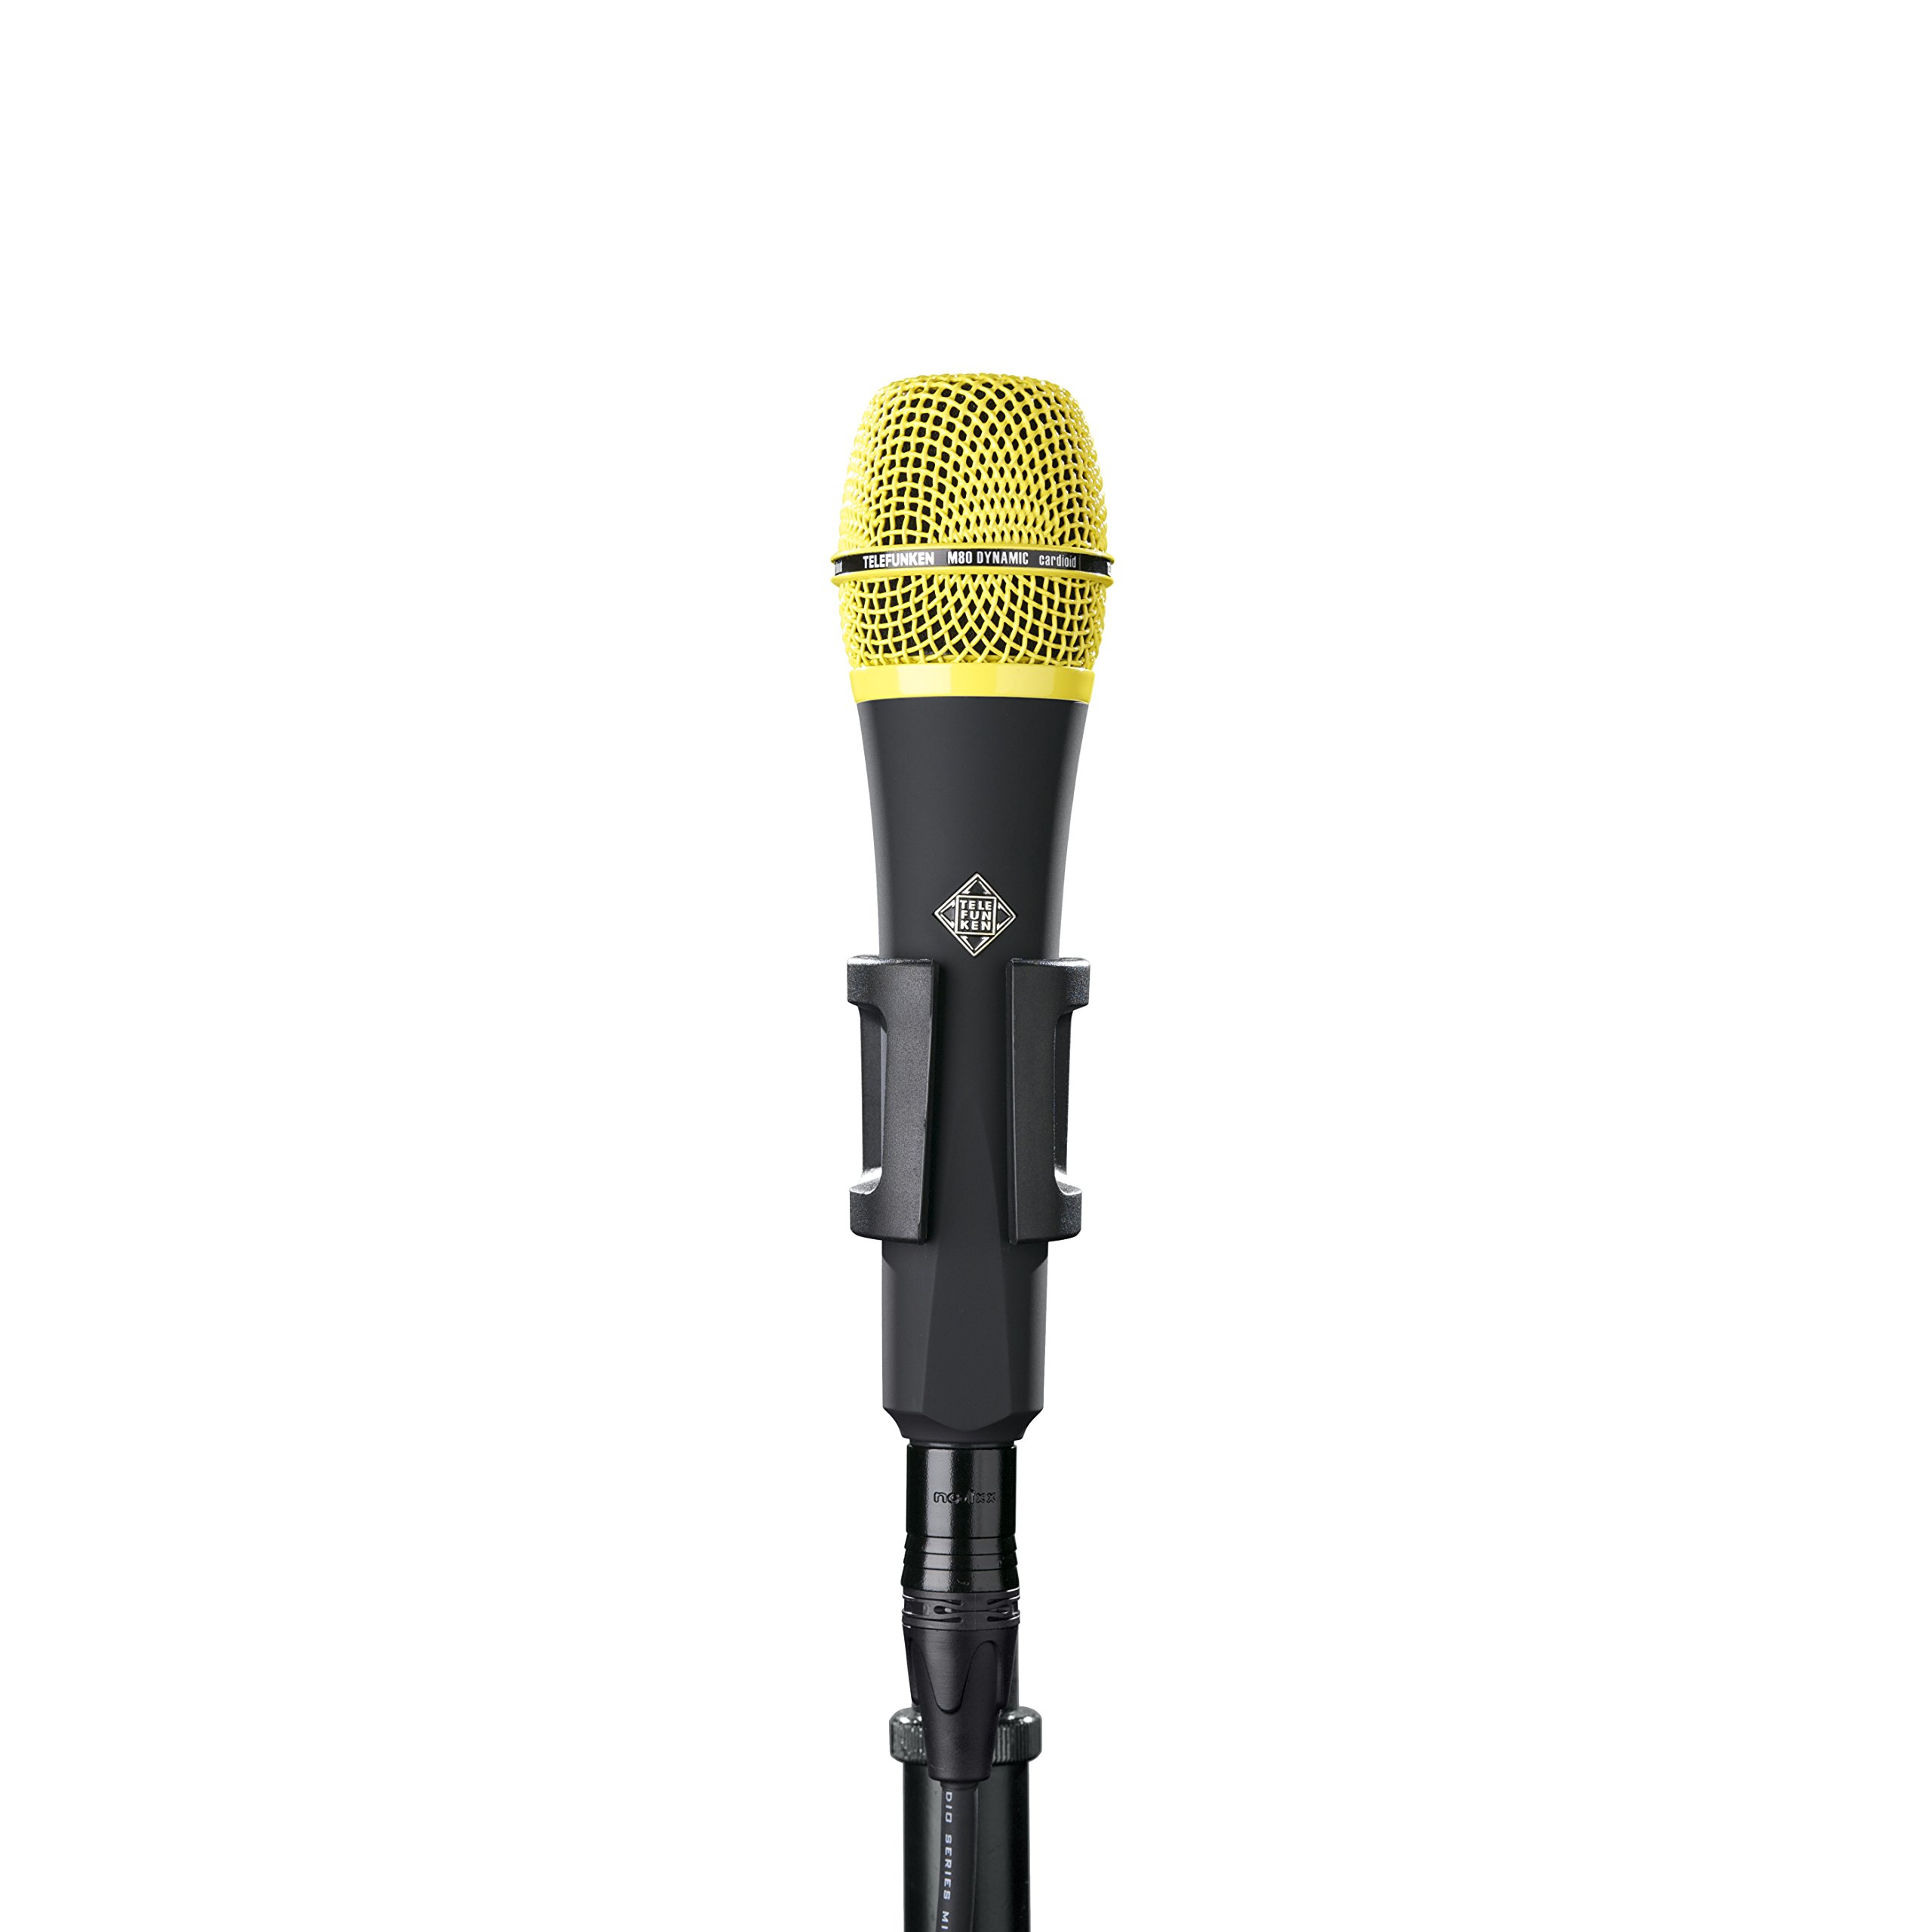
Image: The TELEFUNKEN M80 Dynamic Custom Shop microphone, featuring its black body and yellow grille. This microphone is designed for versatile audio capture.
Key Features:
- Wide Frequency Response: Captures a full spectrum of sound with clarity.
- High SPL Capability: Handles loud sound sources without distortion.
- Rugged Dynamic Design: Durable construction for reliable performance.
- Condenser-like Performance: Delivers detailed and nuanced audio.
- Unidirectional Polar Pattern: Focuses on sound from the front, reducing off-axis noise.
3. Setup
3.1 Unpacking
Carefully remove the microphone from its packaging. The box should contain the TELEFUNKEN M80 microphone.
3.2 Connecting the Microphone
- Attach the provided microphone clip to a standard microphone stand.
- Securely place the M80 microphone into the microphone clip.
- Connect a standard 3-pin XLR cable (not included) to the microphone's output connector.
- Connect the other end of the XLR cable to a microphone input on your mixer, audio interface, or preamplifier. Ensure the input is designed for dynamic microphones and phantom power is turned OFF, as the M80 does not require it.
3.3 Initial Placement
For initial testing, position the microphone approximately 6-12 inches (15-30 cm) from the sound source, pointing directly at it. Adjust as needed during operation.
4. Operation
4.1 Gain Staging
Adjust the gain (input level) on your mixer or audio interface. Start with the gain knob at its lowest setting and slowly increase it until you achieve a strong signal without clipping or distortion. The M80 is designed to handle high SPLs, but proper gain staging is crucial for optimal sound quality.
4.2 Microphone Placement
The M80 features a unidirectional (cardioid) polar pattern, meaning it is most sensitive to sounds coming from directly in front of it and rejects sounds from the sides and rear. This helps to minimize feedback and isolate the desired sound source.
- Vocals: For most vocalists, positioning the microphone 2-6 inches (5-15 cm) from the mouth is a good starting point. Experiment with distance and angle to achieve the desired tone and to manage proximity effect (increased bass response when close to the mic).
- Instruments: For instruments like guitar amplifiers, drums, or brass, experiment with distances and angles to capture the instrument's natural sound. The unidirectional pattern allows for precise targeting of sound sources.
4.3 Live vs. Studio Use
The M80 is versatile for both live performance and studio recording. Its robust build is ideal for stage use, while its detailed sound capture makes it suitable for studio applications where condenser-like clarity is desired from a dynamic microphone.
5. Maintenance
5.1 Cleaning
- To clean the microphone body, use a soft, dry cloth.
- For the grille, a soft brush can be used to gently remove dust or debris.
- Do not use liquid cleaners or solvents directly on the microphone, as this can damage internal components.
5.2 Storage
When not in use, store the M80 in a protective case or pouch to prevent dust accumulation and physical damage. Avoid exposing the microphone to extreme temperatures or high humidity.
6. Troubleshooting
6.1 No Sound Output
- Check Connections: Ensure all XLR cables are securely connected at both the microphone and the input device.
- Check Gain: Verify that the input gain on your mixer or interface is turned up sufficiently.
- Test Cable: Try a different XLR cable to rule out a faulty cable.
- Input Selection: Confirm that the correct input channel is selected on your mixer/interface.
- Phantom Power: Ensure phantom power is OFF for the M80, as it is a dynamic microphone and does not require it.
6.2 Distorted Sound
- Reduce Gain: Lower the input gain on your mixer or interface if the signal is clipping.
- Microphone Distance: Increase the distance between the microphone and the sound source if the source is extremely loud.
- Check Cables: A damaged cable can sometimes cause distortion.
6.3 Feedback
- Reposition Microphone: Move the microphone further away from loudspeakers or monitors.
- Adjust Monitor Levels: Reduce the volume of stage monitors.
- Utilize Polar Pattern: Ensure the microphone is pointed directly at the sound source and away from speakers, leveraging its unidirectional pattern.
7. Specifications
| Feature | Detail |
|---|---|
| Brand | TELEFUNKEN |
| Model | M80 Dynamic Custom Shop |
| Included Components | Microphone |
| Polar Pattern | Unidirectional (Cardioid) |
| Power Source | Corded Electric (No phantom power required) |
| Manufacturer | TELEFUNKEN Elektroakustik |
| UPC | 810047030591 |
| ASIN | B076BMW2FQ |
8. Warranty and Support
For detailed warranty information, please refer to the documentation provided with your purchase or visit the official TELEFUNKEN Elektroakustik website. Product support and additional resources can be found through the official TELEFUNKEN channels.
You can also visit the TELEFUNKEN Store on Amazon for more products and information.