1. Introduction
Thank you for choosing the ELG GENIUS Universal Fixed TV Wall Mount. This product is designed to securely mount LED, Plasma, LCD, and 3D televisions ranging from 14 to 100 inches to a wall. It supports VESA mounting patterns from 75x75mm to 800x400mm and can hold TVs weighing up to 100 kg. This manual provides essential information for safe installation, operation, and maintenance.
2. Safety Information
- Read all instructions carefully before installation. If you have any doubts, consult a qualified professional.
- Ensure the wall structure can safely support the combined weight of the mount and your television.
- Do not exceed the maximum weight capacity of 100 kg (220 lbs).
- Use only the provided hardware or specified alternatives. Using incorrect screws may damage your TV or the mount.
- Always wear appropriate safety gear (e.g., eye protection) during installation.
- Keep children and pets away from the work area during installation.
- This product is intended for indoor use only.
3. Package Contents
Verify that all components are present before beginning installation:
- 1 x ELG GENIUS Fixed TV Wall Mount (set of two brackets)
- 1 x Installation Manual
- 1 x Accessory Kit (includes screws for wood and masonry walls, washers, spacers, and a bubble level)
- 1 x Installation Template
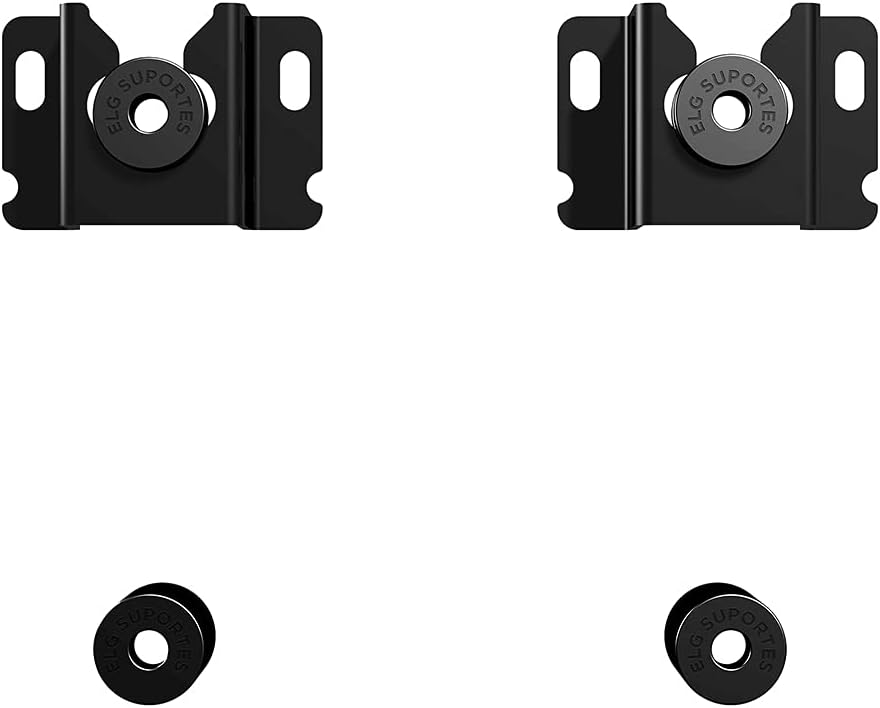
Image: Main components of the ELG GENIUS TV Wall Mount, showing the two wall brackets and TV attachment pieces.

Image: Front view of the ELG GENIUS TV Wall Mount packaging, highlighting included items like the bubble level and installation template.
4. Setup and Installation
Follow these steps carefully for a secure installation. Two people are recommended for safe installation.
4.1. Tools Required (Not Included)
- Drill
- Phillips head screwdriver
- Pencil
- Tape measure
- Stud finder (for wood stud installation)
4.2. Attaching Brackets to TV
- Carefully place your TV face-down on a soft, clean surface to prevent screen damage.
- Identify the VESA mounting holes on the back of your TV.
- Select the appropriate screws, washers, and spacers from the accessory kit that fit your TV's mounting holes. Refer to your TV's manual for recommended screw sizes.
- Attach the two ELG GENIUS TV brackets to the back of your TV, aligning them with the VESA holes. Ensure the brackets are oriented correctly so the TV can be hung on the wall mount. Tighten the screws securely, but do not overtighten.
4.3. Marking Drill Holes on the Wall
- Determine the desired height for your TV.
- Use the provided installation template to mark the drill holes on the wall. The template will guide you on the correct spacing for the wall brackets.
- Place the template against the wall at the desired height. Use the included bubble level to ensure it is perfectly horizontal.
- Mark the drill points through the template with a pencil.
4.4. Drilling and Mounting Wall Brackets
For Wood Stud Walls:
- Use a stud finder to locate the center of the wood studs. The marked drill points must align with the center of the studs.
- Drill pilot holes at the marked locations using an appropriate drill bit size (refer to the accessory kit instructions).
- Attach the wall brackets to the wall using the wood screws and washers provided. Tighten securely.
For Masonry/Concrete Walls:
- Drill holes at the marked locations using a masonry drill bit of the specified size (refer to the accessory kit instructions).
- Insert the plastic wall anchors into the drilled holes. Tap them gently with a hammer until they are flush with the wall surface.
- Attach the wall brackets to the wall using the masonry screws and washers provided. Tighten securely.

Image: Close-up view of the ELG GENIUS TV Wall Mount components, including the wall brackets and the TV attachment pieces, illustrating how they connect.
4.5. Mounting the TV to the Wall
- With assistance, carefully lift the TV with the attached brackets.
- Align the TV brackets with the wall brackets and gently lower the TV until it hooks onto the wall mount.
- Ensure the TV is level using the included bubble level or a separate leveling tool.
- Engage the safety lock mechanism on the bottom of the TV brackets to secure the TV to the wall mount. This prevents accidental dislodgement.

Image: Side view of a television mounted on a wall using the ELG GENIUS mount, demonstrating the slim profile and minimal distance from the wall.
5. Operating Instructions
The ELG GENIUS is a fixed TV wall mount, meaning it does not offer tilt, swivel, or extension capabilities. Once installed, your TV will remain in a static position, 3.5 cm from the wall. Ensure the TV is securely locked into place using the safety mechanism after installation.
6. Maintenance
- Periodically check all screws and connections to ensure they remain tight and secure.
- Clean the mount with a soft, dry cloth. Avoid abrasive cleaners or solvents.
- Do not hang additional items on the mount or TV.
7. Troubleshooting
- TV not level: If the TV appears uneven after mounting, carefully remove it from the wall, adjust the wall brackets if necessary, and re-mount, ensuring the bubble level indicates a perfectly horizontal position.
- Mount feels loose: Re-check all wall screws and TV bracket screws. Ensure they are tightened securely. If the issue persists, consult a professional or ELG support.
- Missing parts: If any parts are missing from the accessory kit, contact ELG customer support immediately.
8. Specifications
| Feature | Specification |
|---|---|
| Model | GENIUS |
| TV Size Compatibility | 14" to 100" |
| Weight Capacity | Up to 100 kg (220 lbs) |
| VESA Compatibility | 75x75mm to 800x400mm |
| Distance from Wall | 3.5 cm |
| Material | Carbon Steel |
| Finish | Electrostatic Paint |
| Color | Black |
| Product Dimensions | 18 x 5.5 x 19 cm |
| Product Weight | 370 g |
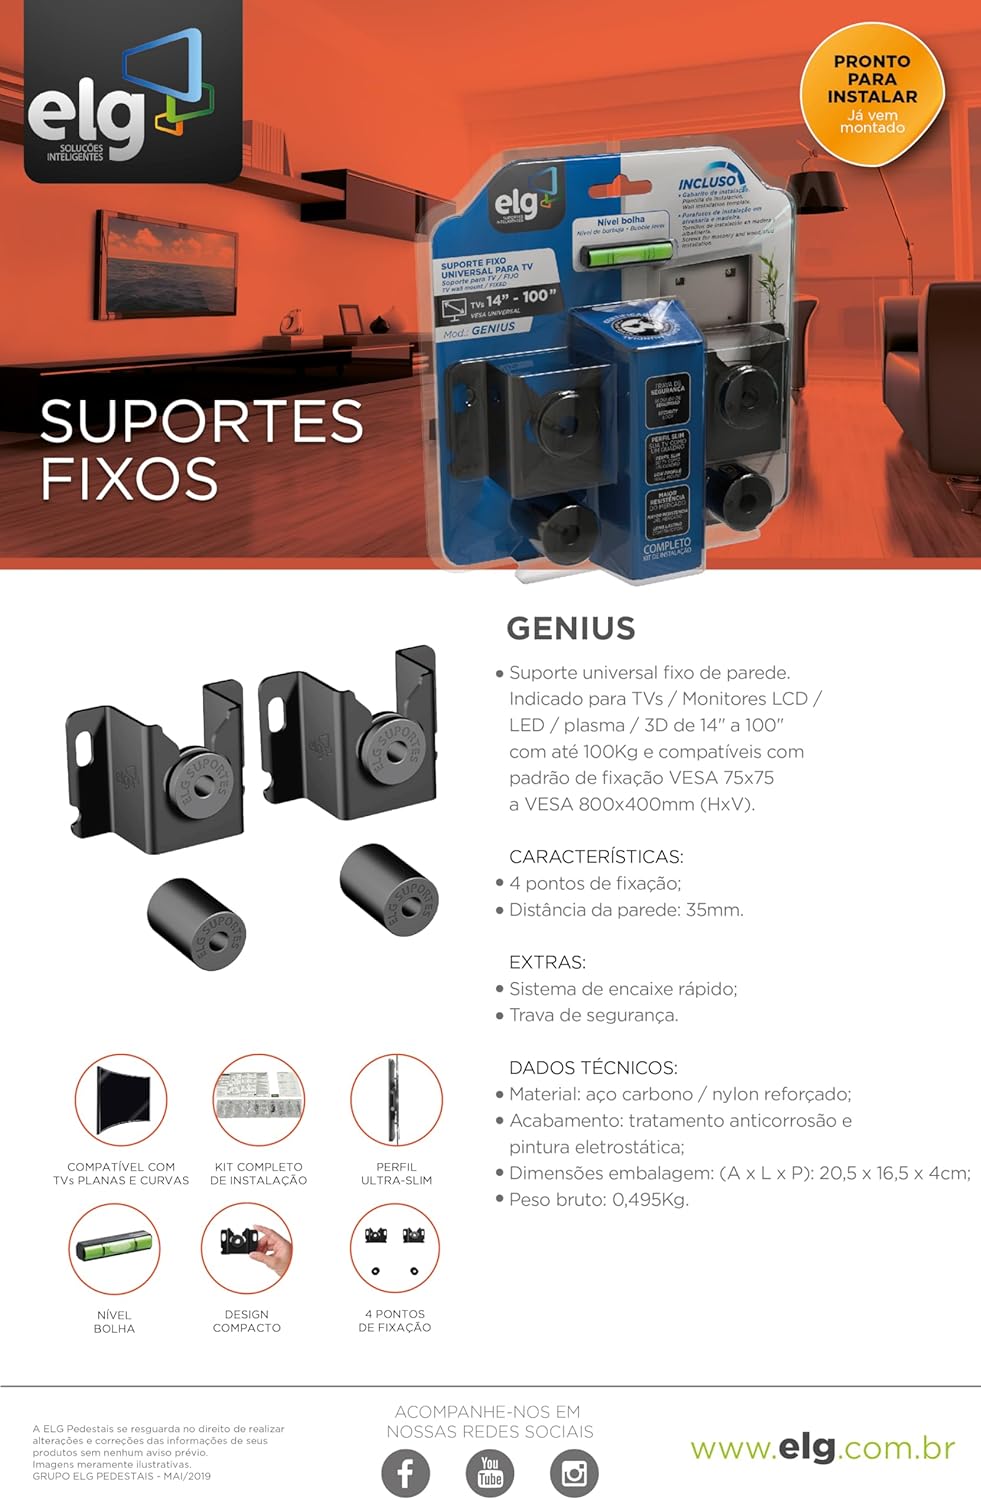
Image: Product packaging and marketing material for the ELG GENIUS mount, displaying key features and specifications.
9. Warranty
The ELG GENIUS Universal Fixed TV Wall Mount comes with a 5-year (60 months) warranty against manufacturing defects and component failures. This warranty covers normal use and proper installation as described in this manual. Please retain your proof of purchase for warranty claims.
10. Support
For technical assistance, missing parts, or warranty claims, please contact ELG customer support:
- Website: www.elg.com.br
- Refer to the product packaging for additional contact information.