
1. Product Overview
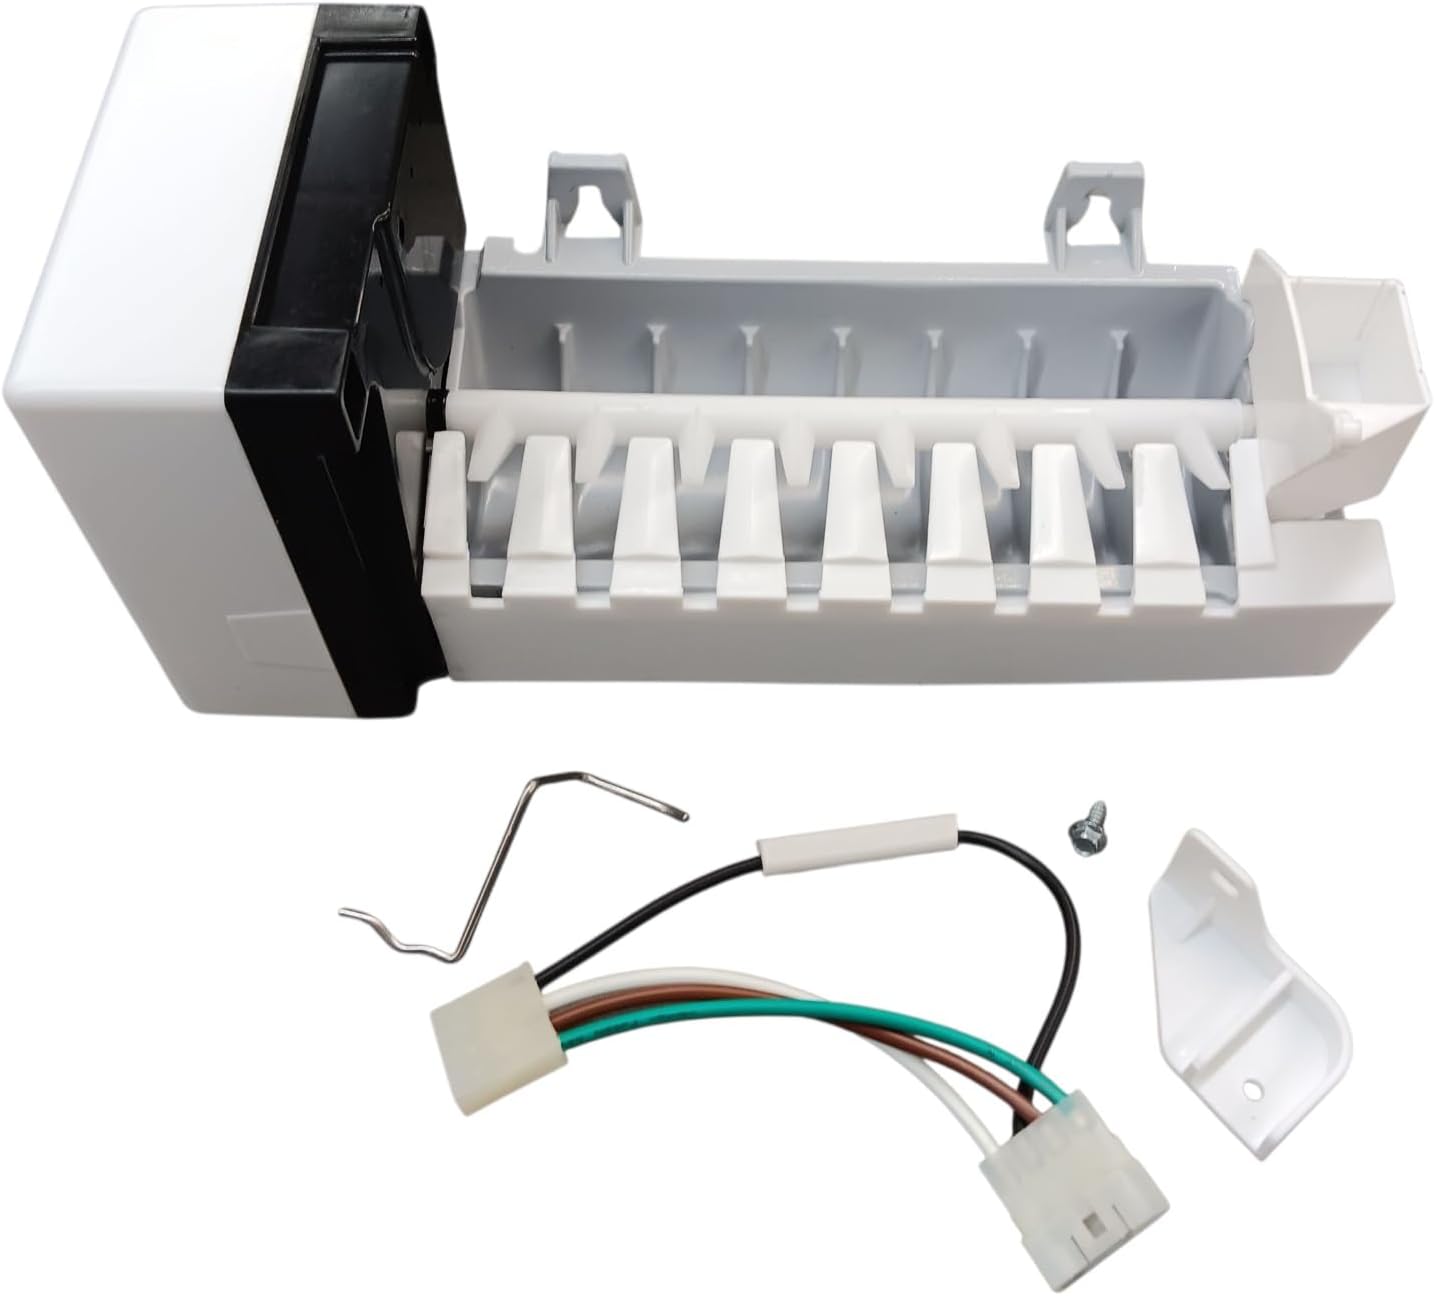
This Seneca River Trading Refrigerator Icemaker is a replacement assembly designed to restore reliable ice production in compatible Sub-Zero refrigerator models. It is engineered to meet OEM-grade standards for consistent performance.
Key Features:
- 8-cube ice mold for standard crescent-style ice production.
- Includes wire harness and shut-off arm for complete installation.
- 120 Volt operation with a factory-style plug connection.
- Direct-fit replacement for Sub-Zero ice maker part numbers SZ7002738 / 7002738.
2. Compatibility
This icemaker is compatible with the following Sub-Zero refrigerator models:
- Sub-Zero Model 532
- Sub-Zero Model 542
- Sub-Zero Model 561
- Sub-Zero Model 601F
- Sub-Zero Model 632
- Sub-Zero Model 642
Important: Verify your refrigerator's model number and the original part number (SZ7002738 or 7002738) before proceeding with installation to ensure compatibility.
3. Safety Information
Always prioritize safety when working with electrical appliances. Failure to follow these safety guidelines may result in injury or damage to the appliance.
- Disconnect Power: Always unplug the refrigerator from the power outlet before attempting any installation, maintenance, or repair.
- Qualified Technician: Installation should ideally be performed by a qualified technician or an experienced individual familiar with appliance repair.
- Electrical Risks: Be aware of electrical connections. Do not handle wiring with wet hands.
- Sharp Edges: Exercise caution as some internal components may have sharp edges.
4. Package Contents
The package typically includes the following components:
- Icemaker Assembly (8-cube mold, motor module)
- Wire Harness
- Shut-off Arm
- Mounting Screw (if applicable)

5. Installation Instructions
Follow these steps to install your new icemaker. It is recommended to refer to your refrigerator's specific service manual for detailed diagrams and additional model-specific instructions.
- Prepare for Installation: Ensure the refrigerator is unplugged from the power source. Remove any ice from the ice bin and then remove the ice bin itself to access the icemaker compartment.
- Remove Old Icemaker: Locate the mounting screws securing the old icemaker. Unscrew them and carefully disconnect the wiring harness. Gently pull out the old icemaker.
- Transfer Components (if necessary): If your old unit has any reusable components (e.g., specific mounting brackets or a water fill cup) not included with the new assembly, transfer them to the new icemaker. The provided kit includes a new wire harness and shut-off arm, which should be used.
- Mount New Icemaker: Position the new icemaker assembly in the compartment. Secure it with the mounting screws. Ensure it is firmly in place.
- Connect Wiring: Connect the new wire harness to the refrigerator's electrical connection point. Ensure the connection is secure.
- Reinstall Ice Bin: Once the icemaker is securely mounted and wired, slide the ice bin back into its position.
- Restore Power: Plug the refrigerator back into the power outlet.
- Initial Cycle: Allow approximately 24 hours for the icemaker to complete its first full ice production cycle and begin producing ice consistently.
Installation Video Guide:
Video 5.1: A short guide on how to install an icemaker, demonstrating the general steps involved in replacing a refrigerator icemaker. (Source: EDGEWATER PARTS)


6. Operating Instructions
Once installed and power is restored, the icemaker will automatically begin its ice production cycle. Ensure the shut-off arm is in the 'down' position to allow ice production. If the ice bin is full, the arm will be pushed up, temporarily stopping ice production until ice is removed.
Initial Operation:
- After installation, discard the first few batches of ice to ensure any manufacturing residues are flushed out.
- The icemaker requires a stable water supply and proper freezer temperature to function correctly.

7. Maintenance
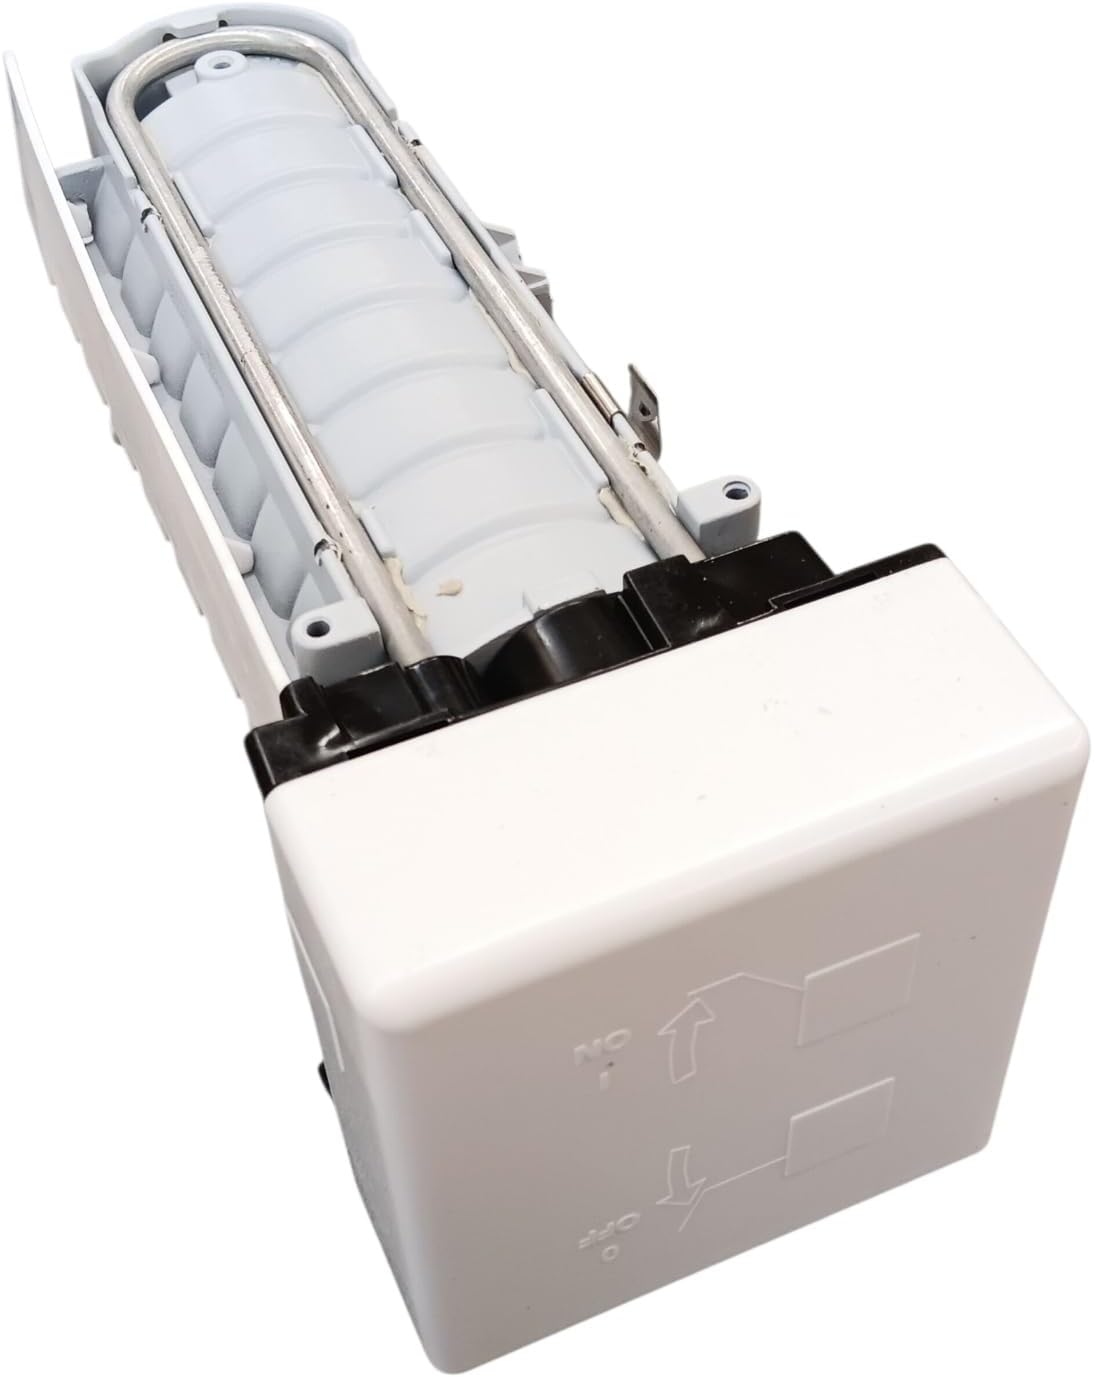
Regular maintenance helps ensure optimal performance and longevity of your icemaker.
- Cleaning: Periodically clean the ice bin and the icemaker itself with a mild soap and water solution. Rinse thoroughly and ensure all components are dry before reassembly.
- Water Filter: If your refrigerator has a water filter, ensure it is replaced according to the manufacturer's recommendations to maintain water quality and prevent mineral buildup in the icemaker.
- Inspect for Ice Buildup: Occasionally check for excessive ice buildup around the icemaker or in the ice chute, which can obstruct operation.
8. Troubleshooting
If your icemaker is not functioning as expected, consult the table below for common issues and potential solutions.
| Problem | Possible Cause | Solution |
|---|---|---|
| Icemaker stopped making ice | No water supply, clogged water line, faulty water inlet valve, shut-off arm in 'up' position, freezer temperature too high. | Check water supply, inspect water line for kinks, ensure shut-off arm is down, verify freezer temperature (recommended 0°F/-18°C), consult a technician for valve issues. |
| Icemaker is noisy | Normal operation sounds, loose mounting, worn motor. | Some operational noise is normal. Ensure icemaker is securely mounted. If noise is excessive or new, a component may be worn; consider professional inspection. |
| Icemaker does not turn off | Faulty shut-off arm mechanism, sensor issue, control board problem. | Check if the shut-off arm is obstructed. Ensure the ice bin is correctly positioned. If the problem persists, a component may be faulty; professional service is recommended. |
| Ice cubes are small or hollow | Low water pressure, clogged water filter, partially frozen water line. | Check water pressure, replace water filter, thaw any frozen water lines. |
Product Functionality Video:
Video 8.1: A brief overview of the icemaker replacement assembly, showcasing its design and components. (Source: DawnTech)
9. Specifications
| Attribute | Detail |
|---|---|
| Brand | Seneca River Trading |
| Model Name | Refrigerator Icemaker for Sub Zero, SZ7002738, 7002738 |
| Part Number | 7002738 |
| Voltage | 120 Volts |
| Wattage | 500 watts |
| Item Weight | 2.95 pounds |
| Color | White |
| Included Components | Ice Maker Assembly |
10. Warranty Information
This product is covered by the manufacturer's standard warranty. Please refer to the product packaging or contact Seneca River Trading directly for specific warranty terms and conditions. Keep your proof of purchase for any warranty claims.
11. Customer Support
For further assistance, technical support, or to inquire about replacement parts, please contact Seneca River Trading customer service. Contact information can typically be found on the product packaging or the manufacturer's official website.