1. Introduction
Thank you for choosing the Nuwave 36011 Air Fryer. This appliance utilizes advanced 360° hot air circulation technology to cook a variety of foods with little to no oil, resulting in crispy and delicious meals. This manual provides essential information for safe operation, maintenance, and optimal performance of your air fryer.

Figure 1.1: Nuwave 36011 Air Fryer. This image displays the main unit with the cooking basket partially pulled out, revealing a cooked chicken inside, demonstrating its capacity.
2. Important Safety Information
Please read all instructions carefully before using the Nuwave 36011 Air Fryer to ensure safe operation and prevent damage. Keep this manual for future reference.
General Safety Precautions:
- Always place the air fryer on a stable, level, heat-resistant surface, away from walls or other appliances to allow for proper air circulation.
- Do not immerse the main unit, cord, or plug in water or other liquids.
- Ensure the voltage indicated on the appliance matches your local power supply before connecting.
- Close supervision is necessary when the appliance is used by or near children.
- Unplug the air fryer from the outlet when not in use and before cleaning. Allow it to cool completely before handling or storing.
- Do not operate any appliance with a damaged cord or plug, or after the appliance malfunctions or has been damaged in any manner.
- Do not use accessories or attachments not recommended by the manufacturer, as this may cause injuries.
- Do not let the power cord hang over the edge of a table or counter, or touch hot surfaces.
- Do not place the appliance on or near a hot gas or electric burner, or in a heated oven.
- Exercise extreme caution when moving an appliance containing hot oil or other hot liquids.
- The air fryer will not operate unless the cooking basket is properly inserted and locked into place. This is an advanced safety feature.
- Avoid contact with hot surfaces. Use handles or knobs.
- Do not use the appliance for anything other than its intended use.
3. Product Components
Familiarize yourself with the parts of your Nuwave 36011 Air Fryer:
- Main Unit: Houses the heating element and fan.
- Control Panel: Digital LED display with touch controls for temperature, time, presets, and wattage.
- Cooking Basket: Removable, nonstick basket where food is placed.
- Crisper Plate: Nonstick plate that sits at the bottom of the cooking basket, allowing air to circulate around food.
- Handle: For safely pulling out and inserting the cooking basket.
- Air Outlet Vent: Located at the back of the unit for hot air exhaust.
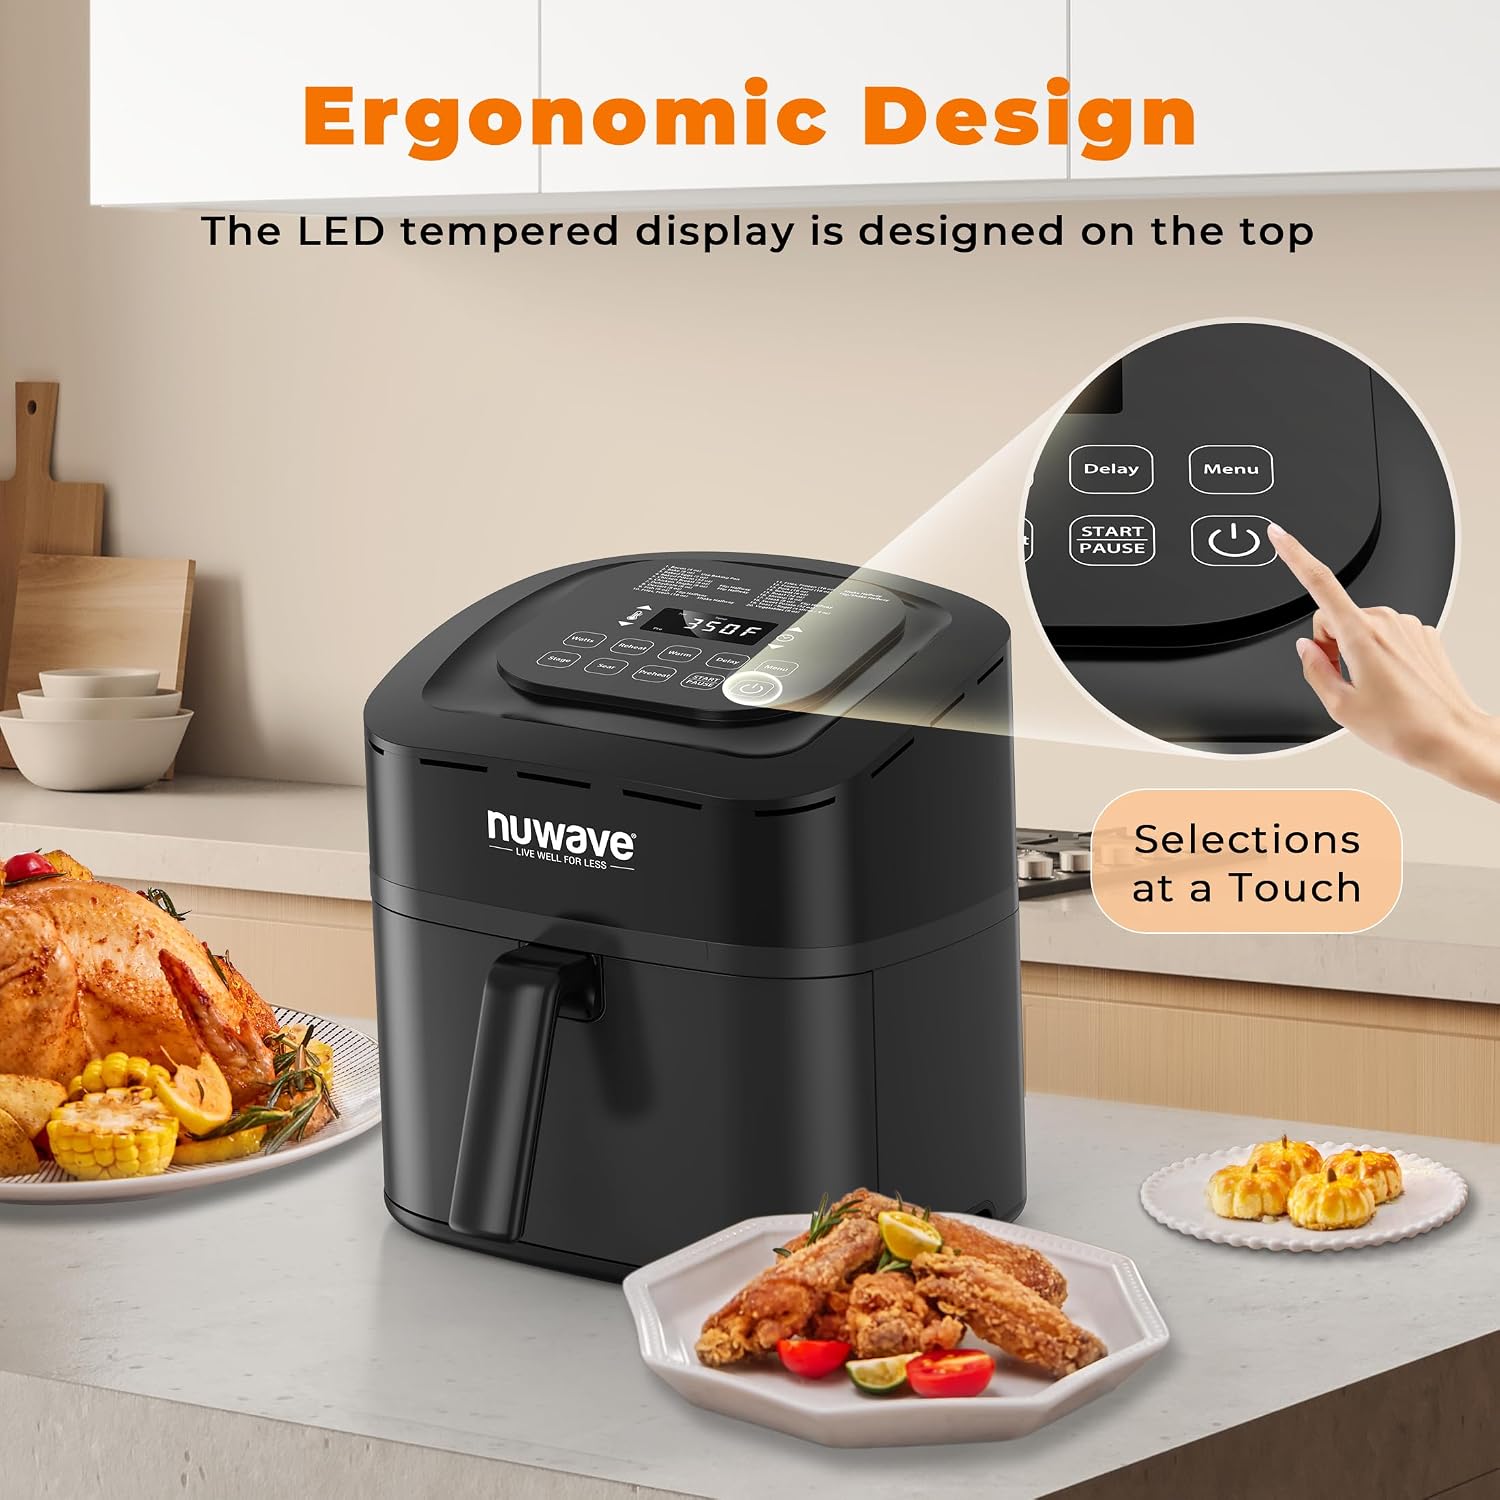
Figure 3.1: Key components of the Nuwave 36011 Air Fryer, highlighting the ergonomic design and the top-mounted LED control panel for easy access.
4. Setup and First Use
Unpacking:
- Remove all packaging materials, stickers, and labels from the appliance.
- Wipe the exterior of the main unit with a damp cloth.
- Thoroughly clean the cooking basket and crisper plate with hot water, dish soap, and a non-abrasive sponge. Rinse and dry completely.
Placement:
- Place the air fryer on a stable, level, heat-resistant surface.
- Ensure there is at least 6 inches (15 cm) of clear space around the back and sides of the appliance for proper air circulation.
- Do not place the air fryer directly under cabinets or near flammable materials.
Initial Run (Optional but Recommended):
It is recommended to run the air fryer empty for about 10-15 minutes on a high temperature (e.g., 350°F / 175°C) before first use to burn off any manufacturing residues. A slight odor may be present, which is normal and will dissipate.
5. Operating Instructions
The Nuwave 36011 Air Fryer features intuitive digital LED controls for precise cooking.
Control Panel Overview:

Figure 5.1: Detailed view of the control panel, illustrating the digital display for temperature and time, along with various preset buttons and manual controls.
- Power Button: Turns the unit on/off.
- Temperature Controls: Adjust temperature from 100°F to 400°F in 5-degree increments.
- Time Controls: Adjust cooking time.
- Preset Buttons: Dedicated buttons for common foods (Fries, Frozen Fries, Nuggets, Steak, Poultry, Fish).
- Wattage Control: Select between 600W, 900W, or 1300W.
- Pre-heat Button: Activates the auto pre-heat function.
- Reheat Button: Defaults to 360°F for 4 minutes.
- Start/Pause Button: To begin or temporarily stop cooking.
Basic Operation Steps:
- Place the crisper plate inside the cooking basket.
- Place your food on the crisper plate in the basket. Do not overfill.
- Slide the cooking basket firmly into the main unit until it clicks into place. The air fryer will not operate if the basket is not fully inserted.
- Plug the power cord into a grounded electrical outlet.
- Press the Power button to turn on the unit.
- To use a Preset: Select one of the 6 preset buttons (Fries, Frozen Fries, Nuggets, Steak, Poultry, Fish). The air fryer will automatically set the recommended temperature and time.
- To set Manually: Use the Temperature and Time controls to adjust to your desired settings.
- Wattage Control: Adjust the wattage (600W, 900W, 1300W) as needed for different cooking requirements. Higher wattage generally means faster cooking.
- Pre-heat Function: Press the Pre-heat button to activate. The unit will heat to the set temperature before cooking begins, ensuring accurate cooking.
- Reheat Function: Press the Reheat button for a quick reheat cycle (360°F for 4 minutes).
- Press the Start/Pause button to begin cooking.
- During cooking, you can pull out the basket to shake or turn food. The air fryer will automatically pause and resume when the basket is reinserted.
- Once cooking is complete, the air fryer will beep. Carefully pull out the basket and remove food using heat-resistant tongs.
- Press the Power button to turn off the unit and unplug it from the outlet.
6. Maintenance and Cleaning
Regular cleaning ensures optimal performance and extends the life of your Nuwave Air Fryer.
Cleaning Steps:
- Always unplug the air fryer and allow it to cool completely before cleaning.
- Cooking Basket and Crisper Plate: These parts are nonstick and dishwasher-safe. For manual cleaning, wash with hot water, dish soap, and a non-abrasive sponge. For stubborn residue, soak in warm soapy water for 10-15 minutes before cleaning.
- Main Unit: Wipe the exterior with a damp cloth. Never immerse the main unit in water or any other liquid.
- Heating Element: If necessary, gently clean the heating element inside the unit with a soft brush to remove any food residue. Do not use abrasive cleaners or scouring pads.
- Ensure all parts are thoroughly dry before reassembling and storing the appliance.

Figure 6.1: The cooking basket and crisper plate are designed to be dishwasher-safe, simplifying the cleanup process after use.
7. Troubleshooting
If you encounter issues with your air fryer, refer to the following common problems and solutions:
| Problem | Possible Cause | Solution |
|---|---|---|
| Air fryer does not turn on. | Not plugged in; Basket not fully inserted; Power outage. | Ensure the power cord is securely plugged into a working outlet. Push the cooking basket firmly until it clicks into place. Check your home's circuit breaker. |
| Food is not cooked evenly. | Basket is overcrowded; Food not shaken/flipped. | Cook food in smaller batches. Shake or flip food halfway through cooking for even results. |
| White smoke coming from the appliance. | Grease residue from previous use; High-fat food cooking. | Clean the basket and crisper plate thoroughly after each use. For high-fat foods, drain excess fat from the basket during cooking. |
| Air fryer smells like plastic. | First few uses; Manufacturing residue. | This is normal for the first few uses and will dissipate. Ensure good ventilation. Perform an initial empty run as described in the Setup section. |
| Food is not crispy. | Too much moisture; Overcrowding; Incorrect temperature/time. | Pat food dry before air frying. Do not overcrowd the basket. Adjust temperature and time as needed; pre-heating can also help. |
8. Product Specifications
| Feature | Detail |
|---|---|
| Brand | Nuwave |
| Model Number | 36011 |
| Capacity | 2.82 liters (approx. 3 Quart) |
| Color | Black |
| Power/Wattage | 1800 watts (with 600W/900W/1300W control settings) |
| Voltage | 120 Volts |
| Material | Plastic |
| Product Dimensions (L x W x H) | 34.29 x 29.21 x 35.56 cm |
| Item Weight | 3.18 kg |
| Temperature Range | 100°F - 400°F (in 5° increments) |
| Special Features | Programmable, Digital LED Controls, Auto Pre-heat, Reheat Function, Advanced Safety Feature (basket in place), Dishwasher-safe parts |
9. Warranty and Support
Nuwave products are manufactured to high-quality standards. For information regarding warranty coverage, product registration, or technical support, please refer to the warranty card included with your purchase or visit the official Nuwave website. Please have your model number (36011) and purchase date available when contacting support.
For further assistance, you may contact Nuwave customer service. Contact details are typically provided in the product packaging or on the manufacturer's official website.


