Product Overview
The Lutron Maestro LED+ Dimmer Switch is engineered for reliable dimming performance across a wide range of dimmable CFLs and LEDs. It also provides full-range dimming for traditional incandescent and halogen bulbs. This advanced dimming technology ensures precise control over your lighting, enhancing comfort and energy efficiency in your home.
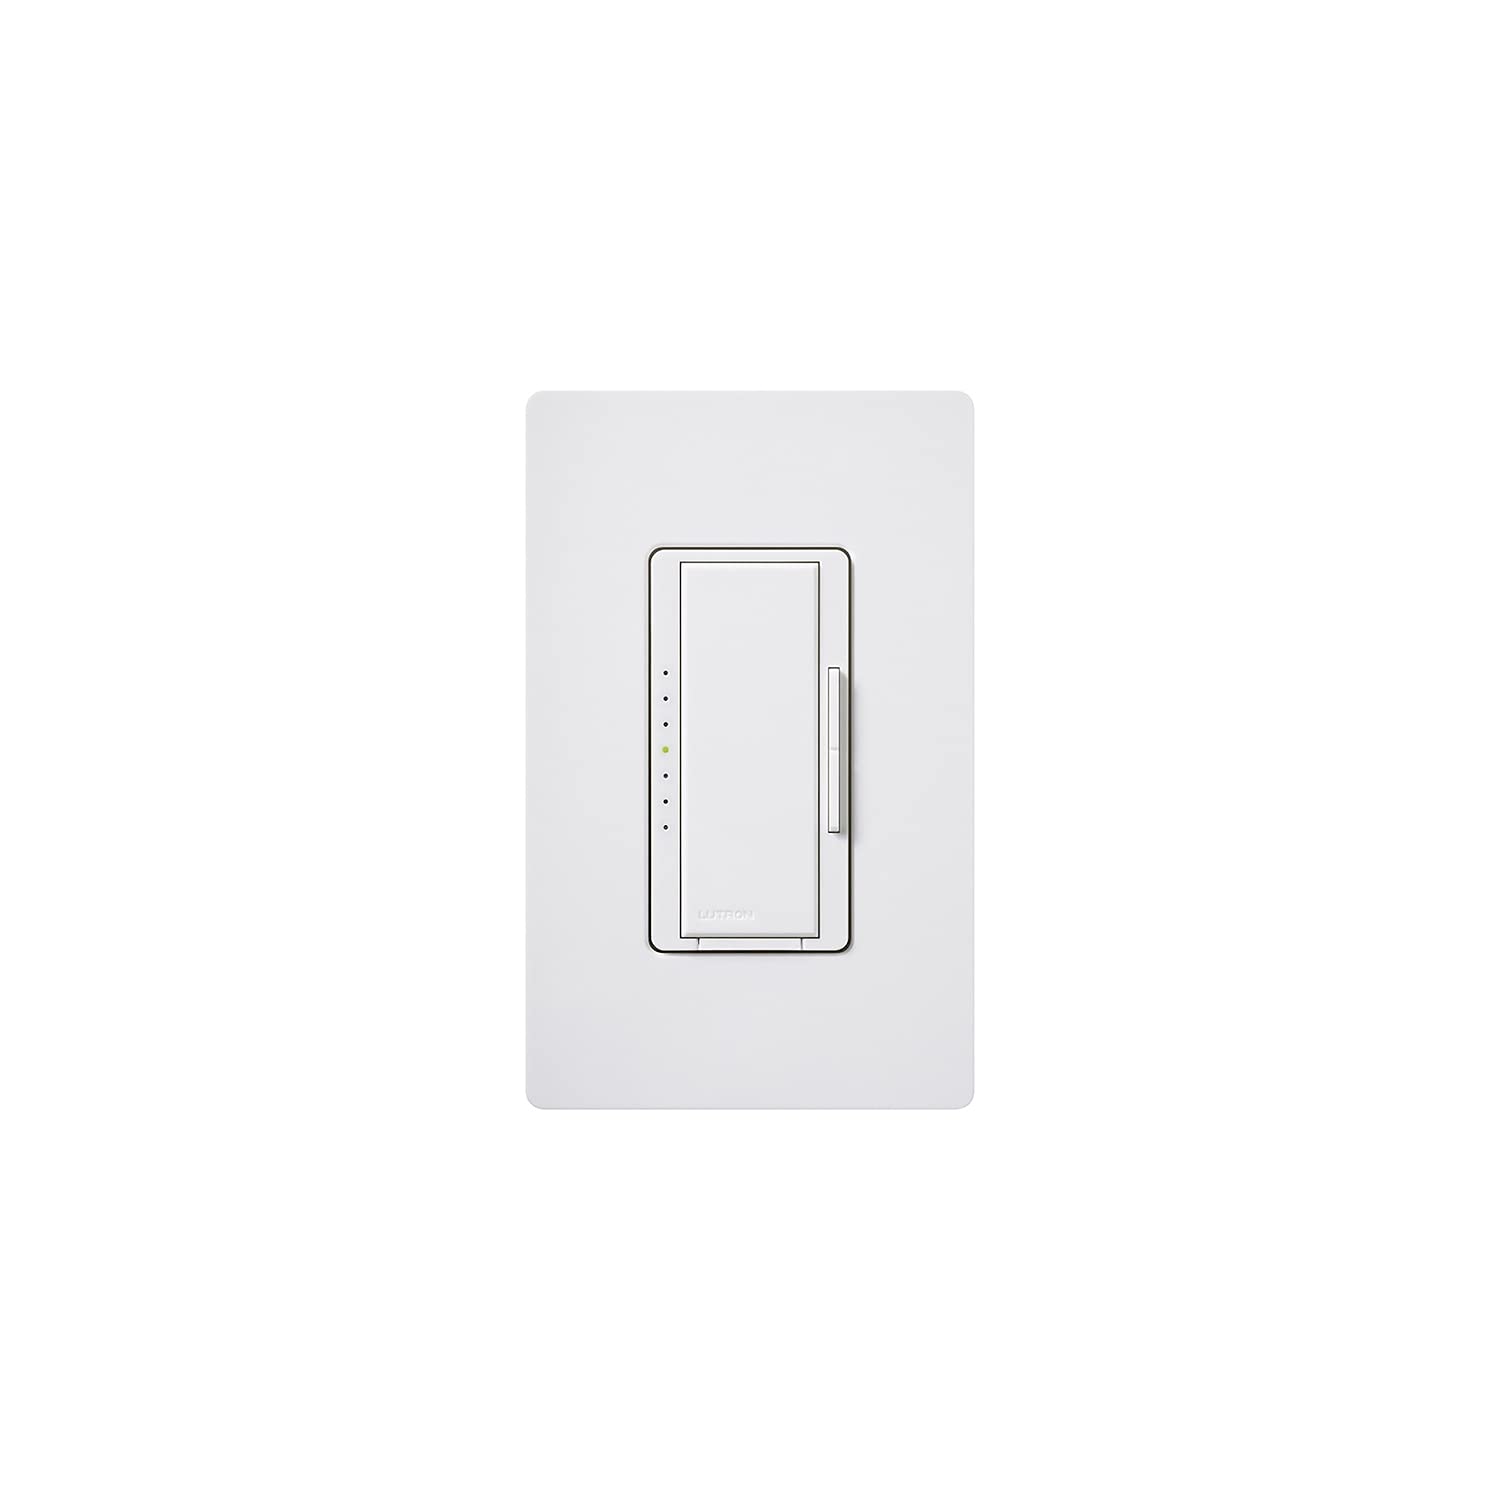
Image: Front view of the Lutron Maestro LED+ Dimmer Switch in white, showcasing its sleek design and integrated dimmer control.
What's in the Box
- Lutron Maestro LED+ Dimmer Switch (MACL-153MH-WH)
- Quick Installation Guide
Setup & Installation
Safety First
WARNING: Before attempting any electrical installation, always ensure the power is turned OFF at the circuit breaker. Use an electrical tester to confirm there is no power to the outlet to prevent electrical shock or injury.
Installation Steps
- Turn Off Power: Locate the circuit breaker controlling the light switch you intend to replace and turn off the power.
- Remove Old Switch: Carefully remove the existing wall plate and unscrew the old switch from the wall box. Disconnect the wires from the old switch.
- Verify No Power: Use an electrical tester to confirm that there is no power to any of the wires in the wall box.
- Connect New Dimmer: Connect the wires from the wall box to the new Lutron Maestro dimmer switch. Refer to the included Quick Installation Guide for specific wiring diagrams based on your electrical setup (e.g., single-pole or 3-way). Ensure all connections are secure.
- Mount Dimmer: Gently push the wired dimmer switch into the wall box and secure it with the provided screws.
- Install Wall Plate: Attach the new wall plate over the dimmer switch.
- Restore Power: Return to the circuit breaker and restore power to the circuit.
Operating Instructions
The Lutron Maestro LED+ Dimmer Switch offers intuitive control over your lighting. It features a large tap switch for basic on/off functionality and a discreet rocker switch for fine-tuning brightness levels.
- Turn Lights On/Off: Press the large tap switch to turn the lights on or off. When turned on, the lights will return to their previously set dimmed level.
- Adjust Brightness: Use the small rocker switch located on the side of the main tap switch. Press the top portion of the rocker to gradually increase light intensity, and the bottom portion to gradually decrease it.
- Temporary Full Brightness: To quickly bring the lights to full brightness, double-tap the large tap switch. The lights will go to 100% output.
- Return to Previous Dimmed Level (from Full Brightness): If the lights are at full brightness (e.g., after a double-tap), press and hold the large tap switch until the indicator lights flash. Then, press the large tap switch once more to return to the last set dimmed level.
- Turn Off from Full Brightness: If the lights are at full brightness, a single press of the large tap switch will turn them off.
Specifications
| Brand | Lutron |
| Model | MACL-153MH-WH |
| Switch Type | Dimmer Switch |
| Operation Mode | Off |
| Current Rating | 10 Amps |
| Contact Type | Normally Open |
| Connector Type | Screw Terminals |
| Terminal | Screw |
| Material | Plastic |
| Item Dimensions (L x W x H) | 1 x 2 x 3 inches |
| Circuit Type | 3-way |
| Mounting Type | Wall Mount |
| Actuator Type | Rocker |
| Number of Positions | 1 |
| Controller Type | Multi-Location |
| Control Method | Remote |
| Connectivity Protocol | Wi-Fi |
| Wattage | 600.00 |
| Color | White |
| Item Weight | 0.15 Pounds |
| International Protection Rating | IP54 |
| Specification Met | UL |
Troubleshooting
Common Issues & Solutions
- Lights not dimming or flickering: Ensure your light bulbs are specifically rated as dimmable CFLs or LEDs. Non-dimmable bulbs may not function correctly or may flicker. Verify the dimmer's wattage capacity matches or exceeds the total wattage of your connected bulbs.
- Dimmer not responding: Check the circuit breaker to confirm that power is supplied to the switch. Inspect all wiring connections to ensure they are secure and correctly installed according to the wiring diagram.
- Lights not turning on: First, check if the light bulb is correctly installed and not burnt out. Next, verify the circuit breaker is in the ON position. Finally, inspect the wiring connections at the dimmer switch for any loose or incorrect connections.
Warranty & Support
The Lutron Maestro LED+ Dimmer Switch comes with a 10-year warranty (with product registration). For detailed warranty information, technical support, or to access additional resources, please refer to the included product documentation or visit the official Lutron website.