Introduction
This manual provides comprehensive instructions for the safe and efficient operation, installation, and maintenance of your ATAG CX4511C oven. Please read this manual thoroughly before using the appliance and keep it for future reference. Proper use and care will ensure optimal performance and extend the lifespan of your oven.
Safety Instructions
Always adhere to the following safety precautions to prevent personal injury or damage to the appliance:
- Ensure the oven is properly installed by a qualified technician before first use.
- Do not touch hot surfaces. Always use oven mitts or pot holders.
- Keep children away from the appliance during operation and cooling.
- Never use water to extinguish grease fires; smother the flames or use a dry chemical extinguisher.
- Do not store flammable materials in or near the oven.
- Unplug the appliance from the power supply before cleaning or performing any maintenance.
- Do not operate the oven if the power cord or plug is damaged.
Product Overview
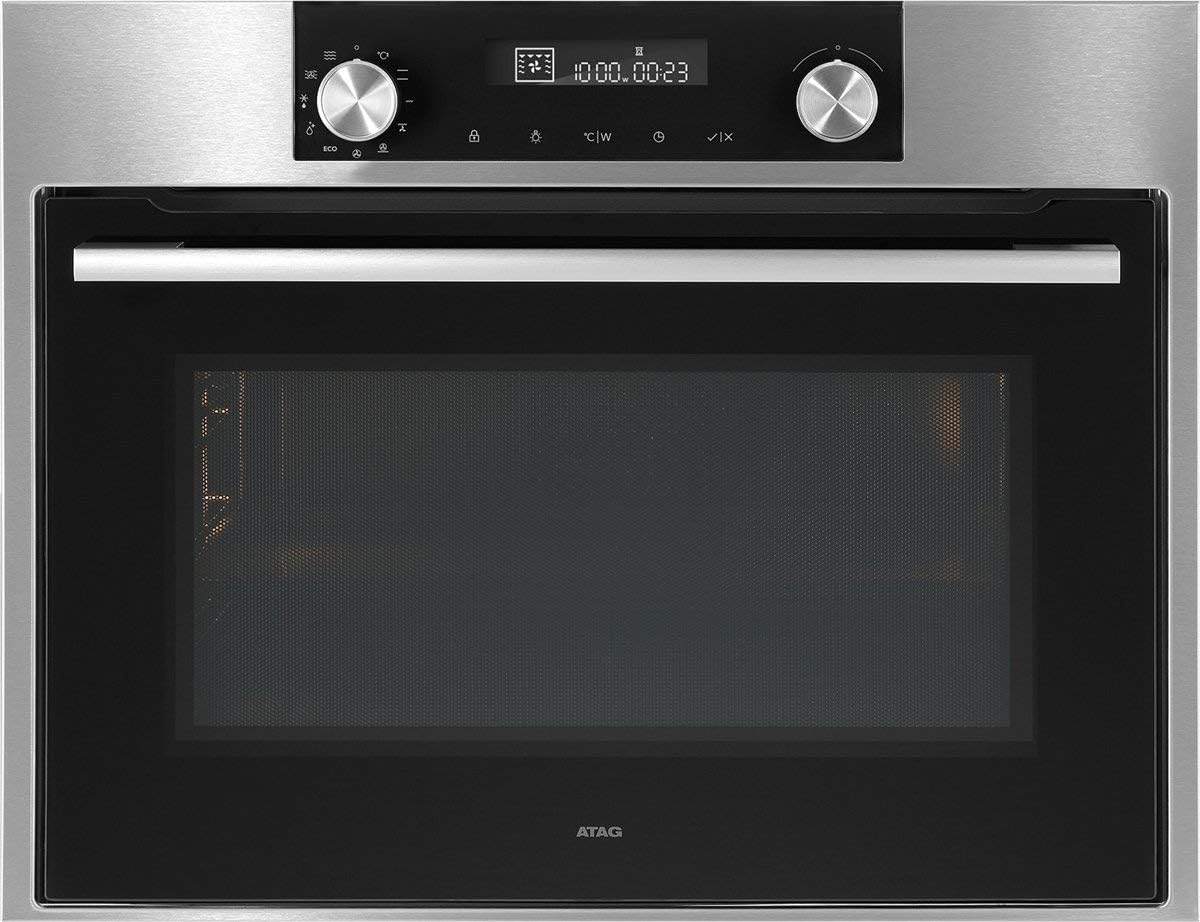
Figure 1: Front view of the ATAG CX4511C oven. This image displays the stainless steel finish, the black glass door with a horizontal handle, and the integrated control panel at the top. The control panel features two rotary knobs, a digital display, and touch-sensitive buttons for various functions and settings.
The ATAG CX4511C is a built-in oven designed for modern kitchens. It features a sleek stainless steel and black glass aesthetic. Key components include:
- Control Panel: Located at the top, featuring a digital display, two rotary knobs for function and temperature selection, and touch controls for timer, settings, and other options.
- Oven Door: A black glass door with a sturdy stainless steel handle, providing visibility into the oven cavity.
- Oven Cavity: The interior cooking space, equipped with racks and lighting.
- Ventilation Slots: Essential for proper air circulation and cooling of the appliance.
Setup
1. Installation
The ATAG CX4511C oven must be installed by a qualified electrician or authorized service technician in accordance with local regulations and the provided installation instructions. Ensure adequate ventilation around the appliance.
2. Initial Cleaning
Before first use, clean the oven interior and all accessories (racks, trays) with a damp cloth and mild detergent. Rinse thoroughly and dry. Do not use abrasive cleaners.
3. First Use (Burn-in)
To eliminate any manufacturing odors, operate the empty oven for approximately 60 minutes at 200°C (392°F) using a conventional heating mode. Ensure the kitchen is well-ventilated during this process.
Operating Instructions
1. Setting the Time
Upon first connection to power, the display will flash. Use the right rotary knob to set the current time, then press the checkmark button to confirm.
2. Selecting a Cooking Function
Turn the left rotary knob to select the desired cooking function (e.g., conventional heat, fan-assisted, grill). The selected function icon will appear on the display.
3. Setting Temperature and Time
After selecting a function, turn the right rotary knob to adjust the temperature. Press the timer button to set a cooking duration, then use the right knob to adjust the time. Confirm settings by pressing the checkmark button or waiting a few seconds for automatic confirmation.
4. Preheating
The oven will begin preheating once the function and temperature are set. An indicator on the display will show when the set temperature has been reached.
5. Ending Operation
To stop cooking, turn the left rotary knob to the 'Off' position or press the stop button if available. Allow the oven to cool down completely before opening the door for an extended period.
Maintenance and Cleaning
1. Exterior Cleaning
Clean the exterior surfaces, including the control panel and door, with a soft cloth and warm soapy water. For stainless steel, use a specialized stainless steel cleaner. Avoid abrasive sponges or harsh chemicals.
2. Interior Cleaning
For light soiling, wipe the interior with a damp cloth after the oven has cooled. For stubborn stains, use an oven cleaner specifically designed for the oven's interior lining, following the product instructions carefully. Remove all racks and accessories before cleaning.
3. Door Glass Cleaning
Clean the inner and outer glass panels of the oven door with a glass cleaner or warm soapy water. Ensure no liquid seeps into the door's ventilation system.
4. Replacing the Oven Lamp
Ensure the oven is disconnected from the power supply. Unscrew the protective glass cover, replace the bulb with a new heat-resistant oven lamp of the same specifications, and reattach the cover.
Troubleshooting
| Problem | Possible Cause | Solution |
|---|---|---|
| Oven does not heat up. | No power supply; incorrect settings; fuse tripped. | Check power connection; verify settings; check household fuse box. |
| Uneven cooking results. | Incorrect rack position; overloaded oven; door opened too frequently. | Use recommended rack positions; avoid overcrowding; minimize door openings. |
| Smoke or odor during first use. | Residual manufacturing oils burning off. | This is normal. Ensure good ventilation. It will dissipate after initial use. |
| Display shows an error code. | Internal malfunction. | Note the error code and contact customer support. |
Specifications
- Brand: ATAG
- Model: CX4511C
- Capacity: 51 Liters
- Power: 3400 W
- ASIN: B075V16NFM
- Color: Black, Stainless Steel
- First Available Date: June 11, 2019
Warranty and Support
Your ATAG CX4511C oven comes with a manufacturer's warranty. For detailed information regarding warranty terms, conditions, and duration, please refer to the warranty card included with your appliance or visit the official ATAG website. For technical support, service requests, or spare parts, please contact ATAG customer service directly. Contact details can typically be found on the manufacturer's website or in the documentation provided with your purchase.
When contacting support, please have your model number (CX4511C) and serial number ready. The serial number is usually located on a label inside the oven door frame or on the back of the appliance.