1. Product Overview
The Little Tikes Build-a-House is a customizable playhouse designed for children aged 3 years and up. It features interchangeable panels and includes tools for assembly and customization, allowing children to create various designs. This playhouse is suitable for both indoor and outdoor use.
Key Features:
- Colorful playhouse with interchangeable panels.
- Parents assemble the frame and roof, while children customize the rest.
- Includes over 25 customizable panels and accessories, along with a kid-friendly drill and screwdriver.
- Designed for indoor or outdoor play.
- Assembly is required.
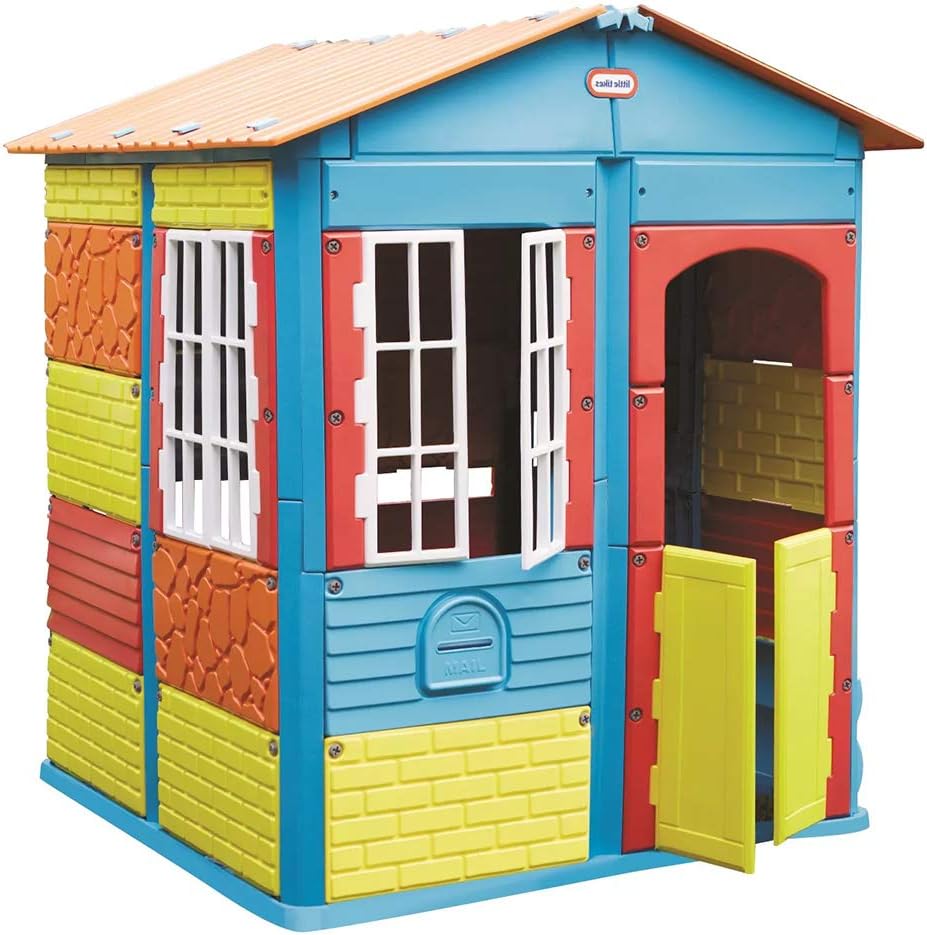
Figure 1.1: The Little Tikes Build-a-House, fully assembled with various colored panels, a mail slot, and open windows.
2. Package Contents
The Little Tikes Build-a-House package includes the following components:
- Playhouse frame components (base, walls, roof).
- Over 25 customizable panels (various colors and textures).
- Kid-friendly battery-powered drill.
- Kid-friendly manual screwdriver.
- Plastic screws for panel attachment.
- Additional accessories (e.g., windows, doors, mail slot).

Figure 2.1: Included kid-friendly drill and screwdriver for assembly and customization.
3. Assembly Instructions
Initial assembly of the playhouse frame and roof requires adult assistance. Once the main structure is complete, children can actively participate in customizing the panels and accessories using the provided tools.
3.1. Adult Assembly (Frame and Roof)
- Unpack all components and verify against the parts list (refer to the separate detailed assembly guide for specific steps).
- Assemble the base structure of the playhouse.
- Attach the main wall supports and frame pieces.
- Secure the roof components to the top of the frame.
- Ensure all structural connections are tight and secure.

Figure 3.1: The basic frame of the playhouse after initial adult assembly.
3.2. Child Customization (Panels and Accessories)
Once the frame is standing, children can begin customizing their playhouse:
- Select desired colored and textured panels.
- Align the panels with the designated slots on the playhouse frame.
- Use the kid-friendly drill or screwdriver to secure the panels with the plastic screws. The screws are designed to remain attached to the panels, preventing loss.
- Attach windows, doors, and other accessories to complete the design.
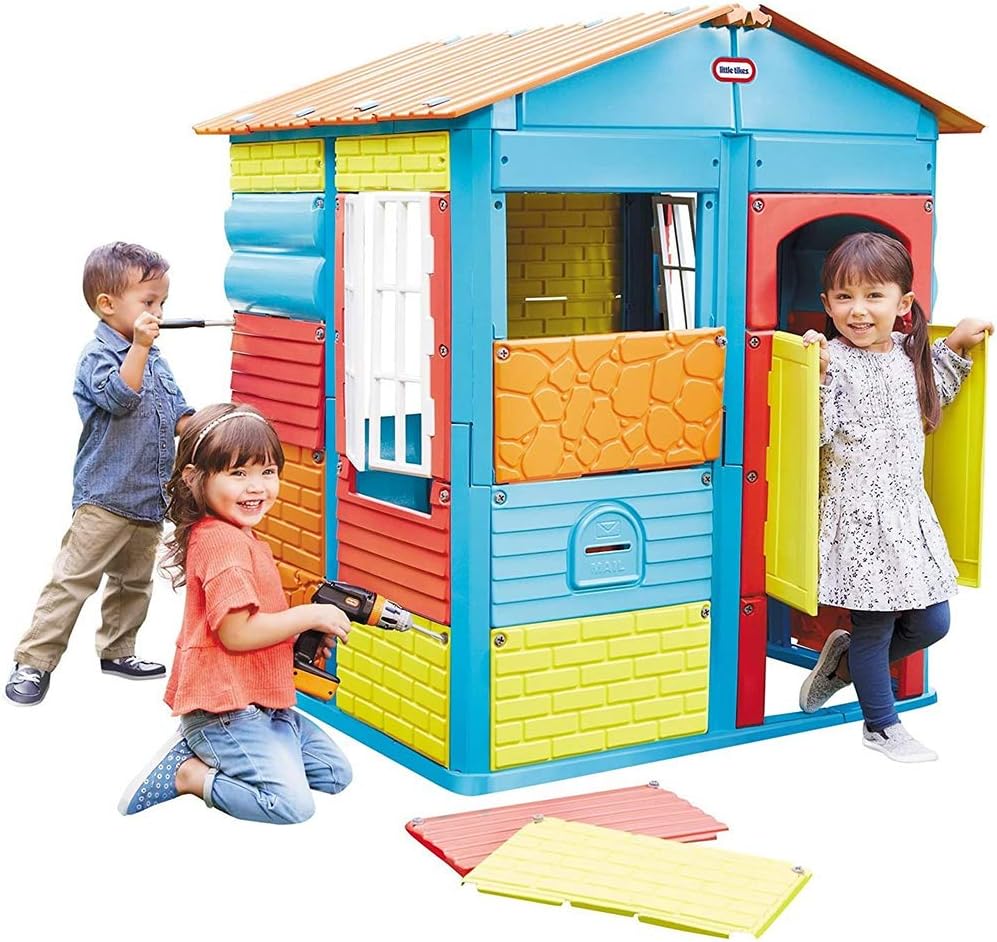
Figure 3.2: Children actively participating in attaching panels to the playhouse frame.
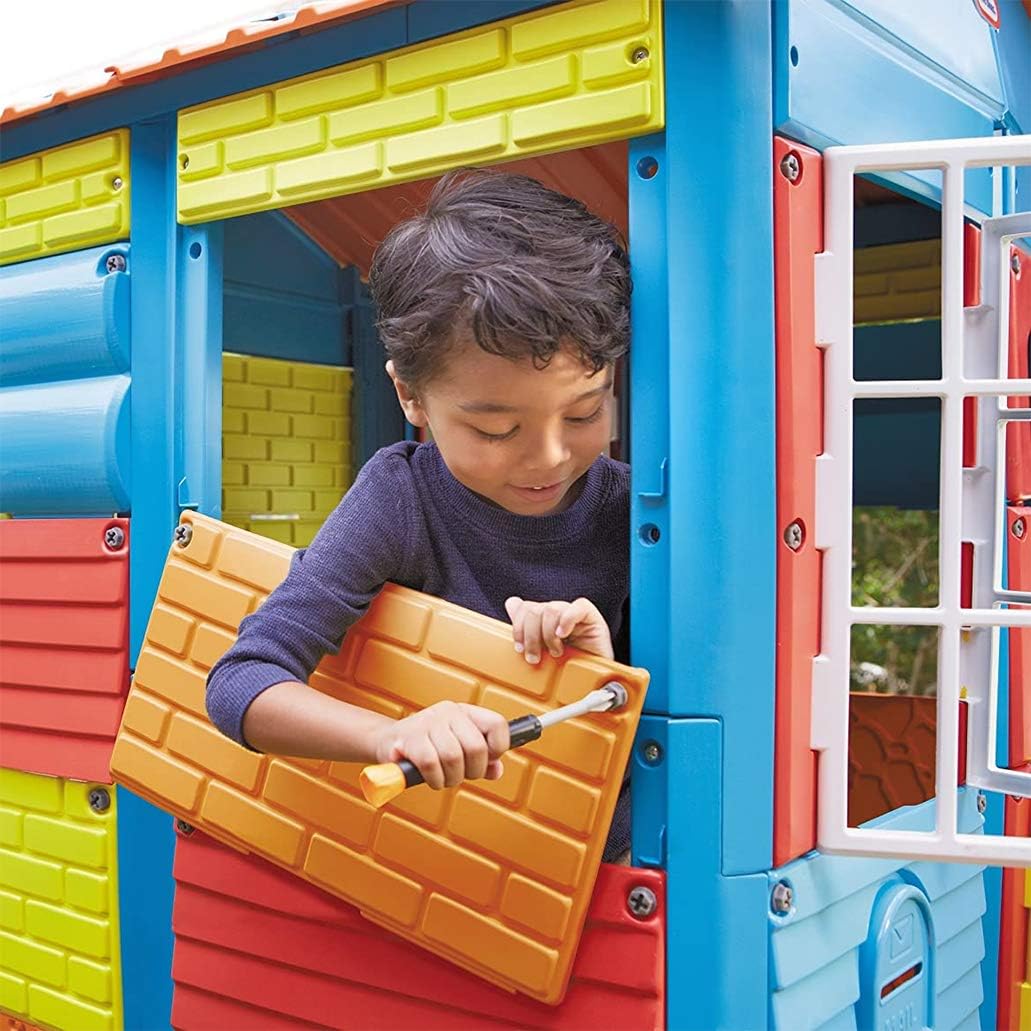
Figure 3.3: Close-up of a child using the screwdriver to secure a panel.
Video 3.1: An official product video demonstrating the assembly and customization process of the Little Tikes Build-a-House, showing children and an adult working together to construct and personalize the playhouse.
4. Operating and Customization
The primary function of the Little Tikes Build-a-House is to provide a customizable play environment. Children can continuously reconfigure the playhouse to create new designs and layouts.
4.1. Changing Panels and Layouts
- To change a panel, simply unscrew it using the provided tools.
- Swap panels with different colors or textures to alter the exterior appearance.
- Rearrange windows and doors to create new entry points or viewing areas.
- The design allows for endless variations, encouraging creative play.
5. Maintenance
Regular maintenance ensures the longevity and safety of the playhouse.
- Hardware Check: Inspect all hardware connections twice monthly during periods of active use. Tighten any loose screws or fasteners as required. This is particularly important at the beginning of each season.
- Component Inspection: Regularly check for any loose, cracked, or missing components. Replace damaged parts immediately to prevent hazards.
- Cleaning: Clean the playhouse surfaces with mild soap and water. Avoid abrasive cleaners.
- Winter Storage: If temperatures fall below 0°F (-18°C), it is recommended to move the product indoors or discontinue outdoor use to prevent material degradation.
6. Troubleshooting
This section addresses common issues you might encounter with the Little Tikes Build-a-House.
6.1. Panels Not Fitting Properly
- Ensure the panels are correctly oriented and aligned with the frame slots.
- Verify that no debris is obstructing the panel slots or screw holes.
- Apply gentle pressure to seat the panel fully before tightening screws.
6.2. Loose Structure
- Re-check all screws and fasteners on the main frame and panels. Tighten as necessary.
- Ensure the playhouse is on a flat, stable surface. Uneven ground can cause instability.
6.3. Tools Not Functioning
- For the battery-powered drill, check if batteries are correctly installed and have sufficient charge. Replace batteries if needed.
- Ensure the drill bit is properly inserted into the drill.
7. Product Specifications
| Attribute | Detail |
|---|---|
| Product Dimensions | 45.5 x 45.2 x 52.5 inches |
| Item Weight | 5 pounds |
| Model Number | 645846 |
| Recommended Age | 3 years and up |
| Manufacturer | MGA Entertainment |
| Release Date | January 1, 2018 |
8. Warranty and Support
For warranty information, replacement parts, or customer support, please refer to the official Little Tikes website or contact their customer service department. Keep your purchase receipt for warranty claims.
Online Support: www.littletikes.com