
1. Introduction
The ANNKE 12MP 8CH PoE NVR is a high-performance Network Video Recorder designed for robust and reliable surveillance systems. It supports up to eight IP cameras with resolutions ranging from 4MP to 12MP, providing crystal-clear video monitoring. This NVR integrates advanced features such as H.265+ video compression for efficient storage, 24/7 continuous recording, and smart AI motion detection when used with compatible ANNKE AI cameras. Its plug-and-play PoE design simplifies installation, making it an ideal solution for both home and business security.

Image: Front view of the ANNKE 12MP 8CH PoE NVR, showcasing its compact design and indicator lights.
2. What's in the Box
Upon unpacking your ANNKE 12MP 8CH PoE NVR, please verify that all the following components are included:
- 1 x 8CH PoE 12MP NVR (Hard Drive Not Included)
- 1 x Power Adapter
- 1 x 5.9ft/1.8m HDMI Cable
- 1 x 3.2ft/1m Ethernet Cable
- 1 x USB Mouse
- 1 x User Manual

Image: A visual representation of all items included in the ANNKE 12MP 8CH PoE NVR package, including the NVR unit, cables, power adapter, mouse, and user manual.
3. Product Features
3.1. 12MP Ultra-HD Resolution
Experience unparalleled clarity with support for up to 12-megapixel IP cameras. This high resolution ensures that every detail is captured, providing superior image quality for monitoring and playback.

Image: A graphic illustrating the superior clarity of 12MP Ultra-HD resolution, showing a detailed scene on a monitor connected to the NVR.
3.2. Advanced H.265+ Video Compression
The NVR utilizes H.265+ video compression technology, which significantly reduces bandwidth and storage requirements by up to 75% compared to H.264, without compromising video quality. This allows for longer recording times and more efficient data management.
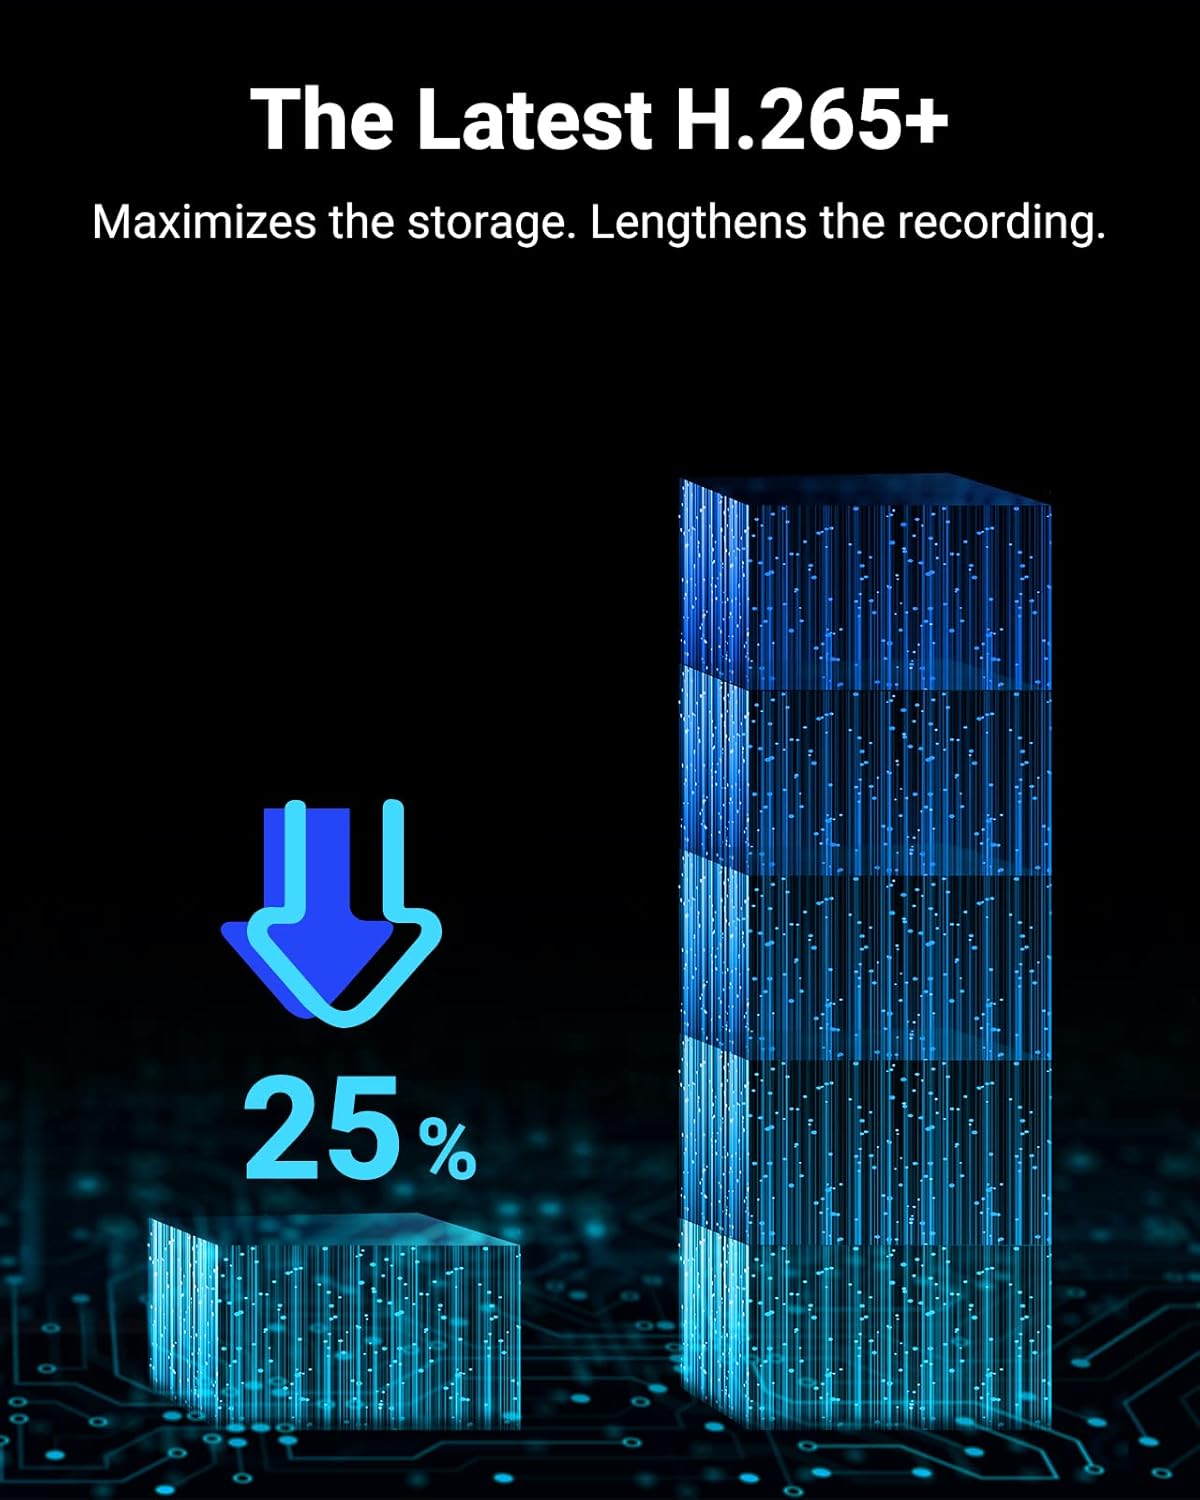
Image: A visual comparison demonstrating the storage efficiency of H.265+ compression, showing a 25% reduction in storage space compared to previous standards.
3.3. 24/7 Continuous Recording
The NVR supports continuous 24/7 recording, ensuring that your property is monitored around the clock. This feature provides comprehensive coverage and peace of mind.

Image: A graphic depicting the NVR with a clock icon, symbolizing its capability for non-stop 24/7 recording.
3.4. AI Camera Compatibility
This NVR is compatible with ANNKE AI cameras, enabling advanced features such as line intrusion detection, region detection, and person/vehicle detection. This allows for more accurate alerts and reduces false alarms. Note: The NVR itself does not have built-in AI features; these are supported through compatible ANNKE AI cameras.

Image: An illustration showing the NVR's compatibility with AI cameras, demonstrating person and vehicle detection capabilities with highlighted detection zones.
3.5. Plug-and-Play PoE System
The Power over Ethernet (PoE) design simplifies installation by allowing a single Ethernet cable to provide both power and data transmission to your PoE IP cameras. This eliminates the need for separate power cables for each camera.

Image: A diagram illustrating the simple plug-and-play setup of the PoE system, showing cameras connected directly to the NVR via single Ethernet cables.
3.6. Convenient Remote Access
Stay connected to your security system from anywhere using the ANNKE Vision App. This app allows you to view live streams, play back recordings, and receive motion alerts on your smartphone, tablet, or laptop, providing convenient remote monitoring.

Image: A person viewing live camera footage on a smartphone using the ANNKE Vision App, demonstrating the remote access capability.
4. Setup Guide
4.1. NVR Overview and Connections
Familiarize yourself with the NVR's front and rear panels to understand its various ports and indicators.

Image: Detailed diagrams of the NVR's front panel (showing power, status, network indicators, control panel, USB port) and rear panel (showing PoE camera inputs, audio I/O, HDMI/VGA outputs, USB ports, power input).
Front Panel:
- Power Status: Indicates power supply.
- Recording Status: Indicates active recording.
- Network Status: Indicates network connectivity.
- Control Panel: Navigation buttons for menu operation.
- USB Port: For mouse connection or USB backup.
Rear Panel:
- Camera Input (PoE Ports): Connect your PoE IP cameras.
- Router/Network Port: Connect to your local network/router.
- Audio Output: For connecting external speakers.
- Audio Input: For connecting an external microphone.
- VGA/HDMI Output: Connect to a monitor or TV.
- Mouse/USB Backup Ports: Additional USB ports.
- Power Input: Connect the provided power adapter.
4.2. Hard Drive Installation (Optional)
The NVR supports a 3.5-inch SATA hard drive for video storage. A hard drive is not included and must be purchased separately. For installation, open the NVR casing, connect the SATA data and power cables to the hard drive, and secure it within the NVR chassis. Refer to the detailed instructions in the included user manual for specific steps.
4.3. Initial Setup
- Connect Monitor: Connect the NVR to a monitor or TV using the HDMI or VGA cable.
- Connect Mouse: Plug the USB mouse into a USB port on the NVR.
- Connect Cameras: Connect your PoE IP cameras to the PoE ports on the NVR's rear panel.
- Connect to Network: Connect the NVR's network port to your router using the Ethernet cable.
- Power On: Connect the power adapter to the NVR and plug it into a power outlet. The NVR will power on automatically.
- First-Time Wizard: Follow the on-screen wizard to configure basic settings, including language, date/time, network settings, and hard drive initialization (if installed).
5. Operating Instructions
5.1. Local Interface Operation
Use the connected mouse to navigate the NVR's graphical user interface (GUI) on your monitor. The main menu provides access to live view, playback, recording settings, network configuration, and system management.
Live View:
Displays real-time video feeds from all connected cameras. You can switch between single-camera view and multi-camera grid views.
Recording Settings:
Configure recording schedules (continuous, motion-triggered, alarm-triggered) and video quality for each camera. Ensure your hard drive is initialized for recording.
Playback:
Access recorded footage by selecting the date and time. The timeline allows for easy navigation through recorded events. Smart Search Playback helps locate critical moments efficiently.
5.2. Remote Access via ANNKE Vision App
The ANNKE Vision App allows you to monitor your system remotely from your mobile device. Download the app from the App Store (iOS) or Google Play Store (Android).
- Download and Install: Search for "ANNKE Vision" in your device's app store.
- Create Account: Register for an ANNKE Vision account.
- Add Device: Scan the NVR's QR code (usually found on the NVR itself or in the system settings) or manually enter its serial number to add it to your account.
- View Live/Playback: Once added, you can view live feeds, play back recordings, and receive push notifications for motion detection alerts directly on your device.
6. Maintenance
6.1. Hard Drive Management
Regularly check the status of your hard drive through the NVR's system settings. If the hard drive becomes full, the NVR will typically overwrite the oldest footage. You can also manually format the hard drive if needed (this will erase all recorded data).
6.2. Firmware Updates
Periodically check the ANNKE official website for firmware updates. Keeping your NVR's firmware up-to-date ensures optimal performance, security, and access to new features. Follow the instructions provided with the firmware update package carefully.
6.3. Cleaning
Ensure the NVR unit is kept in a clean, dust-free environment. Use a soft, dry cloth to clean the exterior. Do not use liquid cleaners or aerosols. Ensure proper ventilation around the unit to prevent overheating.
7. Troubleshooting
This section addresses common issues you might encounter with your ANNKE 12MP 8CH PoE NVR.
| Problem | Possible Cause | Solution |
|---|---|---|
| No video output on monitor | Incorrect cable connection; Monitor input not selected; NVR not powered on. | Check HDMI/VGA cable connection; Ensure monitor is set to correct input (HDMI/VGA); Verify NVR power indicator is on. |
| Cameras not displaying video | PoE cable issue; Camera not powered; Camera not compatible; IP address conflict. | Check PoE cable connections; Ensure cameras are powered; Verify camera compatibility; Check network settings for IP conflicts. |
| No recording | Hard drive not installed/initialized; Recording schedule not set; Hard drive full. | Install and initialize hard drive; Configure recording schedule; Check hard drive status and format if necessary. |
| Remote access not working | NVR not connected to internet; App not configured correctly; Network firewall issues. | Ensure NVR has internet access; Re-add NVR to ANNKE Vision App; Check router/firewall settings. |
If you encounter issues not listed here or require further assistance, please contact ANNKE Technical Support. They are known for their excellent support and will assist until your issue is resolved.
8. Specifications
| Feature | Detail |
|---|---|
| Brand | ANNKE |
| Model | 12MP 8CH PoE NVR |
| Number of Channels | 8 |
| Connectivity Technology | Ethernet (PoE) |
| Compatible Devices | IP Cameras (ANNKE 12MP/8MP/4K/5MP/4MP/3MP) |
| Video Compression | H.265+, H.265, H.264+, H.264 |
| Hard Drive Support | 1 x 3.5-inch SATA HDD (Up to 8TB, Not Included) |
| Package Dimensions | 14 x 12 x 5.5 inches |
| Item Weight | 6 pounds |
9. Warranty and Support
ANNKE provides comprehensive customer support for its products. While specific warranty details may vary, ANNKE is committed to providing excellent after-sale support and lifetime technical assistance. For any technical inquiries, troubleshooting, or warranty claims, please visit the official ANNKE support website or contact their customer service directly. Many users have reported positive experiences with ANNKE's responsive and dedicated technical support team.
For the most up-to-date support information, please refer to the official ANNKE website or the contact details provided in your product packaging.