Important Safety Instructions
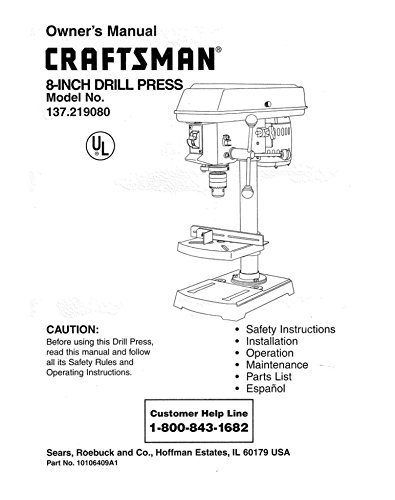
Before operating the Craftsman 8-Inch Drill Press, Model 137.219080, it is imperative to read and fully understand all safety rules and operating instructions contained within this manual. Failure to follow these instructions may result in serious personal injury or property damage.
CAUTION:
- Always wear appropriate eye protection.
- Ensure the workpiece is securely clamped before drilling.
- Keep hands and fingers away from the rotating drill bit.
- Disconnect power before making adjustments or changing accessories.
- Maintain a clean and well-lit work area.
- Do not operate the drill press in damp or wet conditions.
- Use the correct drill bit for the material and task.
- Never leave the machine running unattended.
Installation and Setup
Proper installation is crucial for the safe and efficient operation of your drill press. Follow these general guidelines:
- Unpacking: Carefully remove all components from the packaging. Verify that all parts listed in the packing list are present and undamaged.
- Mounting: Securely mount the drill press to a sturdy workbench or stand using appropriate bolts and washers. Ensure the mounting surface is level and stable to prevent tipping or vibration during operation.
- Assembly: Assemble the column, head, table, and base according to the detailed diagrams in the full manual. Tighten all fasteners securely.
- Power Connection: Connect the drill press to a grounded electrical outlet. Ensure the power supply matches the voltage requirements specified on the motor label.
- Initial Adjustments: Adjust the table height and angle as needed. Ensure the chuck is properly installed and secured.
Operating Instructions
Familiarize yourself with the controls and functions of your Craftsman drill press before beginning any drilling operation.
- Selecting Drill Bits: Choose the correct drill bit type and size for the material and desired hole. Ensure the bit is sharp and free from damage.
- Installing Drill Bits: Insert the drill bit into the chuck, ensuring it is centered and tightened securely with the chuck key. Remove the chuck key before starting the machine.
- Adjusting Table and Depth: Adjust the table height and angle to position the workpiece correctly. Set the drilling depth stop to prevent drilling deeper than required.
- Securing Workpiece: Always clamp the workpiece firmly to the drill press table. Never hold the workpiece by hand during drilling.
- Speed Selection: Adjust the spindle speed according to the material being drilled and the drill bit size. Refer to the speed chart (if available on the machine or in the full manual) for recommendations.
- Drilling: Turn on the drill press. Slowly lower the drill bit into the workpiece with steady, even pressure. Avoid excessive force, which can damage the bit or motor.
- Clearing Chips: Periodically raise the drill bit to clear chips from the hole, especially when drilling deep holes.
Maintenance
Regular maintenance ensures the longevity and safe operation of your Craftsman drill press.
- Cleaning: After each use, clean the drill press to remove dust, chips, and debris. Use a brush or vacuum; never use compressed air directly on electrical components.
- Lubrication: Periodically lubricate moving parts as indicated in the detailed manual. This typically includes the column, quill, and table elevating mechanisms.
- Belt Tension: Check and adjust the drive belt tension as needed. A properly tensioned belt prevents slippage and ensures efficient power transfer.
- Chuck Maintenance: Keep the chuck jaws clean and free of debris. Apply a light coat of oil to the chuck threads if necessary.
- Inspection: Regularly inspect the power cord, switch, and all fasteners for wear or damage. Replace any damaged parts immediately.
Parts List
For detailed diagrams and a complete list of replacement parts, please refer to the comprehensive parts section of the original manual. When ordering parts, always specify the model number (137.219080) and the part number.
Specifications
The Craftsman Model 137.219080 is an 8-inch drill press. Specific technical specifications such as motor horsepower, spindle travel, and speed ranges are typically detailed on the product label or within the full manual. Please consult these sources for precise data.
- Model: 137.219080
- Type: 8-Inch Drill Press
- Power Source: Electric (specific voltage and amperage details in full manual)
- Chuck Capacity: (Refer to full manual)
- Spindle Speeds: (Refer to full manual)
Troubleshooting
This section addresses common issues you might encounter with your drill press. For more complex problems, contact customer support.
| Problem | Possible Cause | Solution |
|---|---|---|
| Drill press does not start | No power, faulty switch, tripped circuit breaker | Check power cord, wall outlet, circuit breaker. Ensure switch is ON. |
| Excessive vibration | Loose mounting, unbalanced drill bit, worn bearings | Tighten mounting bolts. Check drill bit for damage. Inspect bearings (professional service may be required). |
| Drill bit binds or burns wood | Dull drill bit, incorrect speed, excessive feed pressure | Replace or sharpen drill bit. Adjust spindle speed. Reduce feed pressure. |
| Inaccurate drilling | Workpiece not clamped, loose chuck, table not square | Secure workpiece firmly. Re-tighten chuck. Adjust table to be square with the spindle. |
Warranty and Support
For warranty information, technical assistance, or to order replacement parts, please contact Craftsman customer support.
Customer Help Line: 1-800-843-1682
Manufacturer/Distributor: Sears, Roebuck and Co., Hoffman Estates, IL 60179 USA
Part No. 10106409A1
Note: This manual may also be available in Spanish. Please contact customer support for details on obtaining an "Español" version.