
1. Product Overview
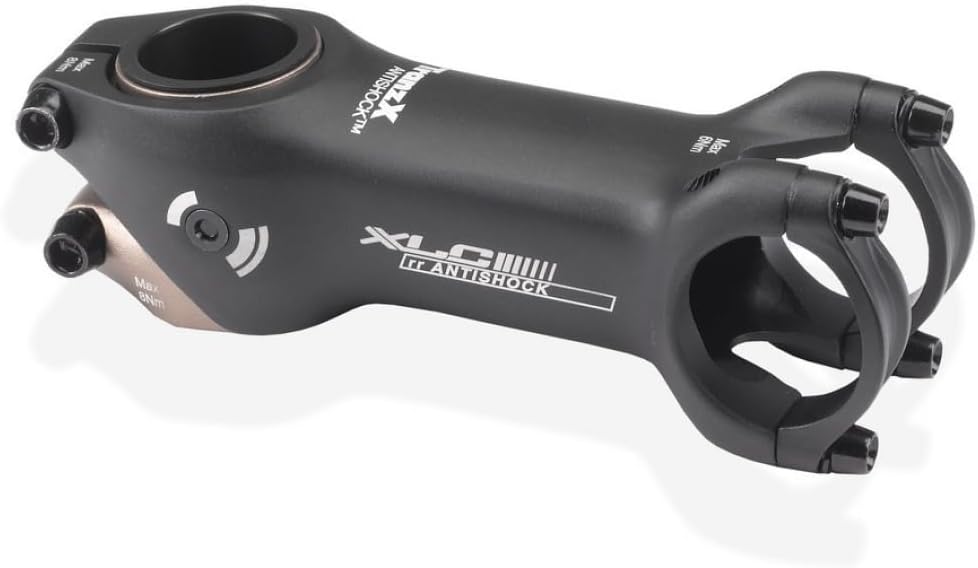
The XLC A-Head Antishock ST-M21 Stem is engineered to enhance riding comfort by absorbing vibrations and minor impacts encountered during cycling. Its patented construction is designed to reduce strain on the rider's arms, shoulders, wrists, and neck, providing a smoother and more enjoyable experience, particularly on uneven terrain. This stem is a crucial component for cyclists seeking improved ergonomics and reduced fatigue.

2. Key Features
- Patented Construction: Designed to absorb vibrations and impacts, reducing rider fatigue.
- Ergonomic Comfort: Helps alleviate pain in arms, shoulders, wrists, and neck.
- Horizontal Damping: Allows for a horizontal damping angle of up to 2 degrees for effective shock absorption.
- Standard Dimensions: Compatible with 1 1/8" steerer tubes and 31.6mm handlebars.
- Lightweight Design: Constructed from aluminum for a balance of strength and low weight.
- Fixed Angle: Features a 6-degree angle for a consistent riding position.
3. Installation Guide
Proper installation is critical for the safety and performance of your XLC A-Head Antishock ST-M21 Stem. If you are unsure about any step, consult a professional bicycle mechanic.
Tools Required:
- Hex keys (typically 4mm, 5mm, 6mm)
- Torque wrench (recommended for precise tightening)
- Grease (for threads and contact surfaces)
Installation Steps:
- Prepare the Steerer Tube: Ensure the bicycle's steerer tube is clean and free of burrs. Apply a thin layer of grease to the steerer tube if recommended by your fork manufacturer.
- Position the Stem: Slide the XLC A-Head Antishock ST-M21 Stem onto the steerer tube. Ensure the stem is oriented correctly (usually with the logo facing forward).
- Install Spacers (if applicable): If using steerer tube spacers, place them above or below the stem as needed to achieve your desired handlebar height. Ensure there is a small gap (2-3mm) between the top of the steerer tube and the top of the highest spacer or stem cap.
- Install Top Cap and Bolt: Place the top cap over the steerer tube and insert the top cap bolt. Tighten this bolt just enough to remove play from the headset bearings, allowing the fork to turn smoothly without binding. Do not overtighten at this stage.
- Align the Stem: Align the stem with the front wheel. The stem should be perfectly perpendicular to the front axle.
- Tighten Steerer Clamp Bolts: Alternately tighten the two steerer clamp bolts on the side of the stem to the manufacturer's recommended torque specification (refer to the stem or bicycle manual, typically 5-8 Nm). Ensure even tightening.
- Install Handlebar: Open the handlebar clamp bolts on the front of the stem. Position your handlebar in the stem, ensuring it is centered and at your desired angle.
- Tighten Handlebar Clamp Bolts: Alternately tighten the handlebar clamp bolts to the manufacturer's recommended torque specification (typically 5-8 Nm). Ensure even tightening across all bolts.
- Final Check: Verify that the headset has no play, the stem is aligned with the front wheel, and the handlebar is securely clamped and does not rotate. Test the brakes and steering before riding.
4. Operation and Adjustment
The XLC A-Head Antishock ST-M21 Stem operates passively, utilizing its internal design to absorb shocks and vibrations as you ride. There are no active adjustments required during operation.
How the Antishock Function Works:
- The stem's internal mechanism allows for a slight horizontal damping movement (up to 2 degrees).
- This movement dissipates energy from road imperfections and impacts, preventing it from transferring directly to your hands and upper body.
- The design aims to provide a subtle cushioning effect, enhancing comfort without compromising steering precision.
Riding Considerations:
- While the stem provides shock absorption, it is not a substitute for proper riding technique or appropriate tire pressure for varying terrain.
- The damping effect is most noticeable on rough roads, gravel paths, and during prolonged rides where cumulative vibrations typically cause fatigue.
5. Maintenance
Regular maintenance ensures the longevity and safe operation of your XLC A-Head Antishock ST-M21 Stem.
Routine Checks:
- Inspect for Damage: Periodically check the stem body, clamp areas, and bolts for any signs of cracks, bends, or corrosion. Replace the stem immediately if any damage is found.
- Check Bolt Torque: Ensure all stem bolts (steerer clamp and handlebar clamp) are tightened to the recommended torque specifications. Loose bolts can lead to dangerous handling or component failure.
- Headset Play: Regularly check for any play in the headset bearings. If play is detected, adjust the top cap bolt and steerer clamp bolts as per the installation guide.
- Cleanliness: Keep the stem clean from dirt, mud, and road grime. Use a damp cloth and mild soap if necessary, then wipe dry. Avoid harsh chemicals that could damage the finish or material.
Long-Term Maintenance:
- Grease Bolts: Annually, or more frequently if riding in wet conditions, remove the stem bolts, clean them, apply a thin layer of appropriate grease to the threads, and re-install to the correct torque.
- Internal Inspection: While the antishock mechanism is largely maintenance-free, if you notice a significant change in damping performance or unusual noises, it is recommended to have the stem inspected by a professional mechanic.
6. Troubleshooting
This section addresses common issues you might encounter with your XLC A-Head Antishock ST-M21 Stem.
| Problem | Possible Cause | Solution |
|---|---|---|
| Handlebar slips or rotates | Handlebar clamp bolts are loose. | Tighten handlebar clamp bolts to specified torque. Ensure handlebar is clean and dry where it contacts the stem. |
| Stem rotates on steerer tube | Steerer clamp bolts are loose. | Tighten steerer clamp bolts to specified torque. Ensure steerer tube is clean and dry. |
| Headset has play (front-to-back movement) | Top cap bolt not tight enough, or steerer clamp bolts tightened before top cap. | Loosen steerer clamp bolts. Tighten top cap bolt until play is removed but steering remains smooth. Re-tighten steerer clamp bolts. |
| Stiff steering or binding | Top cap bolt overtightened. | Loosen steerer clamp bolts. Loosen top cap bolt slightly, then re-tighten just enough to remove play. Re-tighten steerer clamp bolts. |
| Reduced or no antishock effect | Normal wear over time, or internal component issue. | The antishock effect is subtle. If you suspect a significant loss of function, have the stem inspected by a professional bicycle mechanic. |
| Creaking noises from stem area | Loose bolts, dry contact surfaces, or internal movement. | Check and re-torque all stem and headset bolts. Disassemble, clean, and lightly grease contact surfaces (steerer tube, handlebar clamp area) before reassembly. If noise persists, consult a mechanic. |
7. Technical Specifications
| Feature | Specification |
|---|---|
| Model Name | ST-M21 |
| Brand | XLC |
| Material | Aluminium |
| Color | Black |
| Steerer Tube Diameter | 1 1/8 inches |
| Handlebar Clamp Diameter | 31.6 mm |
| Length | 80 mm |
| Angle | 6 degrees |
| Stack Height | 40 mm |
| Horizontal Damping Angle | Up to 2 degrees |
| Approximate Weight (100mm) | 198g (0.2 Kilograms) |
| Item Dimensions (LxWxH) | 7.87 x 7.48 x 2.36 inches |
| Included Components | XLC A-Head Antishock ST-M21 Stem |
8. Warranty and Support
For information regarding the product warranty, please refer to the official XLC website or contact your authorized XLC dealer. Warranty terms and conditions may vary by region and retailer.
If you require technical assistance, have questions about installation, or need to report a defect, please contact XLC customer support through their official channels. Always provide your product model (ST-M21) and purchase details when seeking support.