Introduction
This manual provides detailed instructions for the installation, operation, and maintenance of the Philips Chloride VF6 Emergency Lighting Unit. This unit is designed to provide reliable emergency illumination in commercial and industrial settings. Please read this manual thoroughly before installation and retain it for future reference.

Figure 1: Front view of the Philips Chloride VF6 Emergency Lighting Unit, showing the two light heads and central housing.
Safety Instructions
To ensure safe operation and prevent damage to the unit, please observe the following safety precautions:
- Installation and servicing must be performed by qualified personnel only.
- Disconnect power at the circuit breaker before installing or servicing the unit.
- Do not mount near gas or electric heaters.
- Ensure all connections are secure and comply with local electrical codes.
- Do not use outdoors. This unit is designed for indoor use only.
- Do not allow power supply cords to be pinched or damaged.
- The unit contains a lead-free acid battery. Dispose of batteries properly according to local regulations.
Package Contents
Verify that all components are present before beginning installation:
- Philips Chloride VF6 Emergency Lighting Unit (1)
- Mounting hardware kit (1)
- Instruction Manual (this document)
Note: MR11 Halogen Lamps are not included and must be purchased separately. The unit requires two 6V-5W MR11 Halogen Lamps.
Setup and Installation
1. Mounting the Unit
- Select a suitable wall-mount location that is dry, protected from extreme temperatures, and allows for proper light distribution.
- Use the provided mounting hardware to securely attach the unit to the wall. Ensure the mounting surface can support the unit's weight (approximately 3.4 pounds).
2. Electrical Connection
The unit operates on 120/277VAC. Ensure the power source matches the unit's requirements.
- WARNING: Disconnect all power to the circuit at the main fuse or circuit breaker before wiring.
- Open the unit's housing to access the wiring compartment.
- Connect the building's AC supply wires to the unit's terminals according to the wiring diagram provided inside the unit. Ensure proper polarity (Line, Neutral, Ground).
- The unit features built-in circuitry protection, low voltage battery disconnect, and transformer isolation.
- Close the housing securely after wiring is complete.
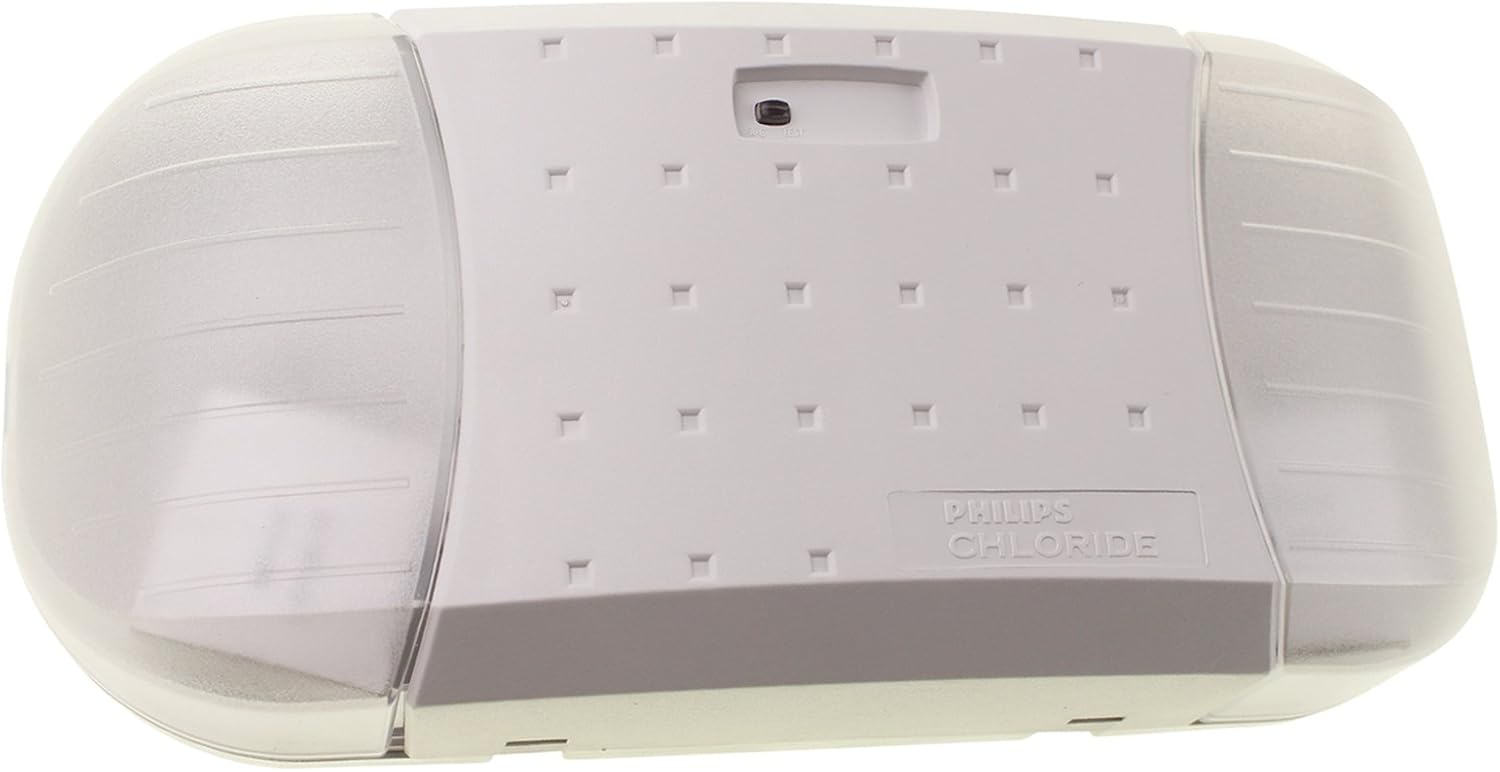
Figure 2: Angled view of the Philips Chloride VF6 Emergency Lighting Unit, showing the side profile and light heads.
Operation
1. Initial Power-Up
- After installation and wiring are complete, restore AC power to the circuit.
- The unit's charge indicator light (usually an LED) should illuminate, indicating that the battery is charging.
- Allow the unit to charge for at least 24 hours before conducting the first test to ensure the battery is fully charged.
2. Testing the Unit
Regular testing is crucial to ensure the unit functions correctly during a power outage.
- Monthly Test: Press and hold the 'TEST' button on the unit for approximately 30 seconds. The emergency lights should illuminate. Release the button; the lights should turn off, and the charge indicator should remain on.
- Annual Test: Disconnect AC power to the unit for 90 minutes. The emergency lights should remain illuminated for the entire duration. Reconnect AC power; the lights should turn off, and the charge indicator should remain on.
Maintenance
1. Battery Maintenance
The unit uses a 6V Lead-Free Acid Battery. The battery is designed for long life but will eventually require replacement.
- Regularly perform the monthly and annual tests to monitor battery performance.
- If the unit fails to maintain illumination for the required duration during testing, the battery may need replacement.
- To replace the battery, disconnect AC power, open the unit's housing, and carefully disconnect the old battery. Install a new 6V lead-free acid battery of the same type and capacity. Ensure proper polarity.
- Dispose of old batteries according to local environmental regulations.
2. Lamp Replacement
The unit requires two 6V-5W MR11 Halogen Lamps.
- If a lamp fails, disconnect AC power to the unit.
- Carefully remove the cover of the light head and replace the MR11 lamp. Avoid touching the new halogen lamp with bare hands, as oils can reduce lamp life. Use a clean cloth or gloves.
- Replace the light head cover and restore AC power.
Troubleshooting
| Problem | Possible Cause | Solution |
|---|---|---|
| Emergency lights do not illuminate during power outage or test. | Battery discharged or faulty; lamps faulty; wiring error. | Allow 24 hours for initial charge. Test battery. Replace lamps. Check wiring connections. |
| Charge indicator light is off. | No AC power; faulty charge circuit; indicator LED faulty. | Check AC power supply. Consult qualified technician if power is present. |
| Lights remain on after AC power is restored. | Battery over-discharged; faulty charge circuit. | Allow battery to recharge. If problem persists, consult qualified technician. |
Specifications
| Feature | Specification |
|---|---|
| Model Number | VF6 |
| Input Voltage | 120/277VAC |
| Wattage (120V) | 6.12 Watts |
| Wattage (277V) | 6.37 Watts |
| Amperage Capacity | 0.02 Amps |
| Battery Type | 6V Lead-Free Acid Battery |
| Lamps Required | Two 6V-5W MR11 Halogen Lamps (Not Included) |
| Mounting Type | Wall Mount |
| Dimensions (L x W x H) | 5.25 x 11.75 x 3.25 inches |
| Item Weight | 3.4 Pounds |
| Color | White |
| Manufacturer | Phillips Group |
| UPC | 782343753644 |
Warranty and Support
Philips products are manufactured to the highest quality standards. For information regarding warranty coverage and terms, please refer to the warranty card included with your product or visit the official Philips website. For technical support or service inquiries, please contact Philips customer service.
Keep your purchase receipt as proof of purchase for warranty claims.


