1. Introduction
The Better Living Products CLEVER Triple Shower Dispenser is designed to provide a convenient and organized solution for dispensing shower liquids such as shampoo, conditioner, and body wash. Its modern design and easy-to-use lever mechanism enhance your shower experience by reducing clutter and ensuring precise dispensing.

Figure 1: Front view of the CLEVER Triple Shower Dispenser.
2. Safety Information
- Ensure the dispenser is securely mounted before filling or using.
- Do not use abrasive cleaners or solvents on the dispenser, as this may damage the finish.
- Keep out of reach of small children to prevent accidental ingestion of contents.
- Avoid overfilling the chambers to prevent spills.
- If using the adhesive mounting method, ensure the surface is clean and dry for optimal adhesion.
3. Package Contents
Verify that all components are present before beginning installation:
- CLEVER Triple Shower Dispenser Unit (1)
- Waterproof Silicone Glue (1 tube)
- Double-Sided Adhesive Tape (1 set)
- Liquid Labels (for shampoo, conditioner, body wash)
- Installation Guide (this manual)
4. Setup and Installation
The CLEVER Triple Shower Dispenser offers tool-free installation using the included waterproof silicone glue and double-sided tape. For best results, follow these steps carefully.
4.1 Surface Preparation
- Choose a smooth, clean, and dry surface in your shower or bathroom. Ensure the area is free from soap scum, dust, or oils.
- Clean the chosen surface thoroughly with rubbing alcohol and allow it to dry completely. This is crucial for proper adhesion.
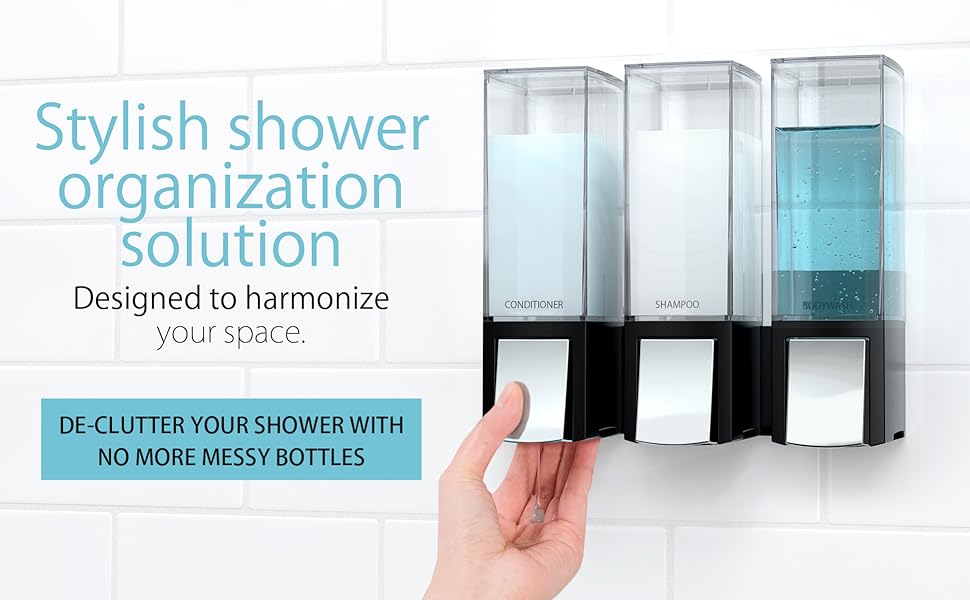
Figure 2: Visual guide to the installation process.
4.2 Mounting the Dispenser
- Apply the double-sided adhesive tape to the back of the dispenser's mounting bracket. Ensure it is evenly distributed.
- Apply a generous amount of the waterproof silicone glue to the back of the mounting bracket, ensuring it covers the entire surface where it will contact the wall.
- Firmly press the dispenser's mounting bracket onto the prepared wall surface. Apply pressure for at least 30 seconds to ensure initial adhesion.
- Important: Allow the adhesive to cure for a minimum of 24 hours before filling the chambers or using the dispenser. This allows the silicone glue to fully bond and ensures a secure installation.

Figure 3: Tool-free mounting ensures no damage to your walls.
Figure 4: Components for tool-free installation and how chambers attach.
5. Operating Instructions
5.1 Filling the Chambers
- Once the dispenser is securely mounted and the 24-hour curing period has passed, remove the individual chambers from the mounting bracket by lifting them upwards.
- Open the top lid of each chamber.
- Fill each chamber with your desired liquid (shampoo, conditioner, body wash, etc.). Each chamber holds up to 17 fl oz (500 mL).
- Attach the appropriate liquid label to the front of each chamber for easy identification.
- Close the lids securely and reinsert the filled chambers back into the mounting bracket until they click into place.

Figure 5: Effortless one-handed dispensing and easy refilling.
5.2 Priming the Pumps
Before first use, or after refilling, the pumps may need to be primed to dispense liquid consistently.
- Fully depress the large chrome button on the front of the dispenser.
- While holding the button down, place your finger over the small nozzle where the soap would come out.
- Release the chrome button.
- Remove your finger from the nozzle.
- Repeat this "press, plug, release, remove" sequence until liquid begins to dispense. This may take several repetitions, especially for thicker liquids like conditioner.
5.3 Dispensing Liquid
To dispense liquid, simply press the large chrome lever button. The pump is designed to dispense just the right amount with each press, minimizing waste.
5.4 Using Accessory Hooks
The dispenser includes two handy accessory hooks located on the sides. These hooks are ideal for neatly hanging razors, shower loofahs, or washcloths, further reducing shower clutter.

Figure 6: Optional hooks for organizing razors and loofahs.
6. Maintenance
- Cleaning: Wipe the exterior of the dispenser regularly with a soft, damp cloth and mild soap. Avoid abrasive cleaners or harsh chemicals.
- Internal Cleaning: Periodically, remove the chambers and rinse them thoroughly with warm water. If changing liquid types, it is recommended to clean the chambers and pumps to prevent mixing or clogging.
- Rust-Free Design: The dispenser is designed with high-quality finishes guaranteed to be rust-free, ensuring long-lasting appearance and functionality.

Figure 7: Rust-proof design for lasting durability.
7. Troubleshooting
| Problem | Possible Cause | Solution |
|---|---|---|
| Dispenser not sticking to wall | Insufficient surface cleaning; adhesive not fully cured; uneven surface. | Ensure surface is thoroughly cleaned with alcohol and dry. Allow 24 hours for adhesive to cure before use. Reapply adhesive if necessary on a smooth, clean surface. |
| Liquid not dispensing or dispensing slowly | Pump not primed; air in the pump; liquid too thick; pump clogged. | Prime the pump as described in Section 5.2. If liquid is very thick, consider diluting slightly (if safe for the product). Clean the pump mechanism if a clog is suspected. |
| Chambers difficult to remove/insert | Misalignment; residue buildup. | Ensure chambers are aligned correctly with the mounting bracket. Clean any soap residue around the chamber and bracket connections. |
| Leaking from dispenser | Chamber lid not sealed; pump issue. | Ensure chamber lids are securely closed. Check for any cracks or damage to the chamber or pump. Contact customer support if the issue persists. |
8. Specifications
| Attribute | Detail |
|---|---|
| Model Number | 77384 |
| Color | Black/Chrome |
| Material | Plastic |
| Product Dimensions (L x W x H) | 11.13" x 3.25" x 8.13" |
| Liquid Volume per Chamber | 17 fl oz (500 mL) |
| Item Weight | 1.81 pounds |
| Material Type Free | Latex Free, Nickel Free, DEHP Free, Cadmium Free, BPA Free, Phthalate Free, Mercury Free, PVC Free, Lead Free |
| Included Components | Soap and Shower Triple Dispenser, Silicone Glue, Double-Sided Tape, Liquid Labels |

Figure 8: Product dimensions.
9. Warranty and Support
Better Living Products offers a Lifetime Pump Warranty for the CLEVER Triple Shower Dispenser, ensuring long-term reliability of the dispensing mechanism.
- For warranty claims or technical support, please visit the official Better Living Products website or contact their customer service department.
- Keep your purchase receipt as proof of purchase for warranty purposes.
Figure 9: Lifetime Pump Warranty information.


