1. Product Overview
The Kuman 3.5-inch TFT Touch Screen module is designed for use with Arduino Mega2560 development boards, offering a 320x480 resolution display. It includes an integrated SD card socket for expanded functionality. This module is intended to enhance your electronic projects by providing a visual interface and touch input capabilities.
Key Features:
- 3.5-inch LCD touch screen with a touch pen.
- Direct compatibility with Arduino Mega2560 development boards, requiring no additional wiring.
- 320x480 resolution for clear display.
- Integrated SD card socket (note: SD card functionality with Mega2560 may require specific software configurations or alterations).
- No external power supply is needed when connected to a compatible Arduino board.

2. Setup
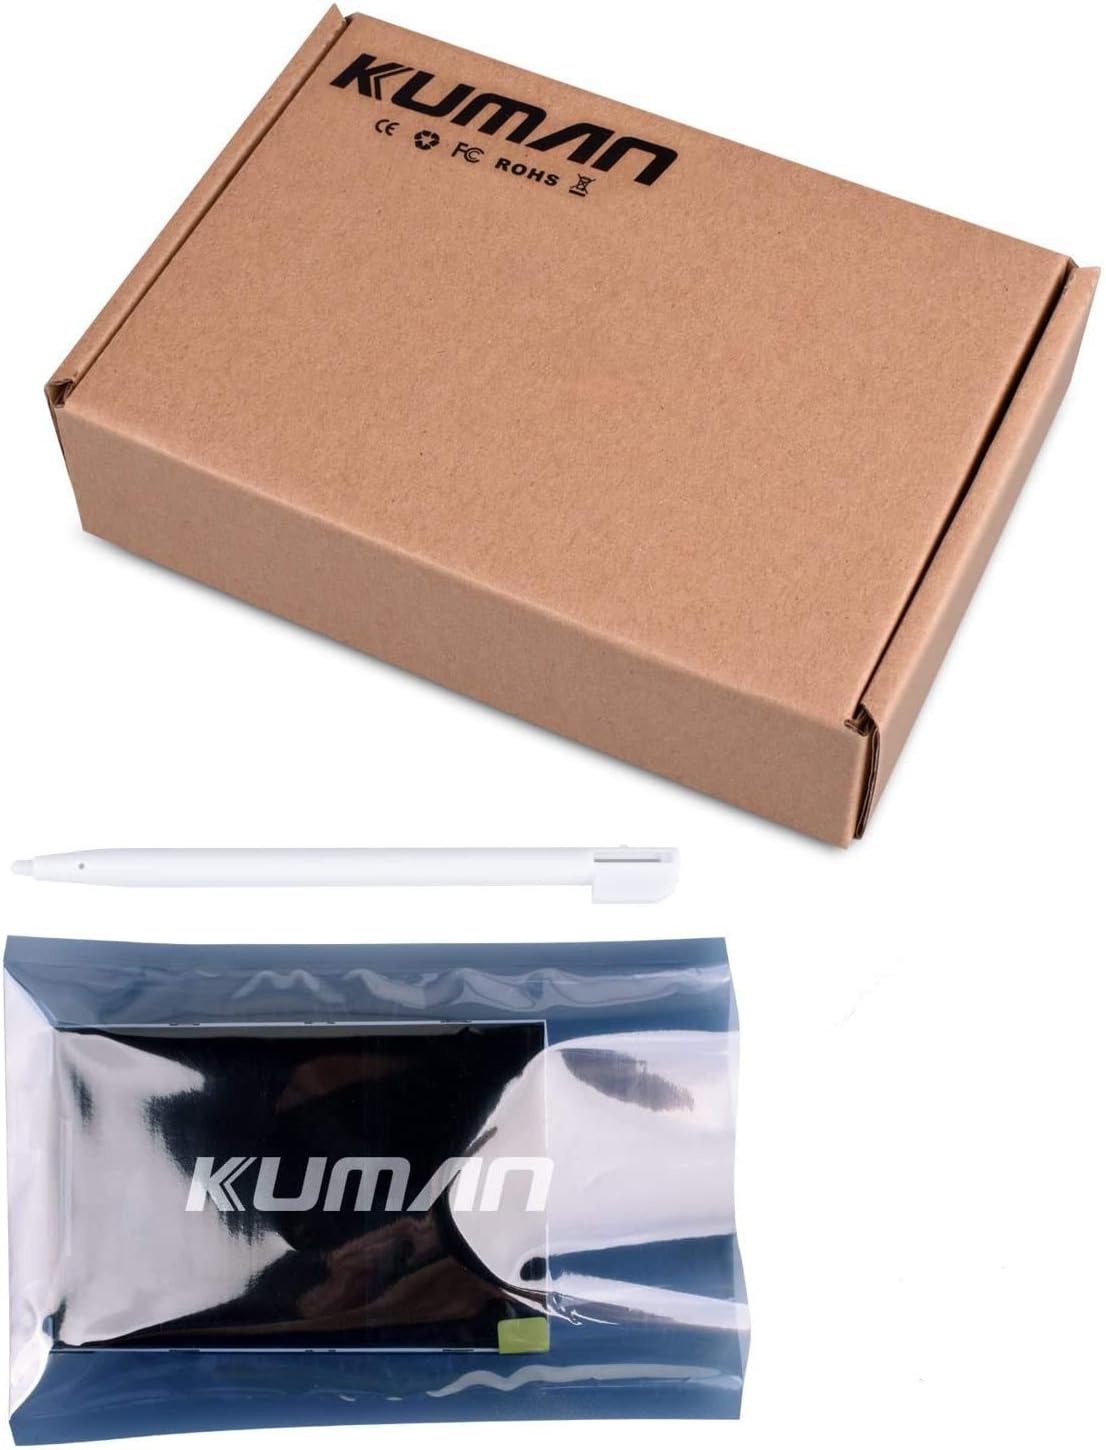
2.1. Package Contents
Verify that your package contains the following items:
- 1 x Kuman 3.5-inch TFT Touch Screen Module
- 1 x Touch Pen
2.2. Physical Connection to Arduino Mega2560
The Kuman 3.5-inch TFT Touch Screen is designed as a shield for direct connection to an Arduino Mega2560 board. Align the pins on the back of the TFT module with the corresponding headers on your Arduino Mega2560 board and gently press down until it is securely seated. No additional wiring is typically required for basic display functionality.

2.3. Initial Power-Up
Once connected to the Arduino Mega2560, power the Arduino board via its USB port or external power supply. The screen should illuminate, indicating successful power delivery.
3. Operating Instructions
3.1. Software and Driver Installation
To utilize the full functionality of the TFT touch screen, including graphics and touch input, specific libraries and drivers are required for your Arduino IDE. Kuman provides tutorials and resources for beginners to assist with project development. These resources typically include example code and necessary libraries.
Note: Some users have reported that provided libraries may be in a .rar format, requiring manual extraction and installation into the Arduino IDE. Ensure you have appropriate software to handle .rar files.
3.2. Touch Screen Calibration
For accurate touch response, the screen may require calibration. This process typically involves touching specific points on the display with the provided stylus to map the touch coordinates correctly. Refer to the provided tutorials for detailed calibration steps.
3.3. SD Card Socket Usage
The module features an SD card socket for storing and displaying images, data, or other project-related files. However, it is important to note that the SD card functionality is not directly supported with the Arduino Mega2560 board without alterations, as they use different SPI buses. This limitation is mentioned in some documentation and user reviews. For SD card use, alternative wiring or a different microcontroller board might be necessary.
4. Maintenance
4.1. Cleaning the Screen
The LCD screen may come with a protective film. If you observe scratches on this film upon receipt, it can be carefully removed. To clean the screen, use a soft, lint-free cloth. Avoid abrasive materials or harsh chemical cleaners, which can damage the display surface.
4.2. General Care
Handle the module with care to prevent physical damage to the screen or electronic components. Avoid exposing the module to extreme temperatures, humidity, or direct sunlight for prolonged periods.
5. Troubleshooting
5.1. Display Not Illuminating
- Ensure the module is correctly seated on the Arduino Mega2560 board.
- Verify that the Arduino Mega2560 board is receiving power.
- Check for any loose connections or bent pins.
5.2. Incorrect or No Touch Response
- Perform touch screen calibration as described in the operating instructions.
- Ensure the correct touch screen libraries are installed and configured in your Arduino IDE.
5.3. SD Card Functionality Issues
As noted, the SD card socket on this module is generally not supported directly with the Arduino Mega2560 due to SPI bus differences. If you require SD card functionality, consider the following:
- Consult advanced tutorials or community forums for potential hardware modifications (e.g., re-routing SPI pins) to enable SD card use with Mega2560.
- Consider using an Arduino Uno or another compatible board if SD card functionality is critical for your project.
5.4. Software Library Issues
If you encounter difficulties with software libraries, ensure you are using the correct versions compatible with your Arduino IDE and the Kuman module. Some libraries may require manual installation from downloaded archives.
6. Specifications
| Feature | Specification |
|---|---|
| Product Dimensions | 4.72 x 0.98 x 3.15 inches |
| Item Weight | 3.2 ounces |
| Screen Size | 3.5 Inches |
| Resolution | 480x320 |
| Special Feature | Touchscreen |
| Operating System | for Arduino |
| Manufacturer | Kuman |
| Item Model Number | 8541612321 |
7. Warranty and Support
7.1. Customer Service
Kuman aims to provide good customer service for its products. For any inquiries or assistance, please refer to the contact information provided with your purchase or on the Kuman brand store.
7.2. Tutorials and Resources
Kuman offers tutorials for beginners interested in developing projects with this module. These resources are typically available through the seller's platform or associated websites.
7.3. Warranty Information
Specific warranty details are not provided in the product information. Please refer to your purchase documentation or contact Kuman customer service for warranty terms and conditions.