1. Introduction
The Polymaker PolyBox Edition II is a filament dry storage box designed to provide an optimal environment for 3D printing filaments. It helps prevent moisture absorption, which can lead to poor print quality and printer issues. This manual provides instructions for setting up, operating, and maintaining your PolyBox Edition II.
2. What's in the Box
Upon unboxing your PolyBox Edition II, you should find the following components:
- Polymaker PolyBox Filament Drybox (main unit)
- Reusable Desiccant Bags
- Bearings and Steel Rods (for spool support)
- PTFE Tubes (for filament guiding)
Please inspect all components for any damage. If anything is missing or damaged, contact Polymaker support.

Figure 1: Internal components including desiccant bags, bearings, and steel rods.
3. Setup
Follow these steps to set up your PolyBox Edition II:
- Prepare Desiccant Bags: Place the reusable desiccant bags into the designated compartments at the bottom of the PolyBox. These bags absorb moisture from the air inside the box.
- Install Spool Rods: Insert the steel rods and bearings into the slots provided to create a smooth rolling surface for your filament spools.
- Load Filament Spools: The PolyBox can accommodate two 1kg spools (maximum width 52mm each) side-by-side, or one 3kg spool (maximum width 120mm). Place your filament spool(s) onto the installed rods.
- Route Filament: Guide the filament through one of the available guide holes. The PolyBox Edition II features slots in both the base and lid, allowing for flexible filament routing depending on your printer's setup. Use the provided PTFE tubes to connect the PolyBox to your 3D printer's filament input.
- Close the Box: Securely close the lid to ensure an airtight seal.

Figure 2: Loading two 1kg filament spools and routing filament.
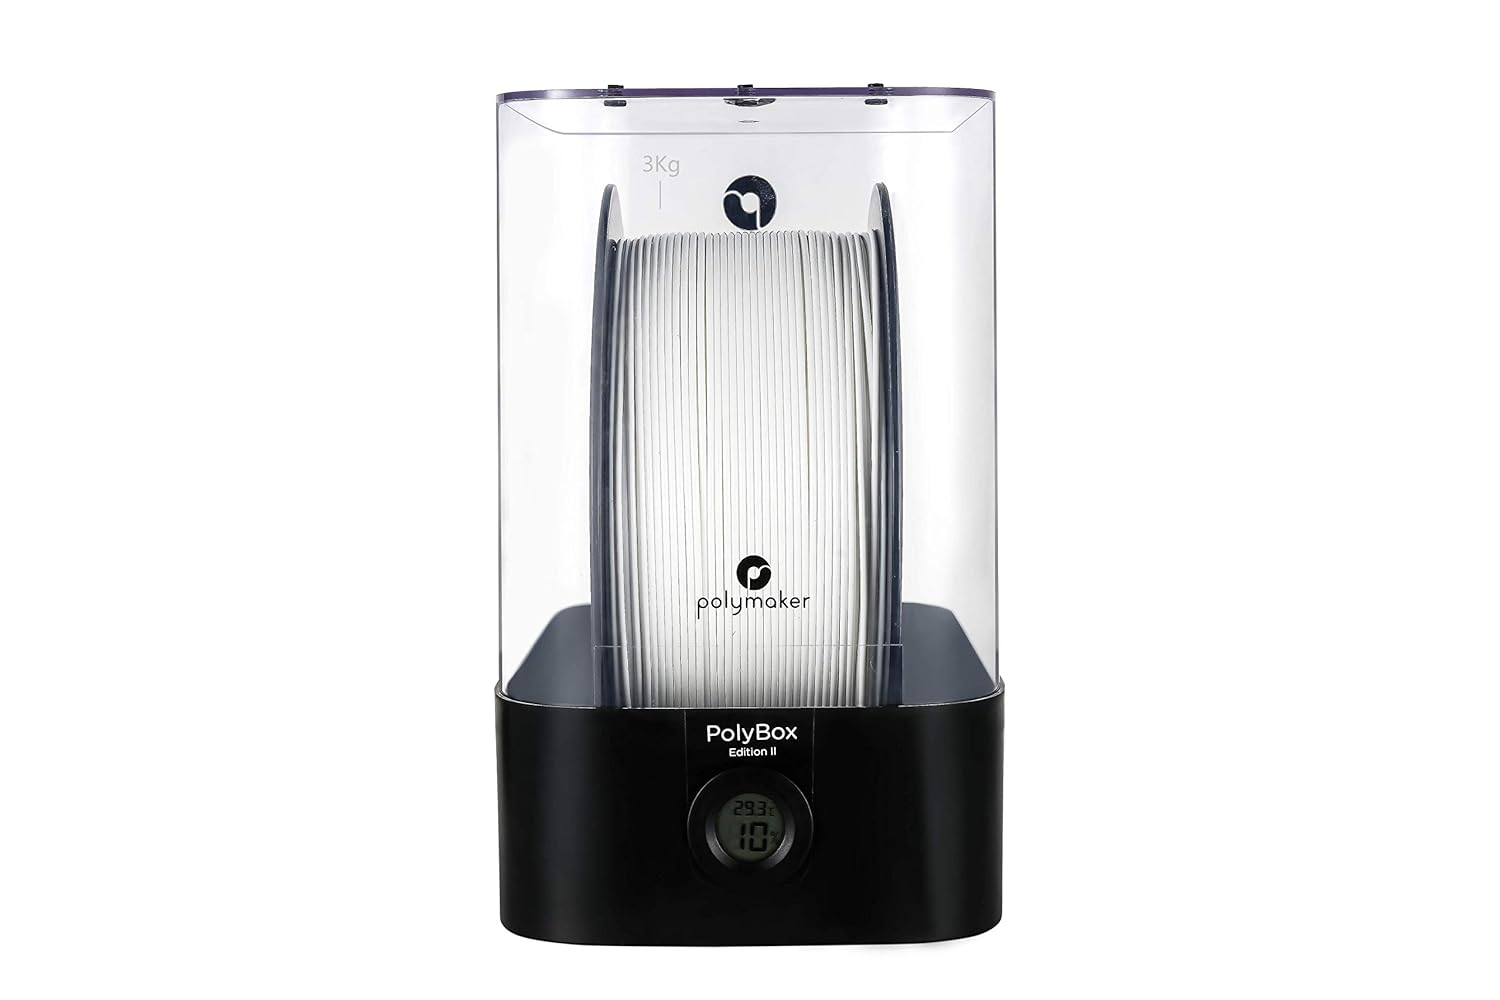
Figure 3: Loading a single 3kg filament spool.
4. Operating Instructions
The PolyBox Edition II is designed for passive humidity control and continuous filament feeding during printing.
- Humidity Monitoring: The built-in thermo-hygrometer displays the temperature and humidity inside the box. Monitor this display to ensure optimal conditions for your filament. The humidity should ideally be maintained below 15% to prevent moisture absorption.
- Printing While Stored: You can print directly from the PolyBox. The reversible casing and multiple filament guide holes (on both the base and lid) allow you to position the box conveniently relative to your 3D printer. If using the slot in the base, the lid can be removed without interrupting the print. If the box needs to be positioned lower than the printer, utilize the slot in the lid.
- No Heat Source: It is important to note that the PolyBox Edition II is designed for energy efficiency and does NOT contain any electric heating elements. Humidity control is achieved solely through the desiccant bags.

Figure 4: Digital thermo-hygrometer for monitoring internal conditions.
Video 1: Official Polymaker video demonstrating PolyBox features, including capacity, hygrometer, desiccant placement, and flexible filament routing. It also illustrates the impact of moisture on 3D prints.
5. Maintenance
Regular maintenance ensures the longevity and effectiveness of your PolyBox Edition II:
- Desiccant Bag Management: The desiccant bags are reusable. When they become saturated with moisture (often indicated by a color change, if applicable to your desiccant type), they can be reactivated by drying them out. Refer to the desiccant bag manufacturer's instructions for reactivation methods (e.g., baking in an oven at a low temperature). Replace desiccant bags if they can no longer be reactivated or are damaged.
- Cleaning: Periodically wipe down the interior and exterior of the PolyBox with a soft, dry cloth. Avoid using harsh chemicals that could damage the plastic.
6. Troubleshooting
If you experience issues related to filament quality, consider the following:
- High Humidity Reading: If the thermo-hygrometer shows humidity above 15%, it indicates that the desiccant bags are saturated. Reactivate or replace them as described in the Maintenance section. Ensure the lid is properly sealed.
- Poor Print Quality (Bubbling, Stringing, Brittleness): These are common signs of moist filament. Verify the humidity level inside the PolyBox. If the filament was exposed to high humidity before being placed in the PolyBox, it may require external drying before optimal performance can be achieved.
- Filament Feeding Issues: Ensure the filament is correctly loaded onto the rods and that the PTFE tubes are not kinked or obstructed. Check that the spool can rotate freely.
7. Specifications
- Product Dimensions: 12.4 x 7.48 x 12.2 inches (31 x 18 x 31 cm with base)
- Item Weight: 4.4 pounds (2 kg)
- Material: Plastic
- Supported Filament Spools:
- 2 x 1kg spools (maximum width 52mm each)
- 1 x 3kg spool (maximum width 120mm)
- Special Features: Built-in thermo-hygrometer, capacity for multiple filament sizes, moisture regulation with drying bags, compatible with all 3D printers.

Figure 5: PolyBox Edition II dimensions.
8. Warranty and Support
For warranty information, technical support, or to purchase replacement parts, please visit the official Polymaker store or contact their customer service directly.
You can find more information and contact details at the Polymaker Amazon Store.