
Introduction
This manual provides essential information for the safe and effective installation, operation, and maintenance of your USonline911 Ignition Coil. This ignition coil is designed as a replacement part for various Briggs & Stratton horizontal and vertical twin (L-Head) engine models, specifically 16-18HP series, including models 400400 and others. Please read this manual thoroughly before attempting any installation or service.
Safety Information
WARNING: Always disconnect the spark plug wire and battery cable before performing any service or maintenance on your engine to prevent accidental starting and electrical shock.
- Wear appropriate personal protective equipment (PPE), such as safety glasses and gloves.
- Ensure the engine is cool before working on it to avoid burns.
- Work in a well-ventilated area.
- If you are unsure about any step, consult a qualified technician.
Package Contents
Verify that all items are present in the package:
- 1x USonline911 Ignition Coil (Model AS159)
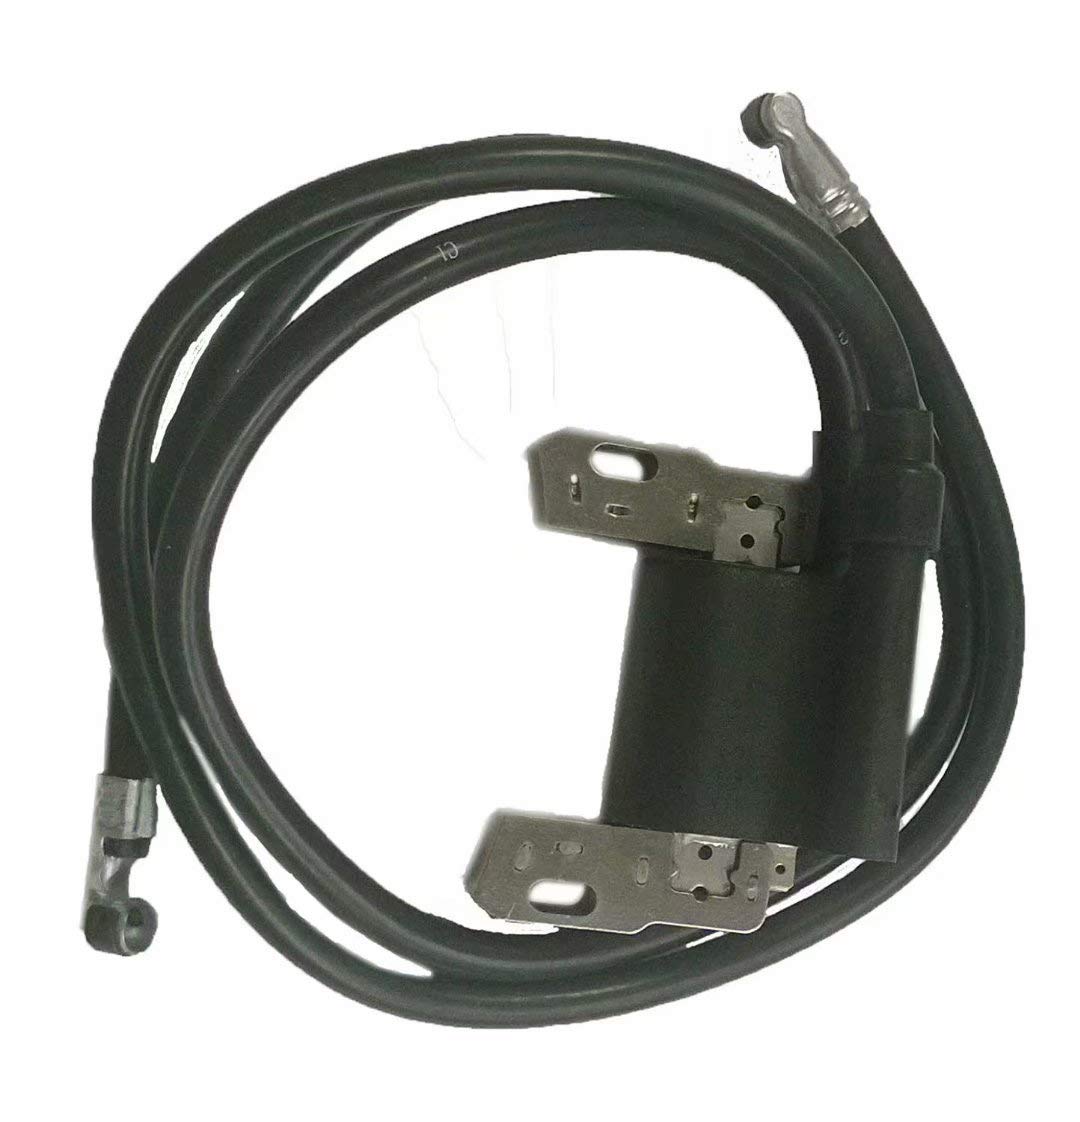
Image: Side view of the USonline911 Ignition Coil, showing the main body and mounting brackets.
Compatibility
This ignition coil is compatible with the following Briggs & Stratton engine models and series:
- Briggs & Stratton Engine Models: 433431, 422435, 422436, 422437, 422777, 42A707, 42A777, 422707, 401415, 401417, 460707, 460777, 461707, 462707, 463707, 590781, 394891, 392329, 421417, 421431, 421437, 421707.
- OEM Equivalent Part Numbers: 392329, 394891, 394988, 401415, 401417, 421431, 421417, 590781.
- Engine Type: Horizontal & vertical twin (L-Heads) model series, 16-18HP.
Please verify your engine's model number and existing part number to ensure proper fitment.
Setup and Installation
Follow these steps to replace the ignition coil. Refer to your engine's specific service manual for detailed instructions if available.
- Prepare the Engine:
- Ensure the engine is turned off and cool.
- Disconnect the spark plug wire from the spark plug.
- Disconnect the battery cable (if applicable) to prevent accidental starting.
- Locate and Remove Old Ignition Coil:
- Identify the existing ignition coil, typically mounted near the flywheel.
- Carefully disconnect any wires attached to the coil.
- Unscrew the mounting bolts or nuts that secure the old ignition coil to the engine block.
- Remove the old coil.

Image: An ignition coil with its associated wiring, showing the overall component.
- Install New Ignition Coil:
- Position the new USonline911 Ignition Coil (Model AS159) in the same location as the old one.
- Set the Air Gap: This is a critical step. Place a business card or a feeler gauge (typically 0.010 - 0.012 inches or 0.25 - 0.30 mm) between the coil's laminations and the flywheel magnets.
- Push the coil firmly against the flywheel (with the business card/feeler gauge in place) and tighten the mounting bolts/nuts.
- Once secured, remove the business card/feeler gauge. The coil should now have the correct air gap.
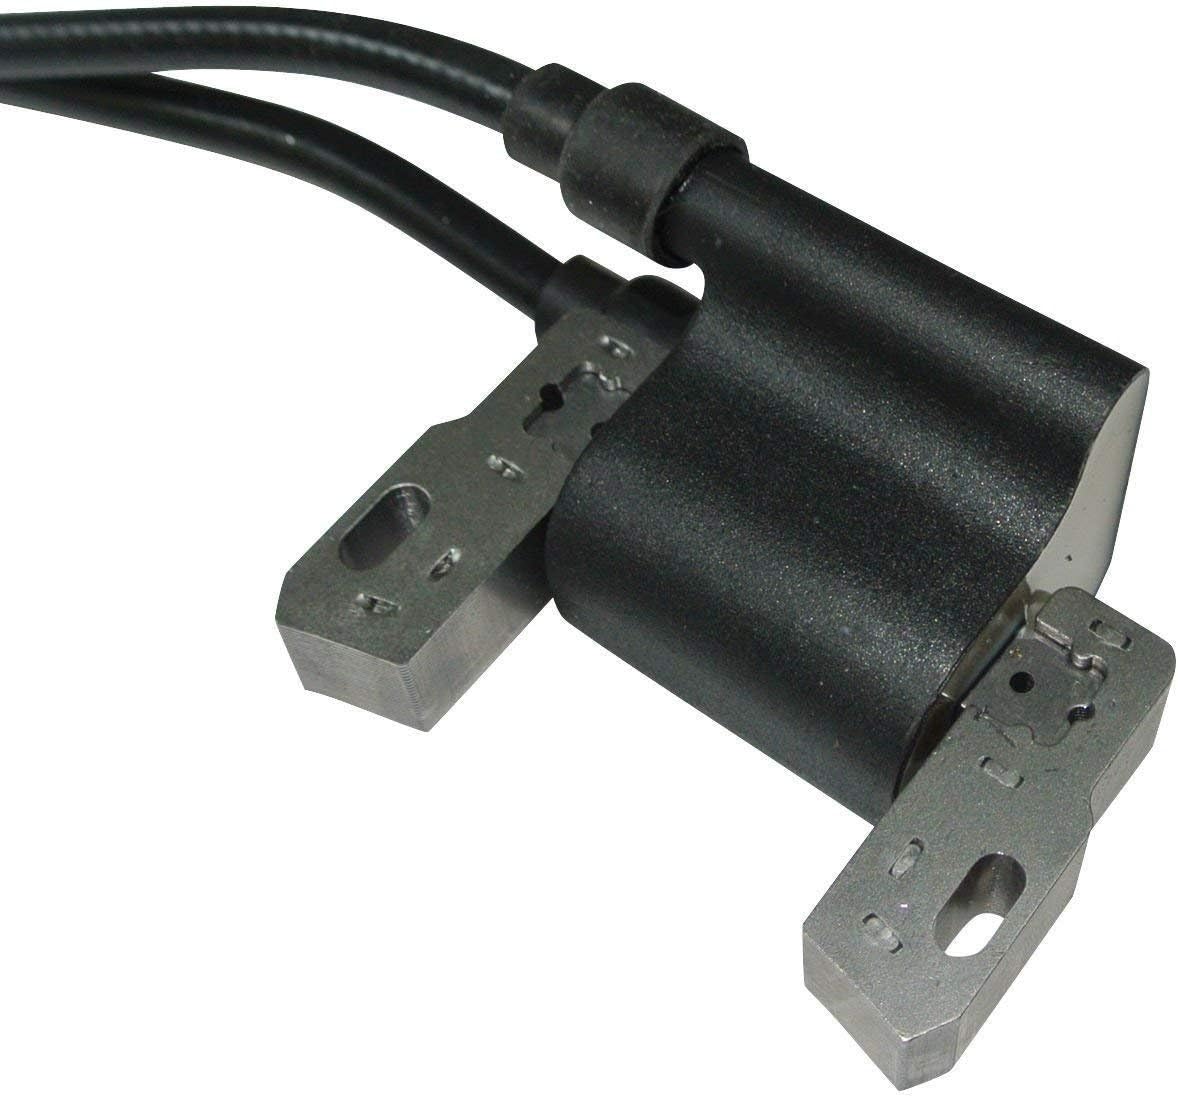
Image: Close-up view of the ignition coil's mounting points and the area where it interacts with the flywheel.
- Reconnect Wires:
- Reconnect any wires that were disconnected from the old coil to the new coil. Ensure connections are secure.
- Reconnect the spark plug wire to the spark plug.
- Reconnect the battery cable.
Operating
After successful installation, the engine should be ready for operation. Start the engine according to the manufacturer's instructions for your specific equipment. The new ignition coil will provide the necessary spark for combustion.
Maintenance
Regular maintenance of your engine is crucial for optimal performance and longevity of all components, including the ignition coil.
- Spark Plug: Regularly inspect and replace the spark plug as recommended by your engine manufacturer. A faulty spark plug can put undue stress on the ignition coil.
- Wiring: Periodically check all wiring connected to the ignition coil for signs of wear, fraying, or loose connections.
- Cleanliness: Keep the area around the ignition coil clean and free of debris, oil, and dirt.
Troubleshooting
If your engine experiences ignition problems after installing the new coil, consider the following:
| Problem | Possible Cause | Solution |
|---|---|---|
| Engine does not start or has no spark. |
|
|
| Engine runs poorly, misfires, or lacks power. |
|
|
Specifications
| Brand | USonline911 |
| Model Number | AS159 |
| Compatible Engine Types | Briggs & Stratton Horizontal & Vertical Twin (L-Heads) 16-18HP |
| OEM Equivalent Part Numbers | 392329, 394891, 394988, 401415, 401417, 421431, 421417, 590781 |
| Installation Type | Bolt-On |
| Item Weight | 0.08 Kilograms |
Support
For further assistance or inquiries regarding this product, please contact USonline911 customer support through the retailer where the product was purchased.