PONPY 4.3" TFT Color LCD Screen Car Rear View Mirror Monitor User Manual
Model: PY-MT367
1. Product Overview
The PONPY 4.3" TFT Color LCD Screen Car Rear View Mirror Monitor is a versatile device designed to enhance vehicle safety and convenience. It functions as a standard rear view mirror and automatically displays video input from a backup camera when the vehicle is in reverse. This multi-function mirror monitor helps prevent accidents by providing a clear view of the area behind the vehicle, aiding in avoiding obstacles, pedestrians, and other hazards during backing maneuvers.
Key features include:
- Dual video inputs (Video 1: Yellow connector, Video 2: White connector) with Video 2 having reversing priority.
- Compatibility with both PAL and NTSC video systems.
- Support for DC 12V/24V power supply.
- Easy clip-on installation over the original mirror for maximum security and stability.

Figure 1: Front view of the PONPY 4.3 inch Car Rear View Mirror Monitor with included cables.
2. Specifications
| Feature | Description |
|---|---|
| Display Screen | TFT-LCD |
| Display Size | 4.3 Inch |
| System | PAL / NTSC (auto switch) |
| Display Format | 16:9 |
| Power Consumption | Less than 3W |
| Power Supply | DC 12V / 24V |
| Video Input | 2 AV input auto switching (Video 2 for reversing priority) |
| Contrast | 350 : 1 |
| Pixels | 480 x 272 |
| Environment Humidity | 10% ~ 90% |
| Operating Temperature | -20 ~ +60℃ |
| Storage Temperature | -40 ~ +85℃ |
| Special Features | Anti-glaring glasses for eye sight protection |
| Suitable Car Type | Universal |
| Product Size | 286mm x 74mm x 7mm |
| Net Weight | 260g |
| Cable Length | Max. 15 inch |
| Installation | Install on the dashboard, easy for installation and uninstallation. |

Figure 2: Product dimensions: 286mm length, 74mm width, 7mm thickness.

Figure 3: The 4.3-inch diagonal screen size of the monitor.
3. Package Contents
The product package includes the following items:
- 1 x 4.3" Monitor
- 1 x Power Cable
- 1 x User Manual (this document)
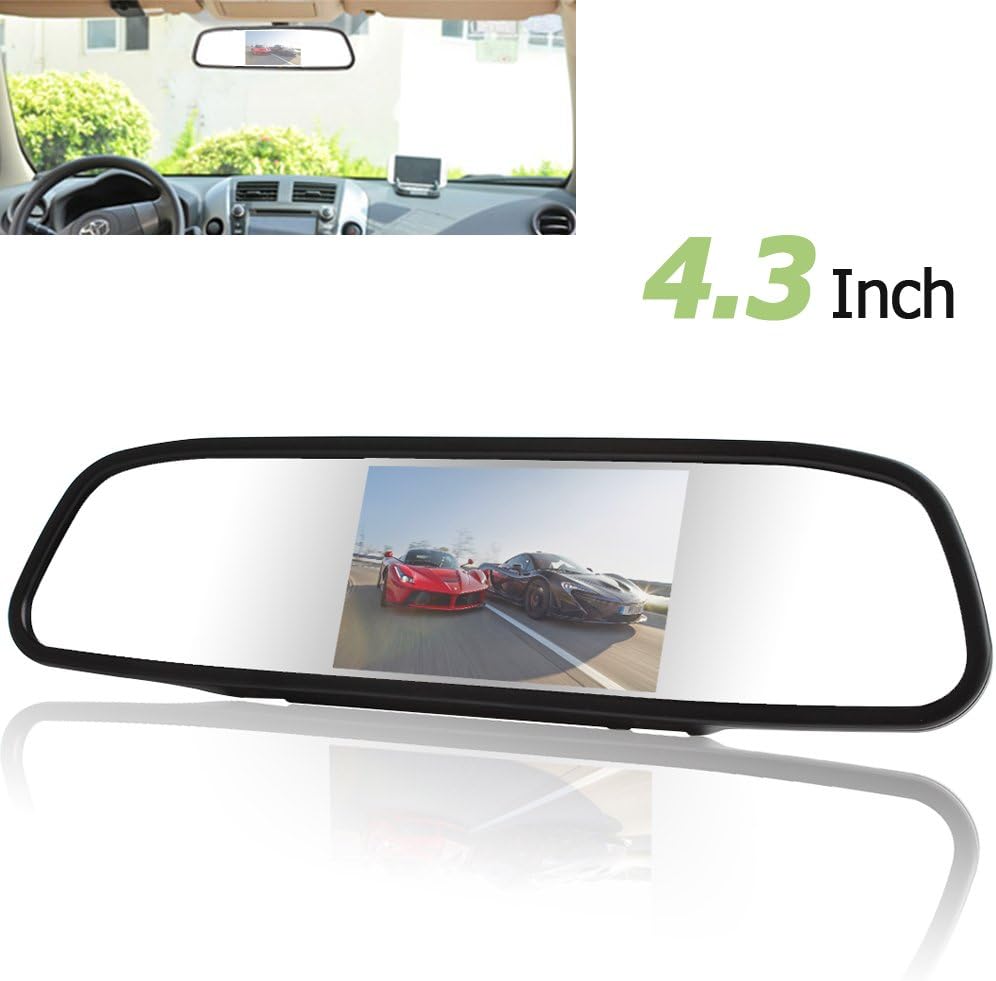
Figure 4: The 4.3" monitor, power cable, and video input cables included in the package.
4. Setup and Installation
The PONPY mirror monitor is designed for easy installation by clipping it over your vehicle's original rear view mirror. This method ensures a secure and stable fit.
4.1. Connecting the Monitor
- Identify the video input cables from the monitor. There are two AV inputs: Video 1 (Yellow connector) and Video 2 (White connector).
- Connect your car rear view camera's video output to the White video connector (AV2) on the monitor's cable. This input has reversing priority, meaning the monitor will automatically switch to this view when the reverse gear is engaged.
- If you have another video equipment (e.g., DVD player, VCR, front camera), connect its video output to the Yellow video connector (AV1).
- Connect the power cable to the monitor and to your vehicle's 12V/24V power source. Ensure proper polarity.

Figure 5: Rear view of the monitor showing the clip-on mechanism and cable connections.

Figure 6: Detailed view of the DC 12V-24V power input, AV1 (Yellow), and AV2 (White) video input connections.

Figure 7: Back view of the monitor indicating the location of control buttons (Up/+, Menu, Down/-) and the maximum clip extension (80mm).
4.2. Installation Location
The monitor is designed to be installed on the dashboard or clipped over the original rear view mirror. The clip-on design provides a secure and stable attachment.

Figure 8: Example of the PONPY mirror monitor installed in a vehicle, showing its integration with the existing rear view mirror.
5. Operating Instructions
Once installed and powered, the monitor will function as a regular rear view mirror. When a video signal is detected on the AV2 input (typically from a backup camera when reversing), the screen will automatically activate and display the camera feed. If no signal is present on AV2, it will default to AV1 if a signal is present there, or remain a mirror.
5.1. Automatic Switching
The monitor features automatic switching between video inputs. When the vehicle is put into reverse, the monitor will prioritize and display the video feed from the camera connected to the AV2 (white) input. Once the vehicle is taken out of reverse, the monitor will revert to its mirror function or switch to the AV1 input if a signal is present.
5.2. Video Demonstration
Video 1: This video demonstrates the connection process and automatic switching functionality of the PONPY 4.3" Car Rear View Mirror Monitor with a backup camera. It shows how the monitor displays the camera feed when activated and reverts to mirror mode.
6. Maintenance
To ensure the longevity and optimal performance of your PONPY mirror monitor, please observe the following maintenance guidelines:
- Moisture Protection: This product contains precision components. Avoid exposure to moisture or liquids.
- Sun Protection: Protect the device from prolonged direct sunlight, especially when parked, to prevent overheating and potential damage to the screen or internal components.
- Impact Resistance: Handle the monitor with care to avoid impacts or drops, which can damage the screen or internal circuitry.
- Cleaning: Use a soft, dry cloth to clean the mirror and screen surfaces. Avoid abrasive cleaners or solvents.
7. Troubleshooting
If you encounter issues with your PONPY mirror monitor, please refer to the following common troubleshooting steps:
7.1. No Display / Black Screen
- Check Power Connection: Ensure the power cable is securely connected to both the monitor and the vehicle's power source. Verify that the vehicle's ignition is on (if connected to an accessory power source).
- Verify Power Source: Confirm that the vehicle's 12V/24V power outlet is functioning correctly.
- Inspect Cables: Check all video input cables (AV1, AV2) for secure connections and any signs of damage.
- Camera Functionality: If using a backup camera, ensure the camera itself is powered and functioning correctly. Test with another video source if possible.
7.2. Distorted or Unclear Image
- Check Video Connections: Ensure all video cables are fully inserted and not loose.
- Verify Video System: The monitor supports PAL/NTSC auto-switching. Ensure your camera's output matches one of these systems.
- Clean Camera Lens: A dirty camera lens can cause unclear images. Clean the lens of your connected camera.
- Interference: Check for any nearby electronic devices that might be causing signal interference.
7.3. Screen Too Dim (Especially in Daylight)
- Adjust Brightness/Contrast: Use the control buttons on the back of the monitor (refer to Figure 7) to adjust brightness, contrast, and other display settings.
- Lighting Conditions: In very bright daylight, the screen may appear dimmer. Position the monitor to minimize direct glare if possible.
8. Safety Information
This product is manufactured with precision components. Please adhere to the following safety guidelines:
- Driving Safety: For your safety, do not watch the display while driving. The monitor is intended as an aid for parking and reversing.
- Moisture and Impact: Protect the device from moisture, direct sunlight, and impacts.
- Installation: Ensure the monitor is securely installed and does not obstruct your view of the road or interfere with vehicle controls.
- Power Supply: Only use the specified DC 12V/24V power supply. Incorrect voltage can damage the device.