TEKCOPLUS PHTK-20
TEKCOPLUS 6-in-1 Water Quality Tester (Model PHTK-20) Instruction Manual
1. Introduction
This manual provides detailed instructions for the proper use, setup, calibration, and maintenance of the TEKCOPLUS 6-in-1 Water Quality Tester, Model PHTK-20. This device is designed to measure six key water parameters: pH, Oxidation-Reduction Potential (ORP), Electrical Conductivity (EC), Total Dissolved Solids (TDS), Salinity, and Temperature. Its waterproof design and compact form factor make it suitable for various applications.

Figure 1: TEKCOPLUS 6-in-1 Water Quality Tester
The image displays the TEKCOPLUS 6-in-1 Water Quality Tester, a white and blue pen-style device with a digital LCD screen showing readings. A separate, smaller, white probe is shown next to it, indicating a replaceable ORP probe.
2. Product Overview
2.1 Key Features
- Measures pH, ORP, Conductivity, Temperature, TDS, and Salinity.
- Large LCD screen for simultaneous display of multiple parameters.
- IP57 waterproof rating for durability and reliability.
- Automatic Temperature Compensation (ATC) for accurate readings.
- Data Hold function and display of maximum/minimum values.
- Powered by microprocessors for stable and precise measurements.
- Compact design allows the device to float on water.
2.2 Product Components

Figure 2: Labeled Components of the Tester
This image provides a front and back view of the TEKCOPLUS 6-in-1 Water Quality Tester with key components labeled. From top to bottom on the front: Screen, Hold/Max/Min button, Power/Calibration button, Function Mode button, and Sensor. On the back: Battery compartment, CE marking, and Sensor cover.
- Screen: Digital LCD display for parameter readings.
- Hold, Max & Min button (H/M): Used to hold current readings or display maximum/minimum recorded values.
- Power / Calibration button (⑁/CAL): Turns the device on/off and initiates calibration mode.
- Function mode button (MODE): Cycles through different measurement parameters (pH, ORP, EC, TDS, Salinity).
- Sensor: The primary sensing element for water quality measurements.
- Sensor cover: Protects the sensor when not in use.
- Battery compartment: Houses the AAA batteries.
- CE marking: Indicates compliance with European health, safety, and environmental protection standards.
2.3 Package Contents

Figure 3: Kit Contents
The image shows the TEKCOPLUS 6-in-1 Water Quality Tester kit laid out in a black carrying case. It includes the main tester unit, several bottles of calibration solutions (pH 4.00, pH 7.00, pH 10.01, Conductivity), a replaceable ORP probe in packaging, AAA batteries, a lanyard, and an instruction manual.
The standard package includes:
- TEKCOPLUS 6-in-1 Water Quality Tester (Model PHTK-20)
- Replaceable ORP Probe
- Calibration Solutions (pH 4.00, pH 7.00, pH 10.01, Conductivity)
- AAA Batteries
- Lanyard
- Instruction Manual
- Carrying Case
3. Specifications

Figure 4: Detailed Product Specifications
This image displays a table detailing the specifications for the TEKCOPLUS 6-in-1 Water Quality Tester, including measurement types, ranges, accuracy, resolution, ATC range, and calibration points for pH, Temperature, ORP, Conductivity, TDS, and Salinity.
| Parameter | Range | Accuracy | Resolution | ATC | Calibration |
|---|---|---|---|---|---|
| pH | -2 to 16 pH | ±0.01 pH + 1 digit | 0.01 pH | 0-90°C | pH 4.00, 7.00, 10.01 |
| Temperature | 0-90°C (32-194°F) | ±0.2°C + 1 digit | 0.1°C | N/A | N/A |
| ORP | -1000 to 1000 mV | ±2 + 1 digit | 1 mV | N/A | N/A |
| Conductivity | 0-2000 µS / 2.00-20.00 mS | ±2% FS | 1 µS / 0.01 mS | 0-50°C | 0 µS, 1413 µS, 12.88 mS |
| TDS | 0-1300 ppm / 1.30-13.00 ppt | ±2% FS | 1 ppm / 0.01 ppt | 0-50°C | N/A |
| Salinity | 0-1000 ppm / 1.00-12.00 ppt | ±2% FS | 1 ppm / 0.01 ppt | 0-50°C | N/A |
Other Specifications:
- Item Model Number: PHTK-20
- Power Source: 4 AAA batteries (required)
- Item Weight: 1.85 pounds
- Package Dimensions: 9.45 x 8.27 x 2.36 inches
- Manufacturer: TekcoPlus Ltd
4. Setup
4.1 Battery Installation
The device requires 4 AAA batteries for operation.
- Locate the battery compartment cover on the back of the tester.
- Twist or slide the cover to open it.
- Insert 4 AAA batteries, ensuring correct polarity (+/-).
- Securely close the battery compartment cover.

Figure 5: Battery Compartment
This image shows the back of the TEKCOPLUS 6-in-1 Water Quality Tester, highlighting the battery compartment cover. The label indicates it requires 4 AAA batteries.
4.2 Initial Preparation
- Remove the protective sensor cap from the bottom of the tester.
- Rinse the sensor with distilled water before first use and after each measurement.
- Ensure the sensor is clean and free from debris.
5. Operating Instructions
5.1 Power On/Off
- To power on the device, press the Power / Calibration (⑁/CAL) button.
- To power off the device, press and hold the Power / Calibration (⑁/CAL) button for approximately 3 seconds until the display turns off.
5.2 Mode Selection
- After powering on, press the Function Mode (MODE) button to cycle through the different measurement parameters: pH, ORP, Conductivity, TDS, and Salinity. The selected mode will be indicated on the LCD screen.
- Temperature is typically displayed simultaneously with other parameters.
5.3 Taking a Measurement
- Ensure the sensor is clean and the protective cap is removed.
- Immerse the sensor portion of the tester into the sample solution, ensuring the sensor is fully submerged.
- Gently stir the tester to remove any air bubbles around the sensor.
- Allow the reading to stabilize on the LCD screen. This may take a few seconds.
- Record the stable reading.
- After measurement, rinse the sensor with distilled water and replace the protective cap.
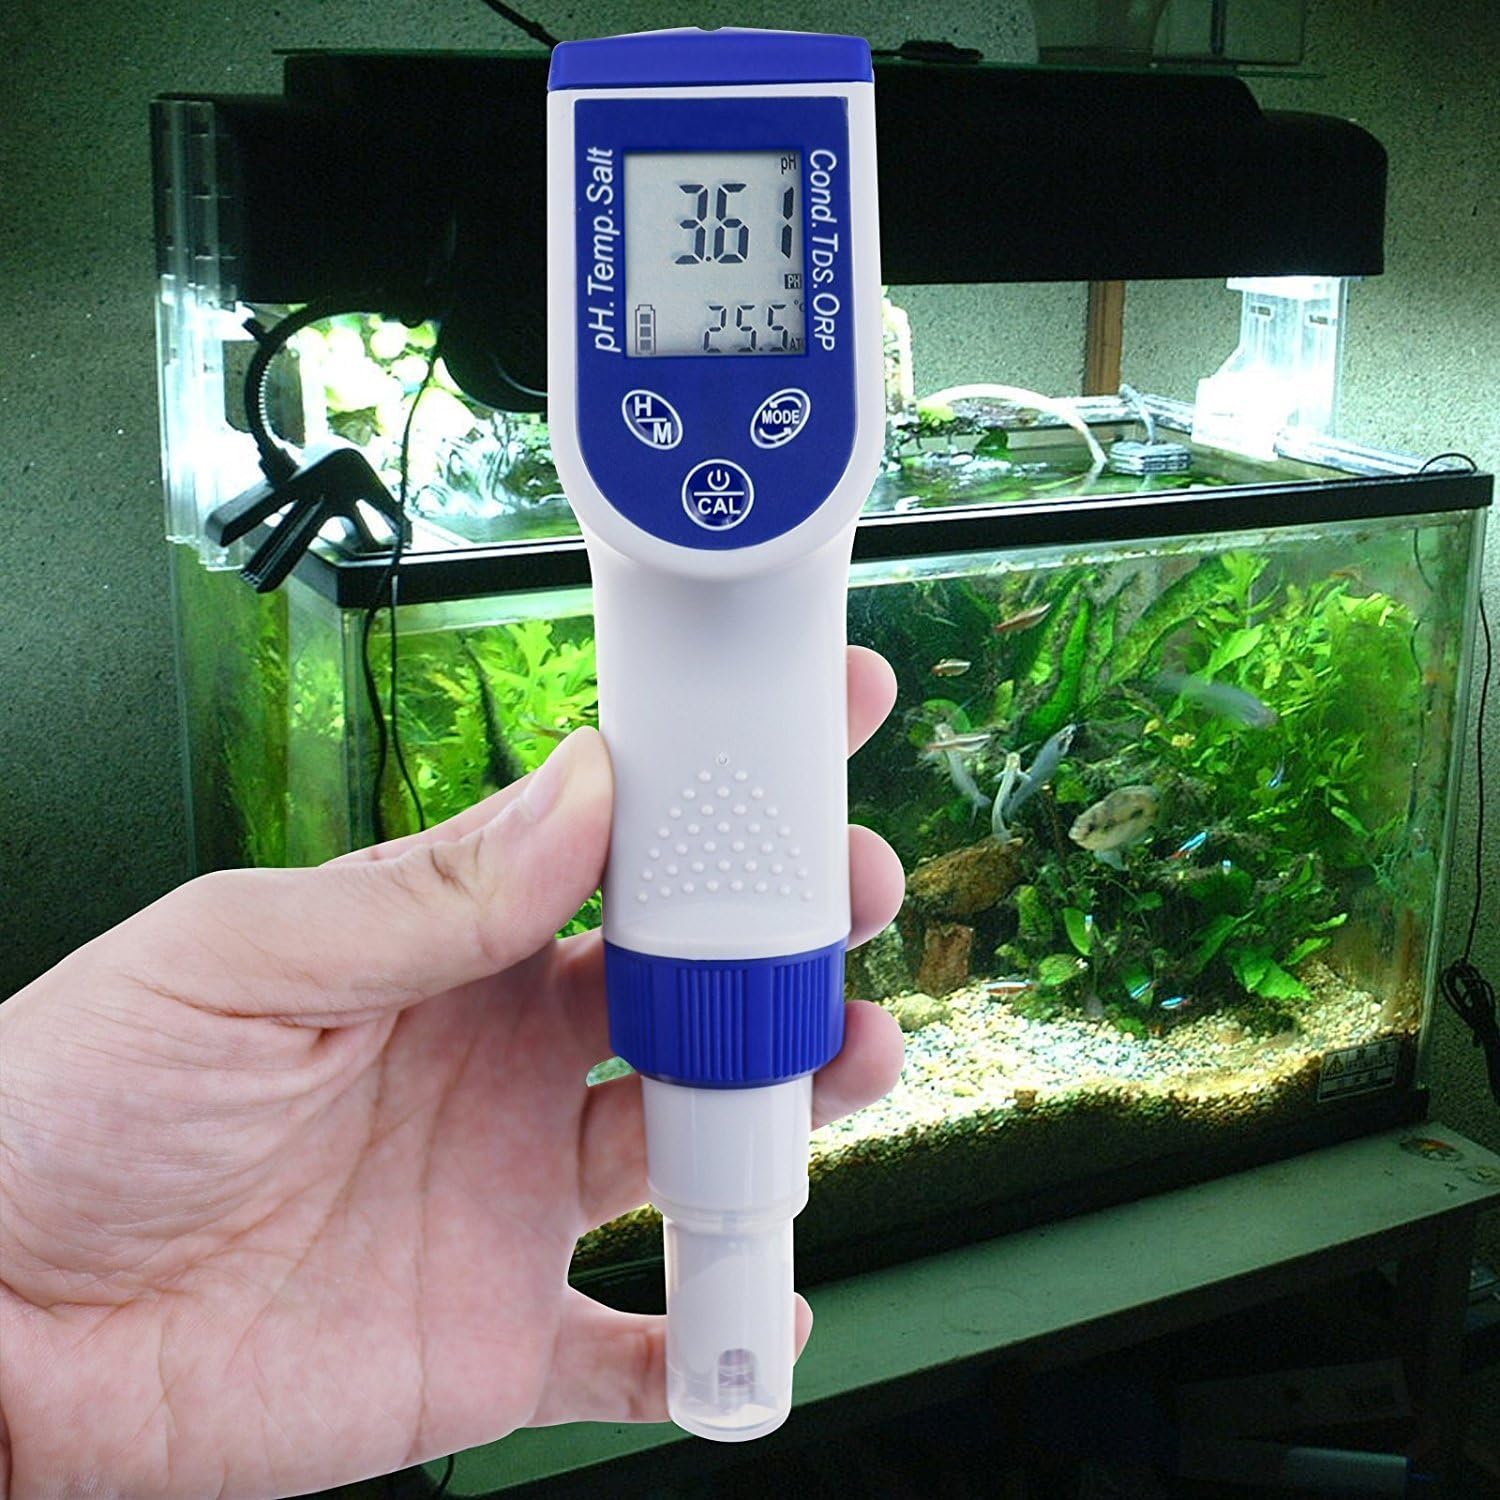
Figure 6: Tester in Use
The image shows a hand holding the TEKCOPLUS 6-in-1 Water Quality Tester with its sensor submerged in an aquarium, demonstrating its use for water quality monitoring.
5.4 Data Hold Function
- During measurement, press the Hold, Max & Min (H/M) button once to freeze the current reading on the display. The 'H' indicator will appear.
- Press the H/M button again to release the hold and return to live measurement.
- To view maximum or minimum recorded values, press and hold the H/M button. The display will cycle through Max and Min values.
6. Calibration
Regular calibration ensures the accuracy of your tester. Refer to the specific calibration solutions provided with your kit.
6.1 pH Calibration
- Prepare pH 4.00, pH 7.00, and pH 10.01 buffer solutions.
- Turn on the tester and select pH mode.
- Rinse the sensor with distilled water and blot dry.
- Immerse the sensor into the pH 7.00 buffer solution.
- Press and hold the Power / Calibration (⑁/CAL) button until 'CAL' appears on the screen. The tester will automatically recognize the buffer and calibrate.
- Once calibration for pH 7.00 is complete (indicated by a stable reading or 'END' message), rinse the sensor.
- Repeat the process for pH 4.00 and then pH 10.01 buffer solutions.
- Always calibrate pH 7.00 first, followed by pH 4.00 or pH 10.01 as needed.
6.2 Conductivity Calibration
- Prepare 0 µS, 1413 µS, and 12.88 mS conductivity standard solutions.
- Turn on the tester and select Conductivity mode.
- Rinse the sensor with distilled water and blot dry.
- Immerse the sensor into the 1413 µS standard solution.
- Press and hold the Power / Calibration (⑁/CAL) button until 'CAL' appears. The tester will automatically recognize the standard and calibrate.
- Once calibration is complete, rinse the sensor.
- Repeat the process for 0 µS and 12.88 mS standard solutions if necessary.
7. Maintenance
7.1 Electrode Care and Storage
- Always rinse the sensor with distilled or deionized water after each use to prevent contamination.
- Do not touch the sensor glass or metal parts with your fingers, as oils can affect readings.
- For long-term storage, ensure the sensor cap is filled with a small amount of pH storage solution or 3M KCl solution to keep the electrode hydrated. Never store dry.
- If the electrode becomes dry, soak it in pH storage solution for at least 30 minutes before use.

Figure 7: Sensor Detail
This image provides a close-up view of the sensor tip of the TEKCOPLUS 6-in-1 Water Quality Tester, showing the delicate components that come into contact with the water sample.
7.2 Probe Replacement
The ORP probe of the TEKCOPLUS PHTK-20 is replaceable.
- Ensure the tester is powered off.
- Gently unscrew the existing probe from the main body of the tester.
- Carefully align the new ORP probe with the connector and screw it into place until secure.
- Perform calibration after replacing the probe to ensure accuracy.

Figure 8: Replaceable ORP Probe
This image shows a close-up of the replaceable ORP probe, detached from the main unit, next to the connection point on the tester, illustrating how it can be replaced.
8. Troubleshooting
- Inaccurate Readings:
- Ensure the sensor is clean and free from debris.
- Calibrate the tester regularly according to the instructions in Section 6.
- Check if the batteries are low and replace them if necessary.
- Ensure the sensor is fully submerged in the sample.
- No Display/Device Not Turning On:
- Check battery installation and ensure correct polarity.
- Replace batteries with new ones.
- Slow Response Time:
- The sensor may be dirty or dry. Clean and re-hydrate the sensor as described in Section 7.1.
- Ensure the sample temperature is within the operating range.
- Error Messages:
- Refer to the specific error code in the full manual (if available) or contact customer support.
9. Safety Information
- Do not attempt to disassemble or modify the device, as this may void the warranty and cause damage.
- Keep the device out of reach of children.
- Handle calibration solutions with care and follow their respective safety guidelines.
- Avoid exposing the device to extreme temperatures or direct sunlight for prolonged periods.
- Dispose of batteries and the device according to local regulations.
10. Warranty and Support
The TEKCOPLUS 6-in-1 Water Quality Tester (Model PHTK-20) is manufactured by TekcoPlus Ltd. For warranty information, technical support, or service inquiries, please refer to the contact information provided with your product packaging or visit the official TEKCOPLUS website.
Ask a question about this manual
Ask about setup, troubleshooting, compatibility, parts, safety, or missing instructions. Manuals+ will review the question and use this page’s manual context to help answer it.