1. Introduction
Thank you for purchasing the Philips HD2590/90 Daily Toaster. This appliance is designed to provide delicious toast with ease and convenience. Please read this user manual carefully before using the appliance and save it for future reference. Proper use and maintenance will ensure optimal performance and longevity of your toaster.
Important Safety Information
- Always place the toaster on a stable, heat-resistant surface, away from flammable materials.
- Do not touch hot surfaces. Use handles or knobs.
- Ensure the power cord does not hang over the edge of a table or counter, or touch hot surfaces.
- Do not immerse the appliance, cord, or plug in water or other liquids.
- Unplug from the outlet when not in use and before cleaning. Allow to cool before putting on or taking off parts.
- Do not insert oversized foods, metal foil packages, or utensils into the toaster as this may create a risk of fire or electric shock.
- Never leave the toaster unattended during operation.
- Do not use the appliance for purposes other than its intended use.
2. Product Overview
Familiarize yourself with the components of your Philips HD2590/90 Daily Toaster.

Figure 1: Front-side view of the Philips HD2590/90 Daily Toaster. This image shows the sleek black exterior, the extra-long toasting slot, and the Philips brand logo prominently displayed on the side. The control knob and stop button are visible on the right side.
- Extra-long toasting slot: Accommodates various bread types, including longer slices.
- Browning control knob: Adjusts the browning level from 1 (lightest) to 8 (darkest).
- Stop button: Immediately cancels the toasting cycle.
- Defrost button: For toasting frozen bread.
- Reheat button: For warming up previously toasted bread without further browning.
- Crumb tray: Collects crumbs for easy cleaning.
- Lever: Lowers and raises the bread into the toasting slot.

Figure 2: The Philips HD2590/90 Daily Toaster in a kitchen environment, showcasing its practical use. Two pieces of toasted bread are visible in the extra-long slot, surrounded by breakfast items like juice, jam, and olive oil, highlighting its integration into daily routines.
3. Setup
Unpacking
- Remove all packaging materials from the toaster.
- Check the appliance for any damage. Do not use if damaged.
First Use (Burn-off Cycle)
Before toasting bread for the first time, operate the toaster without bread to burn off any manufacturing residues. This may produce a slight odor and some smoke, which is normal and will dissipate quickly.
- Place the toaster on a well-ventilated, heat-resistant surface.
- Plug the power cord into a grounded wall outlet.
- Set the browning control to the highest setting (8).
- Press the lever down until it locks. The toaster will begin operating.
- Allow the cycle to complete. The lever will pop up automatically.
- Repeat this process 2-3 times to ensure all residues are burned off.
Placement
Ensure the toaster is placed on a flat, stable, and heat-resistant surface. Maintain adequate clearance around the toaster, especially above, to allow for heat dissipation.
4. Operating Instructions
Toasting Bread
- Place one or two slices of bread into the extra-long toasting slot.
- Select your desired browning level using the browning control knob (1 for light, 8 for dark).
- Press the lever down until it locks into place. The toasting cycle will begin.
- When the desired browning is achieved, the toast will automatically pop up, and the toaster will switch off.
Defrost Function
Use this function to toast frozen bread.
- Place frozen bread into the toasting slot.
- Select your desired browning level.
- Press the lever down until it locks, then press the Defrost button. The indicator light on the button will illuminate.
- The toaster will automatically adjust the toasting time for frozen bread.
Reheat Function
Use this function to warm up previously toasted bread without further browning.
- Place the cold toast into the toasting slot.
- Press the lever down until it locks, then press the Reheat button. The indicator light on the button will illuminate.
- The toaster will warm the bread for a short period.
Cancel Function
To stop the toasting cycle at any time, press the Stop button. The bread will immediately pop up.
5. Maintenance and Cleaning
Regular cleaning ensures optimal performance and extends the life of your toaster.
Safety Precautions Before Cleaning
- Always unplug the toaster from the power outlet and allow it to cool completely before cleaning.
- Never immerse the toaster in water or any other liquid.
Cleaning the Crumb Tray
The crumb tray should be emptied regularly to prevent crumb buildup, which can be a fire hazard.
- Locate the crumb tray at the bottom of the toaster.
- Pull out the crumb tray.
- Discard the crumbs.
- Wipe the tray with a damp cloth and dry it thoroughly.
- Slide the crumb tray back into place until it clicks securely.
Cleaning the Exterior
Wipe the exterior of the toaster with a soft, damp cloth. Do not use abrasive cleaners or scouring pads, as they can scratch the surface.
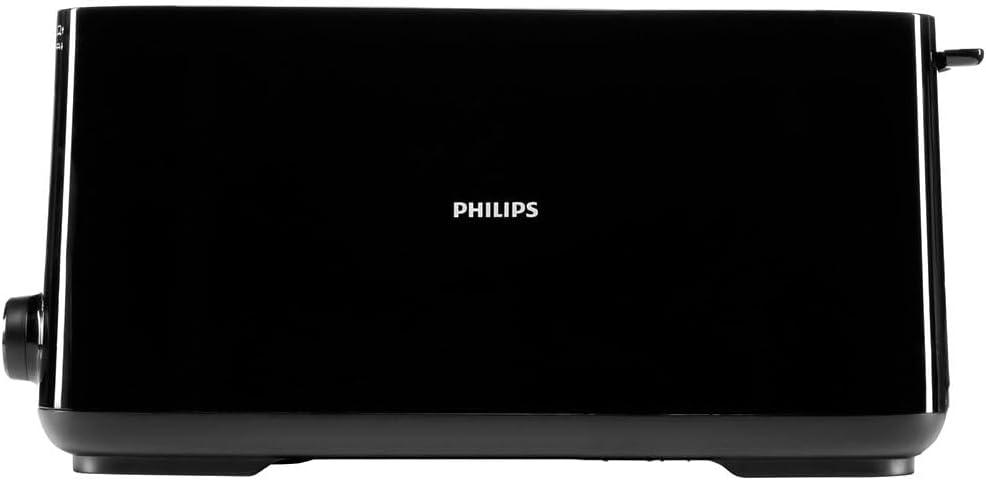
Figure 3: Side view of the Philips HD2590/90 Daily Toaster, illustrating its compact and streamlined design. This angle highlights the smooth black finish and the overall profile of the appliance, emphasizing its ease of cleaning.
6. Troubleshooting
If you encounter issues with your toaster, refer to the following common problems and solutions.
- Toaster does not turn on:
- Ensure the power cord is securely plugged into a working electrical outlet.
- Check if the circuit breaker has tripped. - Bread does not pop up:
- The toasting cycle might not have completed. Press the Stop button to manually eject the bread.
- Ensure the lever is fully pressed down and locked before starting. - Uneven toasting:
- This can sometimes occur with very dry or fresh bread. Try a different browning setting.
- Ensure bread slices are evenly sized and centered in the slot. - Smoke coming from the toaster:
- This is normal during the first few uses (burn-off cycle).
- If it persists, check for crumbs in the crumb tray or food stuck in the slot. Unplug immediately. - Bread stuck in the toaster:
- Unplug the toaster immediately. Allow it to cool.
- Carefully remove the bread using non-metallic tongs. Never use metal utensils.
7. Specifications
| Feature | Specification |
|---|---|
| Model Number | HD2590/90 |
| Power | 1030 Watts |
| Voltage | 240 Volts |
| Material | Plastic |
| Color | Black |
| Number of Slots | 1 (Extra Long) |
| Browning Settings | 8 positions |
| Special Features | Defrost, Reheat, Automatic Shut-off, Eject Button |
| Item Weight | 1.4 Kilograms |
8. Warranty and Support
This Philips appliance comes with a standard manufacturer's warranty. For detailed warranty information, terms, and conditions, please refer to the warranty card included with your product or visit the official Philips website.
For technical support, spare parts, or service, please contact Philips customer support in your region. Contact details can typically be found on the Philips website or in the documentation provided with your purchase.