1. Important Safety Information
Read all instructions carefully before beginning installation. Failure to follow these instructions could result in electric shock, fire, or personal injury.
- Always disconnect power at the main circuit breaker before working on the fan.
- Ensure all electrical connections are made in accordance with local codes and ordinances, and the National Electrical Code.
- The fan must be mounted to a structurally sound ceiling joist or outlet box capable of supporting the fan's weight (8.1 kg / 17.86 lbs).
- Do not bend the blade brackets during installation or cleaning.
- Keep hands clear of the fan blades when the fan is operating.
- This fan is designed for indoor use only.
2. Package Contents
Verify that all components are present before beginning assembly.
- Ceiling Fan Motor Assembly
- 5 Reversible Fan Blades
- Blade Brackets
- Light Kit Assembly with Tulip-shaped Lamps
- Pull Chains for Fan Speed and Light Control
- Mounting Hardware and Canopy
- Downrod
3. Setup and Installation
Assembly is required for this ceiling fan. Follow these steps for proper installation.
3.1 Mounting the Fan
The Hunter Classic Plus fan is designed for ceiling mount installation. Ensure the electrical box is securely fastened to the building structure and can support the fan's weight.
- Turn off power at the circuit breaker.
- Attach the mounting bracket to the ceiling electrical box.
- Feed the electrical wires through the center hole of the mounting bracket.
- Secure the downrod to the motor assembly, ensuring the set screw is tightened.
- Carefully lift the fan assembly and hang it from the mounting bracket using the provided hook or ball-and-socket system.
3.2 Wiring Connections
Connect the fan's electrical wires to the household wiring according to the wiring diagram provided in the full installation guide. Typically, this involves connecting:
- Green or bare copper wire (ground) from the fan to the household ground wire.
- White wire (neutral) from the fan to the household neutral wire.
- Black wire (hot) from the fan to the household hot wire.
- Blue wire (light kit hot) from the fan to the household hot wire (if separate light control is desired).
3.3 Attaching Blades and Light Kit
- Attach each blade to a blade bracket using the provided screws.
- Secure the blade assemblies to the motor housing.
- Connect the light kit wiring to the fan motor's light kit wires.
- Attach the light kit housing and install the tulip-shaped lamps.
- Install the glass shades.
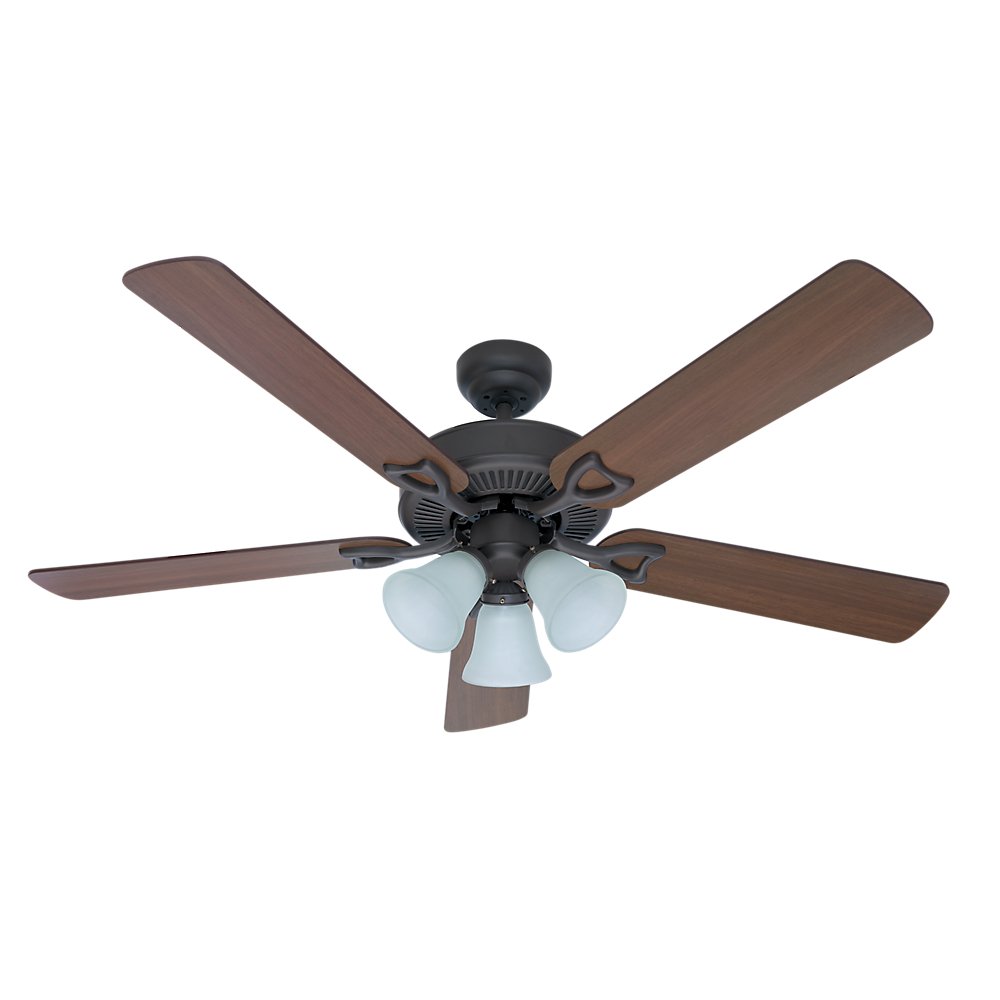
Figure 1: Hunter Classic Plus 52-inch Ceiling Fan (Model 21913) with bronze finish and integrated light kit. This image shows the fan fully assembled, highlighting its traditional style and reversible blades.
4. Operating Instructions
The Hunter Classic Plus ceiling fan is operated using pull chains.
4.1 Fan Speed Control
One pull chain controls the fan speed. Pull the chain repeatedly to cycle through the available speeds:
- 1st Pull: High Speed
- 2nd Pull: Medium Speed
- 3rd Pull: Low Speed
- 4th Pull: Off
4.2 Light Control
The second pull chain controls the integrated light kit. Pull the chain to turn the light On or Off.
4.3 Reversible Motor Function
The fan features a reversible Whisperwind motor for year-round comfort. A small switch on the fan motor housing (usually located above the light kit) controls the direction of blade rotation.
- Summer Mode (Counter-clockwise rotation): Pushes air downward, creating a cooling breeze.
- Winter Mode (Clockwise rotation): Draws air upward, circulating warm air trapped near the ceiling.
Always turn off the fan and wait for the blades to stop completely before changing the direction of rotation.
5. Maintenance
Regular maintenance ensures optimal performance and extends the life of your ceiling fan.
- Cleaning: Periodically wipe the fan blades and motor housing with a soft, damp cloth. Do not use abrasive cleaners or solvents, as they may damage the finish.
- Tightening Screws: Check all screws, especially those on the blade attachments and mounting hardware, at least twice a year. Tighten any loose screws to prevent wobbling and noise.
- Light Bulbs: Replace light bulbs as needed. Ensure the power is off before replacing bulbs. Refer to the light kit's specifications for the correct bulb type and wattage.
- No Lubrication Needed: The Whisperwind motor is permanently lubricated and does not require oiling.
6. Troubleshooting
Before attempting any repairs, ensure the power is disconnected at the circuit breaker.
6.1 Fan Does Not Start
- Check that the circuit breaker is on.
- Ensure all wire connections are secure.
- Verify the pull chain is in the 'On' position.
6.2 Fan Wobbles
- Ensure all blade screws are tight.
- Check that the mounting bracket and downrod are securely fastened.
- Verify that the blades are balanced. A blade balancing kit (often sold separately) can help correct wobbling.
6.3 Light Kit Does Not Work
- Check that the light pull chain is in the 'On' position.
- Ensure light kit wire connections are secure.
- Replace any burnt-out light bulbs.
7. Specifications
| Feature | Specification |
|---|---|
| Model Number | 21913 |
| Brand | Hunter |
| Fan Diameter | 52 inches (132 cm) |
| Number of Blades | 5 |
| Blade Type | Reversible |
| Motor Type | Whisperwind Reversible Motor |
| Control Type | Pull Chain |
| Integrated Light Kit | Yes, with Tulip-shaped Lamps |
| Power Source | Electric Cable |
| Wattage | 120 watts |
| Material | Alloy Steel |
| Color | Bronze |
| Item Weight | 8.1 kg (17.86 lbs) |
| Assembly Required | Yes |
| Batteries Required | No |
8. Warranty and Support
8.1 Warranty Information
The Hunter Classic Plus ceiling fan (Model 21913) comes with the following warranty:
- Motor: 5-year warranty.
- Other Parts: 1-year warranty on all other components of the Hunter fan.
Please retain your proof of purchase for warranty claims.
8.2 Customer Support
For technical assistance, replacement parts, or warranty inquiries, please contact Hunter Customer Service:
- Website: Visit the official Hunter Fan website for support resources and contact information.
- Phone: Refer to your product packaging or the Hunter Fan website for the most current customer service phone numbers in your region.


