1. Introduction
The AUTOOL CT150 is an advanced ultrasonic fuel injector cleaner and tester designed for automotive and motorcycle fuel systems. Over time, fuel injectors can accumulate carbon deposits and other impurities due to fuel quality, leading to various engine performance issues. These issues include unstable idling, increased fuel consumption, difficulty starting, excessive emissions, and even complete injector blockage, which can damage the engine. Regular cleaning and testing of fuel injectors are crucial for maintaining optimal engine performance and fuel efficiency.
The CT150 unit combines ultrasonic cleaning technology with microcomputer-controlled oil pressure regulation, allowing it to simulate various engine operating conditions for comprehensive cleaning and accurate testing of up to four injectors simultaneously.
2. Key Features
- 4-Cylinder Design: This tool can clean and test up to four fuel injectors simultaneously, providing efficient service. It allows for easy observation and accurate evaluation of the injectors' condition through comparison.
 Image: The CT150 unit showcasing its 4-cylinder capacity for simultaneous cleaning and testing.
 - Ultrasonic Cleaning: Utilizes strong shaking produced by ultrasonic waves to quickly strip off carbon deposits, achieving comprehensive cleaning of the injectors.
 Image: Close-up of the ultrasonic cleaning tank with injectors submerged.
 - User-Friendly Design: Equipped with microcomputer control and a digital display, the device allows for automatic cleaning, injector testing, and real-time monitoring of values. It can quickly restore system pressure to default values. Various adapters and connectors are included for easy injector cleaning.
 Image: The smart control panel with parameter adjustment buttons and function menu.
 - 12 Specific Injector Functions: The CT150 offers a wide range of testing and cleaning functions to thoroughly diagnose and service fuel injectors. These include various speed tests, leak checks, and spray pattern evaluations.
- Suitable for All EGI Vehicles: Microcomputer-controlled fuel pressure ensures stable pressure control and a wide adjustment range, making it suitable for all Electronic Gasoline Injection (EGI) vehicles.
- Non-Disassembly Cleaning: This additional function allows for direct cleaning of injectors without removal from the vehicle, requiring special adapters.
 Image: Illustration of the non-disassembly cleaning process.
3. Product Overview and Components
Familiarize yourself with the main components of the AUTOOL CT150 unit:
 Image: Detailed diagram labeling the various parts of the CT150 unit.
- Lock Pole
- Lock Nut
- Oil Rail
- Glass Measuring Cylinder
- Oil Drain Handle
- Operation Panel
- Pressure Gauge
- Fuel Injector Connector
- Power Switch
- Power Socket
- Signal Wire
- Oil Outlet Pipe
- Ultrasonic Cleaning Tank
- Testing Fluid Level Gauge
- Cleaning Fluid Drain Valve
4. Specifications
The following table outlines the technical specifications of the AUTOOL CT150:
 Image: A table detailing the technical specifications of the CT150.
| Specification | Value |
|---|---|
| Power Supply | 110V/220V ±10% |
| Frequency | 50Hz/60Hz |
| RPM Range | 0-7500 |
| Times of Injections | 0-9900 |
| PWM Pulse Width | 0-20ms |
| System Pressure | 0-0.6Mpa |
| Time Settings | 0-10min |
| Ultrasonic Cleaning Tank Capacity | 1000ml |
| Cylinder Volume | 110ml |
| Cleaning Frequency | 28KHZ |
5. Setup
5.1 Power Connection
Connect the power cable to the unit's power socket and then to a suitable 110V or 220V AC power outlet. Ensure the power switch is in the OFF position before connecting. Once connected, switch the power ON.
5.2 Preparing for Ultrasonic Cleaning
- Place the injectors into the ultrasonic cleaning tank.
- Pour the special auto injector detergent into the tank, ensuring the injectors are sufficiently submerged.
- Connect the injector signal wires to the corresponding injector connectors.
5.3 Preparing for Injector Testing
- Attach the appropriate conical top inlet connectors to the top of the injectors.
- Mount the injectors onto the oil rail, securing them with the fixing screws and nuts.
- Connect the oil rail to the unit's oil separator.
- Connect the injector signal wires to the corresponding injector connectors.
- Pour the special auto injector test liquid into the unit's reservoir using the funnel. Observe the testing fluid level gauge to ensure adequate fluid.
 Image: Demonstrating the addition of cleaning fluid.
6. Operating Instructions
6.1 Ultrasonic Cleaning Mode
- Ensure injectors are correctly installed in the ultrasonic tank and submerged in cleaning fluid.
- On the control panel, select the "Ultrasonic Cleaning" mode (usually function 01).
- Adjust the cleaning time using the "Working Time/Injecting Times" buttons.
- Press the "START" button to begin the ultrasonic cleaning process.
- Monitor the process. Once complete, the unit will stop automatically.
6.2 Test Mode
After ultrasonic cleaning, proceed to test the injectors. Ensure the injectors are properly installed for testing and the test fluid is at an adequate level.
- Select the desired test function from the "Functions Menu" on the control panel. The CT150 offers 12 specific functions:
- 01. Ultrasonic Cleaning
- 02. Idling Speed Test (0-20ms): Simulates engine idling speed to check injector condition.
- 03. Medium Speed Test (0-7.5ms): Simulates medium engine speed to check injector condition.
- 04. High Speed Test (0-4ms): Simulates high engine speed to check injector condition.
- 05. Acceleration Test: Simulates vehicle acceleration to check injector operation.
- 06. Gear Shift Speed Test: Simulates gear shifting conditions to check injector performance.
- 07. Leak Test: Checks the sealing condition of the fuel injectors.
- 08. Idling Spray Test: Simulates engine idling to check injector spray performance.
- 09. Medium Speed Spray Test: Simulates medium engine speed to test injector spray performance.
- 10. High Speed Spray Test: Simulates high engine speed to test injector spray performance.
- 11. Reverse Flushing: Cleans injectors by flowing test fluid from outlet to inlet, removing internal dirt or filter mesh impurities (for top fuel supply injectors only).
- 12. Non-Disassembly Cleaning: Direct cleaning without injector removal (requires special adapters).
- Adjust the test duration or injection times as needed using the control panel buttons.
- Use the "INCREASE PRESSURE" and "DECREASE PRESSURE" buttons to adjust the test pressure. Monitor the pressure gauge for the current test pressure.
- Press the "START" button to begin the selected test.
- Observe the spray pattern and volume in the glass measuring cylinders. Compare the results across all injectors for uniformity.
- Press "STOP" to end the test.
Video: A comprehensive demonstration of the AUTOOL CT150 in action, showing both cleaning and testing procedures. This video illustrates the setup, operation, and various test functions of the fuel injector cleaner and tester.
7. Maintenance
7.1 Detergent and Test Fluid Recycling
After cleaning or testing, the used fluid can be drained and recycled. Position a suitable container under the cleaning fluid drain valve and open the valve to collect the fluid. Ensure proper disposal or storage of fluids according to local regulations.
7.2 General Cleaning
Regularly wipe down the exterior of the unit with a soft, damp cloth. Keep the ultrasonic cleaning tank and measuring cylinders clean to ensure accurate readings and efficient operation. Avoid using abrasive cleaners or solvents that could damage the unit's surfaces.
8. Troubleshooting
This section provides solutions to common issues you might encounter with your AUTOOL CT150.
- Device Not Powering On:
Check if the power cable is securely connected to both the unit and the power outlet. Ensure the power switch is in the ON position. Verify that the power outlet is functional. - Injectors Not Spraying Correctly During Test:
Ensure the test fluid level is adequate. Check that the test pressure is set correctly. Verify that the injector signal wires are properly connected. The injectors themselves might be severely clogged or faulty, requiring further cleaning or replacement. - Inconsistent Results Across Injectors:
This often indicates varying degrees of clogging or wear among the injectors. Perform additional ultrasonic cleaning cycles. Ensure all connections are secure and the test fluid is clean. - Leakage During Testing:
Check all connections, including the conical top inlet connectors, oil rail, and injector seals. Ensure they are tightened correctly and not damaged. Replace any worn or damaged seals.
If you encounter issues not covered here or require further assistance, please contact AUTOOL customer support.
9. Package Contents
The AUTOOL CT150 Fuel Injector Cleaner and Tester package includes the following items:
- 1pc * AUTOOL CT150 Fuel Injector Tester Main Unit
- 1pc * Funnel (for adding test fluid)
- 1pc * Ultrasonic Cleaning Bracket (for placing injectors during cleaning)
- 1pc * Drain Valve (for recovering cleaning fluid)
- 2pcs * Fixing Screws (for fixing oil separator)
- 2pcs * Fixing Nuts (for fixing oil separator)
- 4pcs * Reverse Flushing Connectors φ15.8mm (for connecting the bottom of the injector and the oil separator opening)
- 4pcs * Conical Top Inlet Connectors φ10.5mm and 13.6mm (for connecting the top of the injector and the oil separator opening)
- 4pcs * Adapter Cables (for transmitting pulse signal line connections instead of connecting the injector signal input pin)
- 1pc * Power Cable (for power connection)
- 1pc * Oil Separator (distribution device for supplying pressurized test fluid to injectors)
- 4pcs * Special Injector Seals (for auxiliary installation of special fuel injectors)
- 3pcs * Special Plugs for Oil Separator (used to block openings in the oil separator)
- 1pc * Ultrasonic Cleaning Cover (to keep the cleaning bath clean)
- 1pc * User Manual (instructions)
10. Warranty and Support
The AUTOOL CT150 comes with a 3-year warranty, reflecting our commitment to product quality and customer satisfaction. For any technical assistance, troubleshooting, or warranty claims, please contact AUTOOL customer support. We offer 24/7 customer support to ensure you receive timely and effective help.
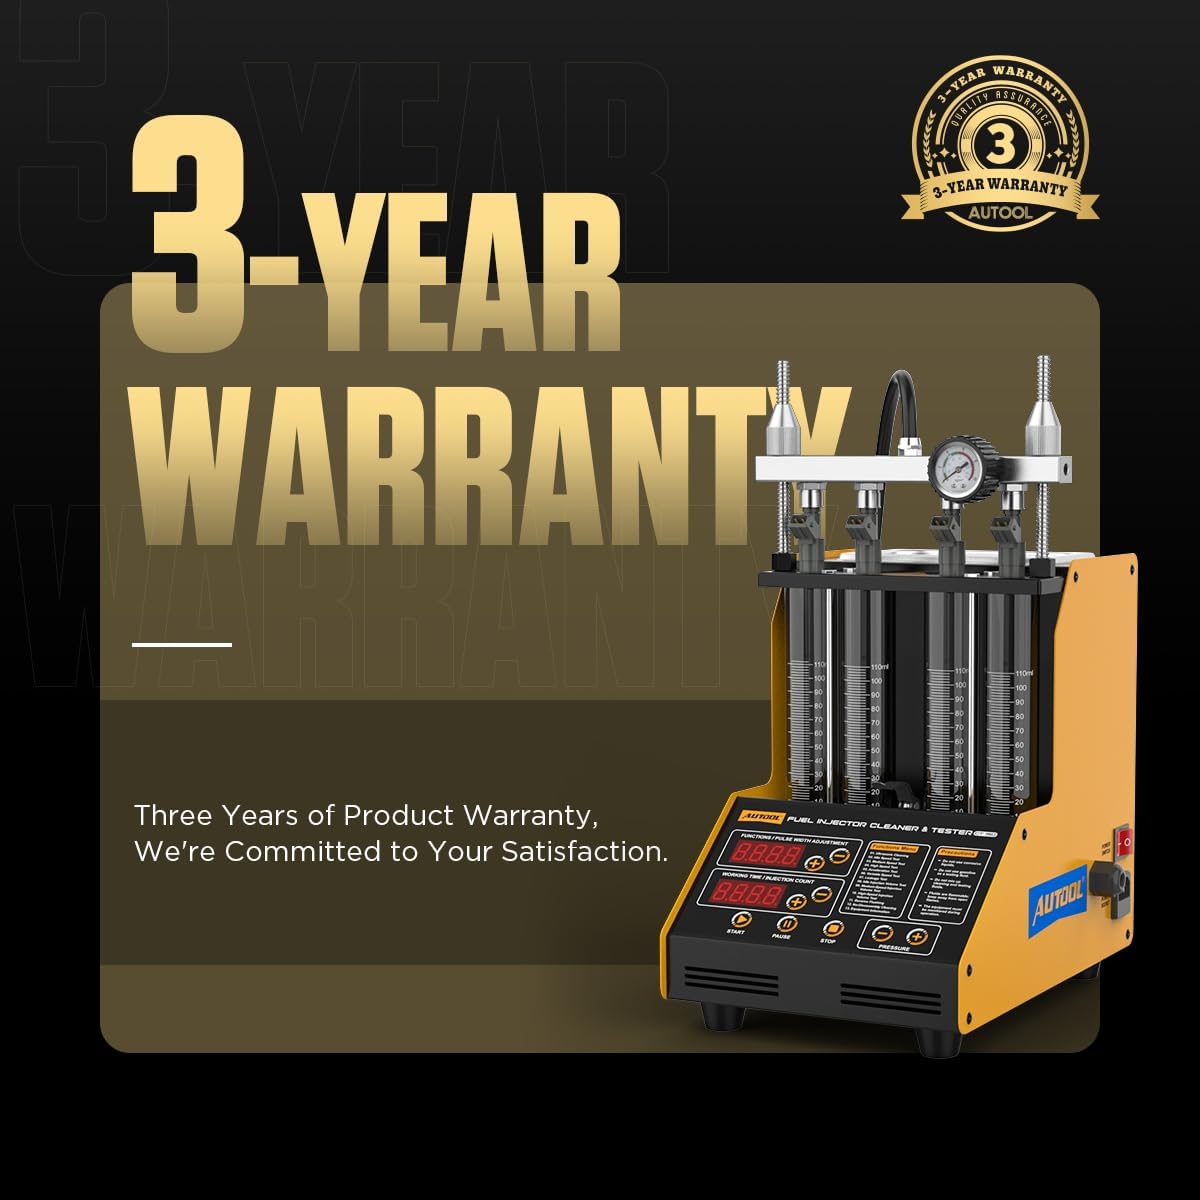 Image: AUTOOL 3-Year Warranty information.