1. Product Overview
This AA Ignition Coil Pack Set of 6 is designed to provide the necessary spark for your engine's combustion process. Ignition coils are crucial components in your vehicle's ignition system, converting the battery's low voltage into the thousands of volts required to create an electric spark in the spark plugs. A properly functioning ignition system ensures optimal engine performance, fuel efficiency, and smooth operation.
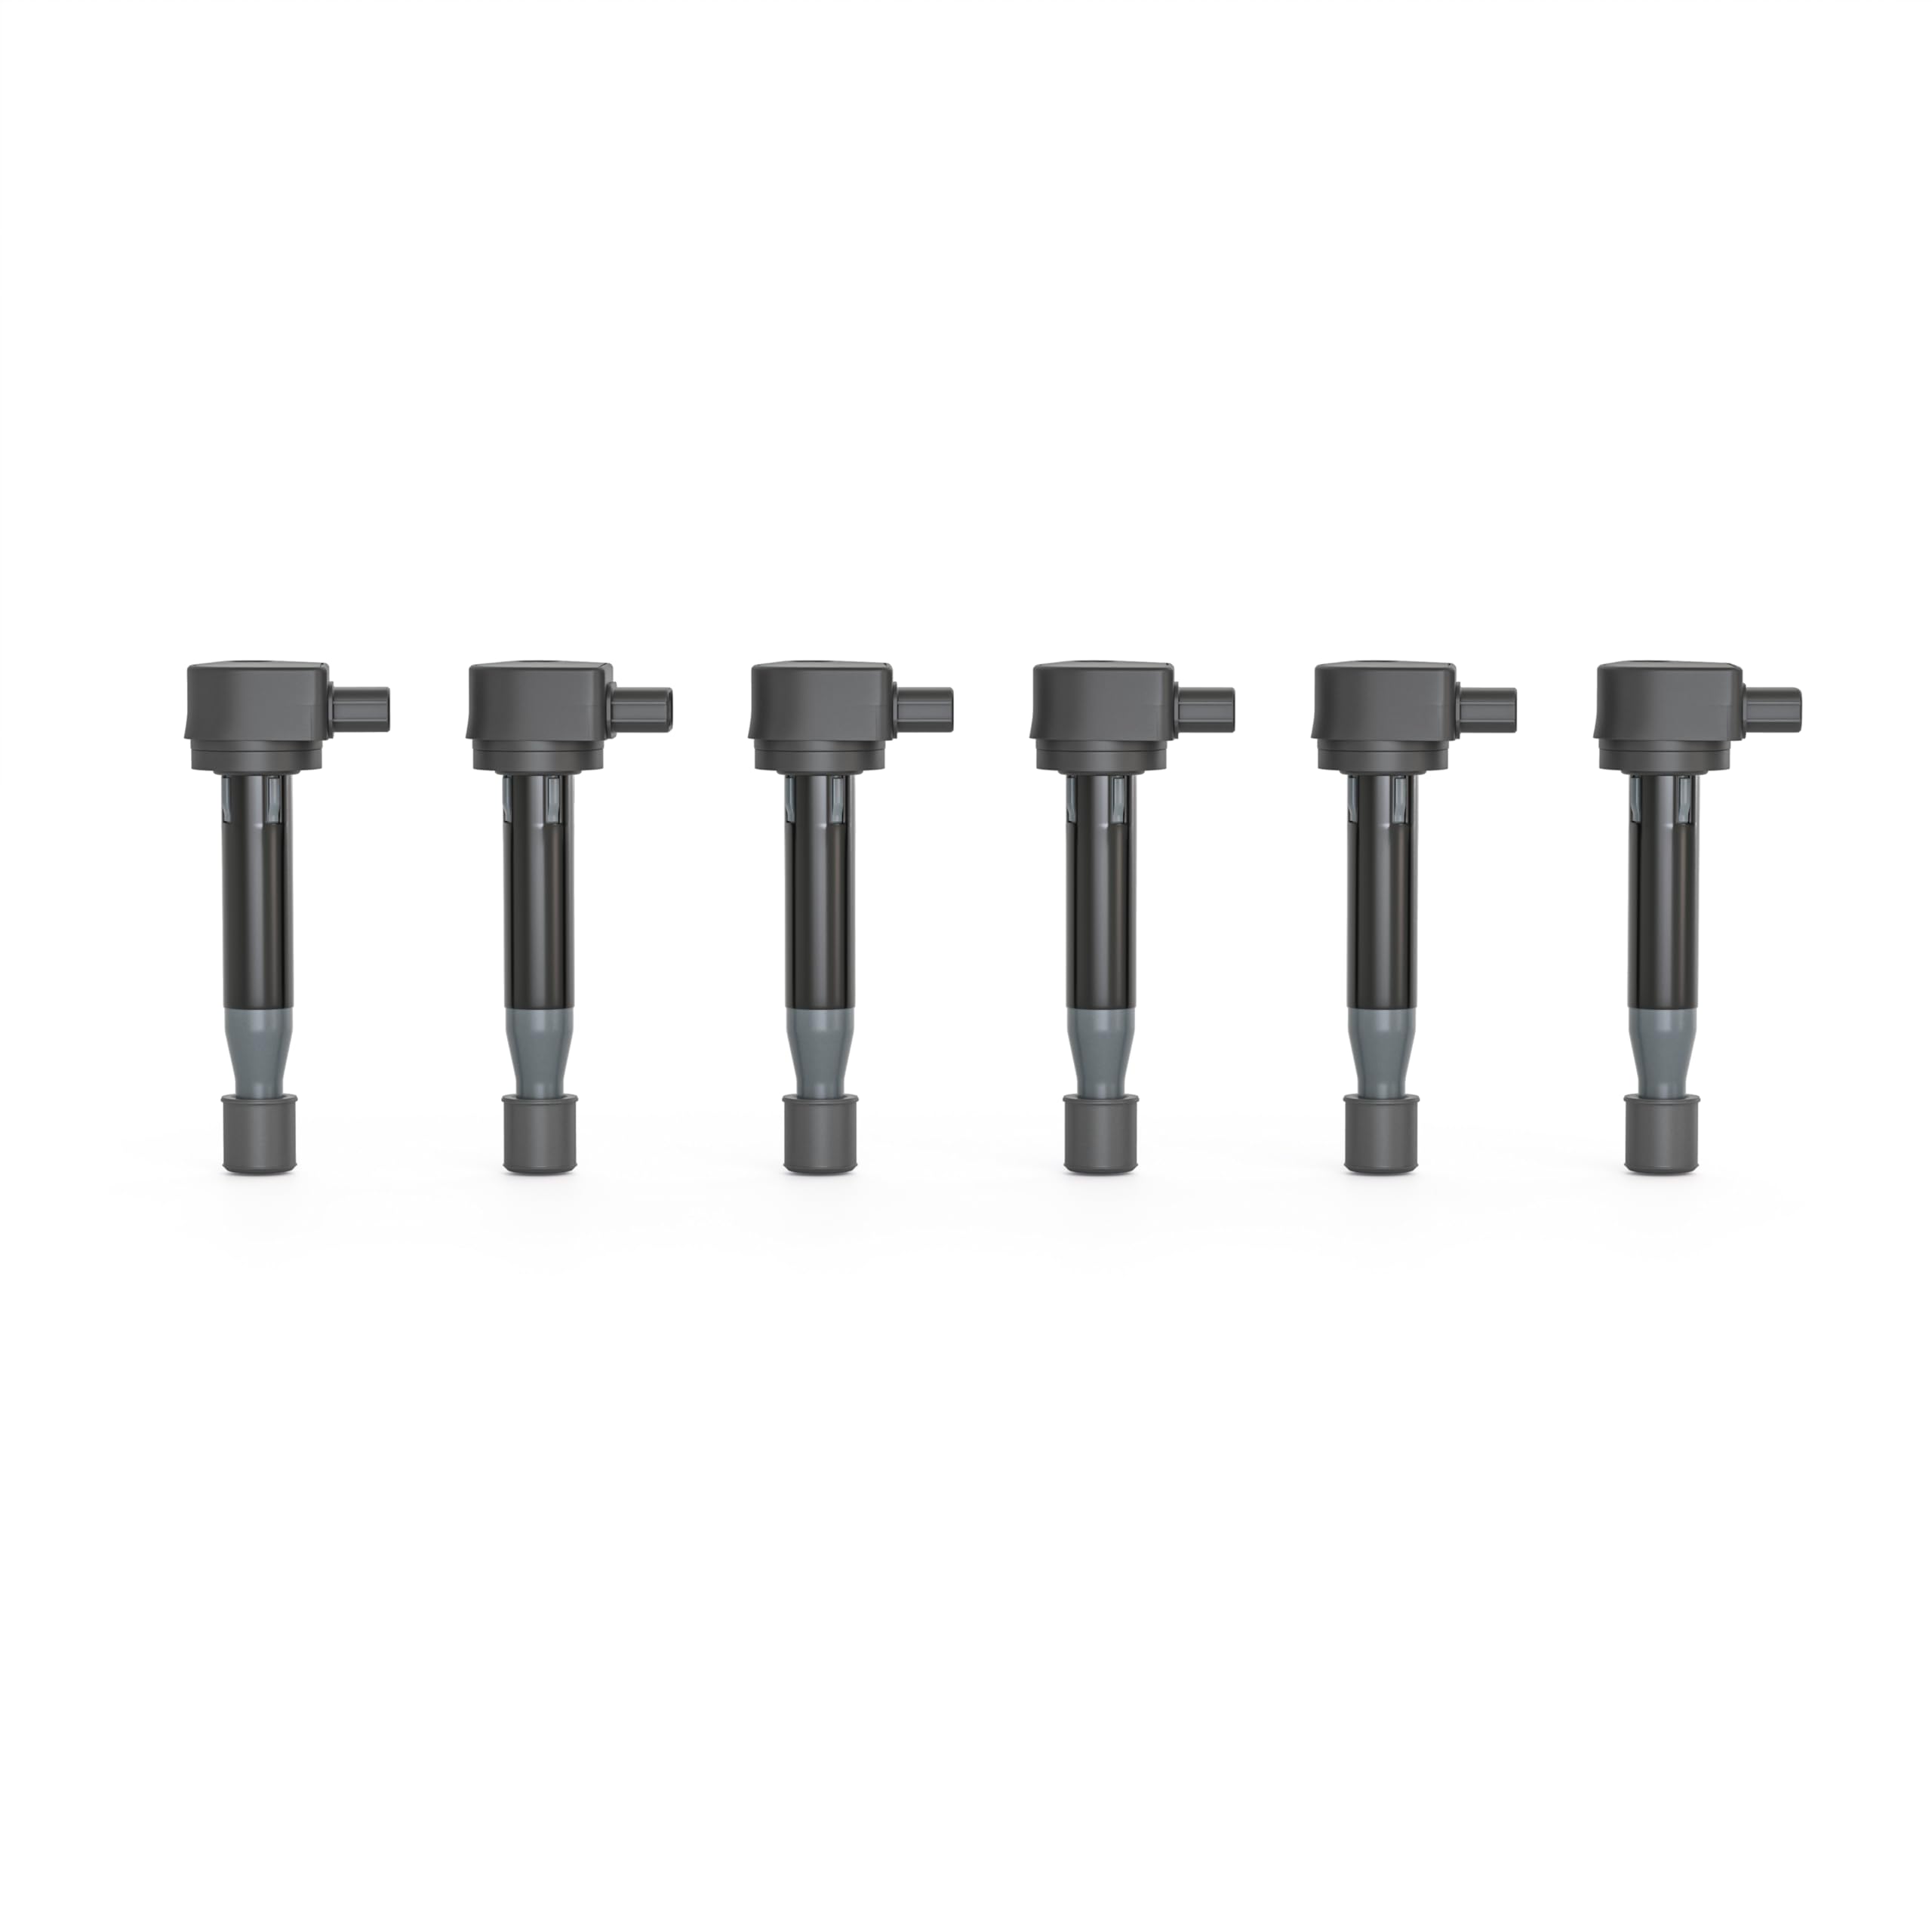
Image 1.1: The AA Ignition Coil Pack Set of 6.
Over time, factory ignition coils can degrade or fail, leading to various engine issues. Replacing faulty coils with a high-quality set like this one can restore engine performance and drivability.

Image 1.2: Internal components of an ignition coil, illustrating the primary coil, secondary coil, magnetic core, and high voltage connection to the spark plug.
2. Vehicle Compatibility
This ignition coil pack set is a direct replacement for the factory ignition coils on specific Acura and Honda V6 models. Please verify your vehicle's make, model, and year against the list below to ensure proper fitment.

Image 2.1: Visual representation of compatible vehicle models and years.
Compatible with:
- Acura:
- CL 3.2L V6: 2001 - 2003
- RL V6: 2005 - 2008
- TL 3.2L V6: 1999 - 2008
- Honda:
- Accord 3.0L V6: 2000 - 2003
- Odyssey V6: 1999 - 2010
- Saturn:
- Vue 3.5L V6: 2004 - 2007
Replaces Part Numbers:
- UF242, UF-242
- 30520P8EA01, 30520-P8E-A01
- C1221, C1462
- 30520P8FA01
- 30520RCAA02
- 90919-02247
- GN10168
- C-511, C511
- 610-58547B
3. Symptoms of a Failing Ignition Coil
Recognizing the signs of a failing ignition coil can help prevent further engine damage and maintain vehicle performance. Common symptoms include:
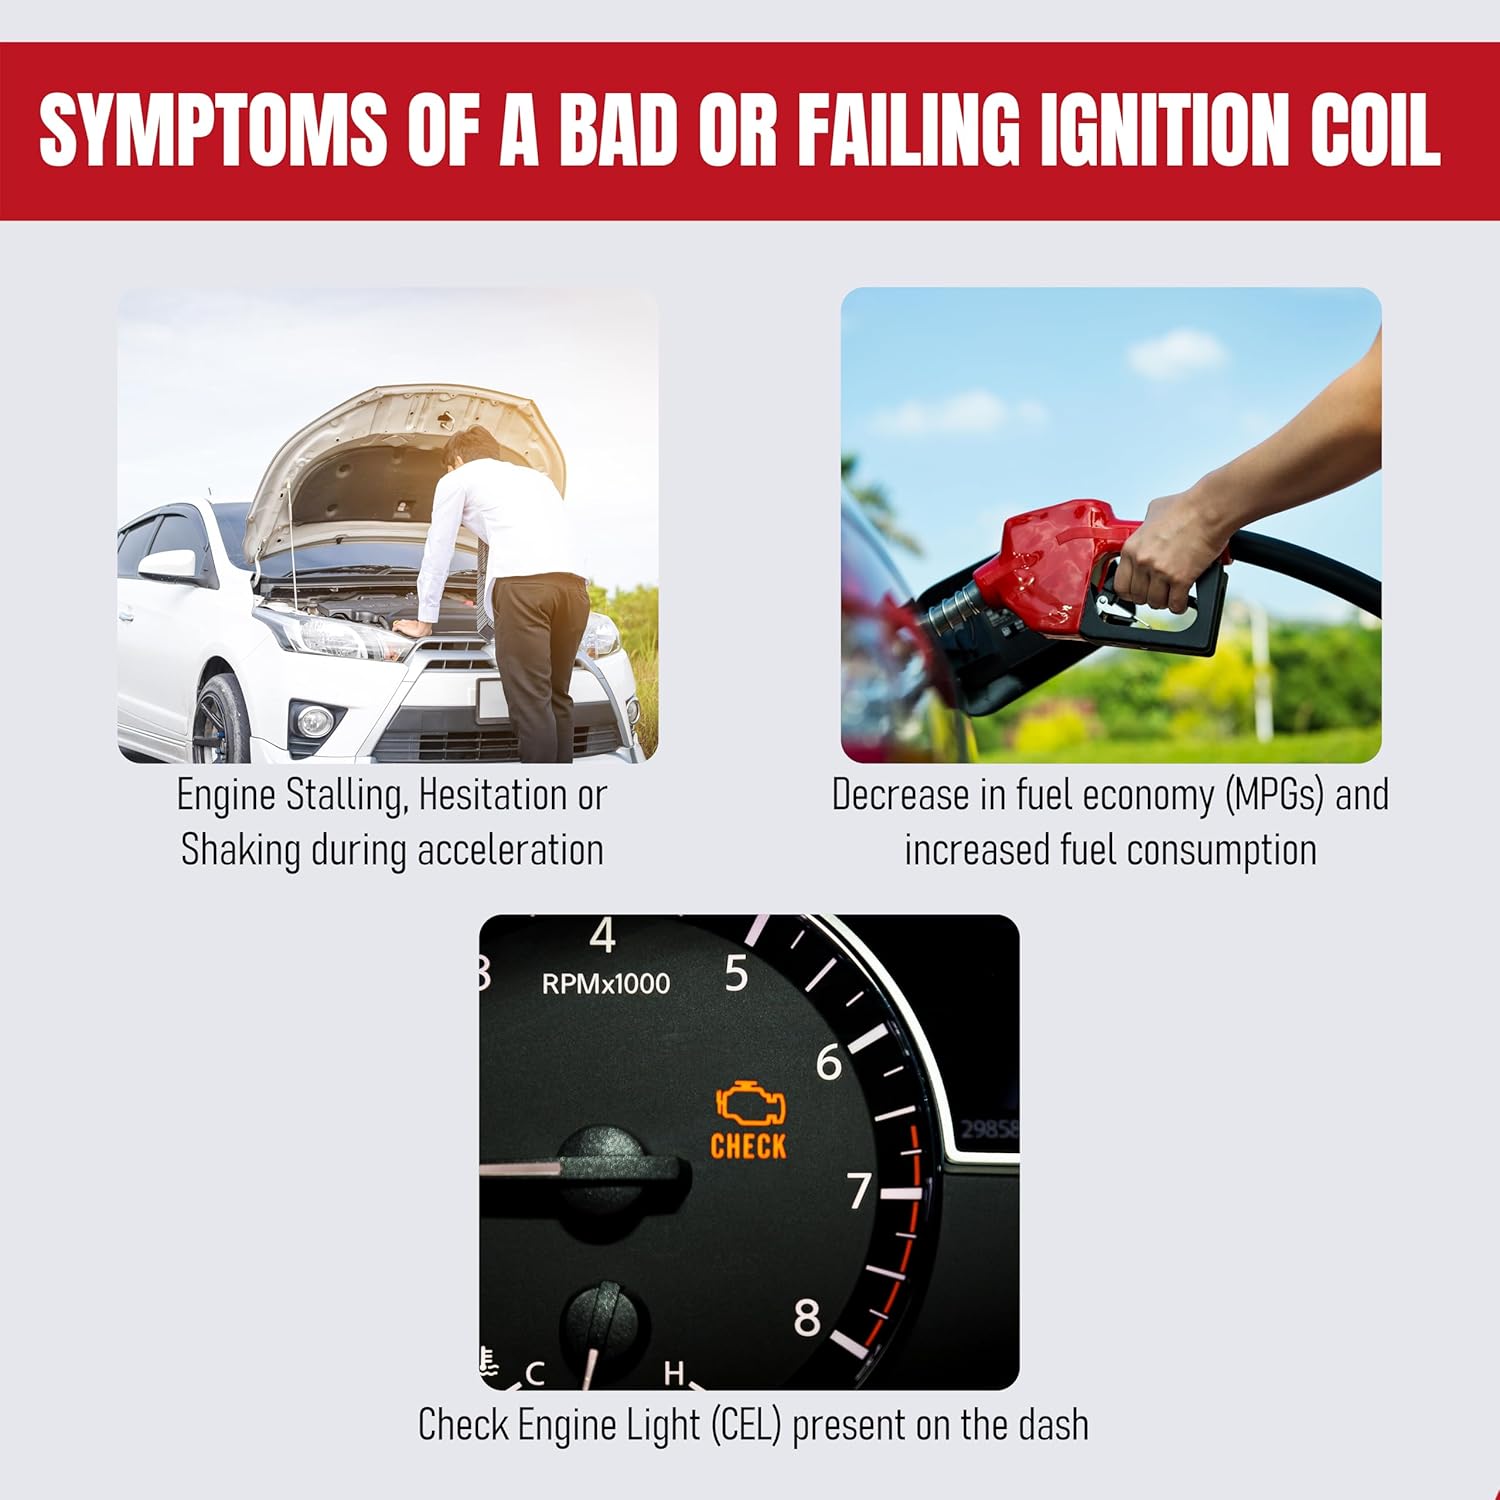
Image 3.1: Visual indicators of ignition coil issues, including engine stalling, reduced fuel economy, and an illuminated Check Engine Light.
- Engine Stalling, Hesitation, or Shaking: The engine may misfire, leading to rough idling, hesitation during acceleration, or even stalling.
- Decreased Fuel Economy (MPGs): A faulty coil can cause incomplete combustion, resulting in increased fuel consumption.
- Check Engine Light (CEL) Activation: The vehicle's onboard diagnostic system may detect a misfire and illuminate the Check Engine Light on the dashboard.
- Difficulty Starting: A weak or absent spark can make the engine hard to start.
- Reduced Power: The engine may feel sluggish or lack its usual power, especially under load.
4. Installation Instructions (Setup)
Safety First: Always ensure the vehicle's engine is off and cool before beginning any work. Disconnect the negative terminal of the battery to prevent electrical hazards. Wear appropriate safety gear, including gloves and eye protection.
Tools Required:
- Socket wrench set (typically 10mm or 12mm for coil bolts)
- Flathead screwdriver (for prying connectors, if needed)
- Dielectric grease (optional, for spark plug boots)
Step-by-Step Guide:
- Locate Ignition Coils: Open the hood and locate the ignition coils on top of the engine's valve cover. They are typically positioned directly over the spark plugs.
- Disconnect Electrical Connectors: Carefully press the release tab on each electrical connector and pull it away from the ignition coil. Avoid pulling on the wires directly.
- Remove Mounting Bolts: Use a socket wrench to remove the bolt(s) securing each ignition coil to the valve cover. Keep track of these bolts.
- Remove Old Coils: Gently pull each old ignition coil straight up and out of its spark plug well. If it's stuck, twist it slightly while pulling. Inspect the spark plug boot for any damage or corrosion.
- Install New Coils: Apply a small amount of dielectric grease to the inside of the spark plug boot on the new ignition coil (optional, but recommended). Carefully insert the new coil into the spark plug well, ensuring it seats firmly over the spark plug.
- Secure New Coils: Reinstall the mounting bolt(s) for each new ignition coil and tighten them securely, but do not overtighten.
- Reconnect Electrical Connectors: Push each electrical connector firmly onto the new ignition coil until you hear or feel a click, indicating it is securely latched.
- Reconnect Battery: Reconnect the negative terminal of the battery.
- Test Vehicle: Start the engine and check for smooth operation. If the Check Engine Light was on, it may turn off after a few drive cycles, or you may need to clear the code using an OBD-II scanner.
5. Operating Instructions
Once properly installed, the AA Ignition Coil Pack operates automatically as part of your vehicle's engine management system. No user intervention is required for its operation. The coils will continuously generate the high voltage needed to ignite the fuel-air mixture in the engine cylinders, ensuring consistent engine performance.
6. Maintenance
Ignition coils are generally maintenance-free components. However, periodic inspection during routine vehicle tune-ups or spark plug replacements is recommended. Check for:
- Cracks or damage to the coil housing.
- Corrosion or carbon buildup on the electrical terminals.
- Wear or damage to the spark plug boots.
If any issues are observed, consider replacing the affected coil to maintain optimal engine performance.
7. Troubleshooting
If you experience engine issues after installing new ignition coils, consider the following troubleshooting steps:
- Check Connections: Ensure all electrical connectors are securely attached to the coils and that the coils are properly seated over the spark plugs.
- Verify Part Numbers: Double-check that the installed coils are the correct part numbers for your specific vehicle model and year.
- Inspect Spark Plugs: Worn or fouled spark plugs can mimic coil failure symptoms. Consider replacing spark plugs if they are old or damaged.
- Scan for Codes: Use an OBD-II scanner to retrieve any diagnostic trouble codes (DTCs). These codes can pinpoint specific cylinder misfires or other ignition system issues.
- Test Coils: If you suspect a specific coil is faulty, it can be tested using a multimeter or by swapping it with a known good coil to see if the misfire moves to a different cylinder.
If problems persist, it is advisable to consult a qualified automotive technician.
8. Specifications
| Feature | Detail |
|---|---|
| Brand | AA Ignition |
| Vehicle Service Type | Car |
| Installation Type | Bolt-On |
| Connector Gender | Male |
| Item Weight (Set) | 1.26 Kilograms (approx. 2.77 pounds) |
| OEM Part Numbers | 30520-P8E-A01, 30520-P8F-A01, 30520-RCA-A01, 30520RCAA02, 610-58547B |
| Model Number | UF242KT6 (610-58547B) |
9. Warranty & Support
This AA Ignition Coil Pack Set of 6 comes with a 2-year or 24,000-mile warranty. If the part fails within the warranty period, please contact AA Ignition for a free replacement. Detailed warranty information can be found on the manufacturer's website.
For installation assistance or diagnostic support, expert technicians are available to help. Contact information can be found on the official AA Ignition website.