
Introduction
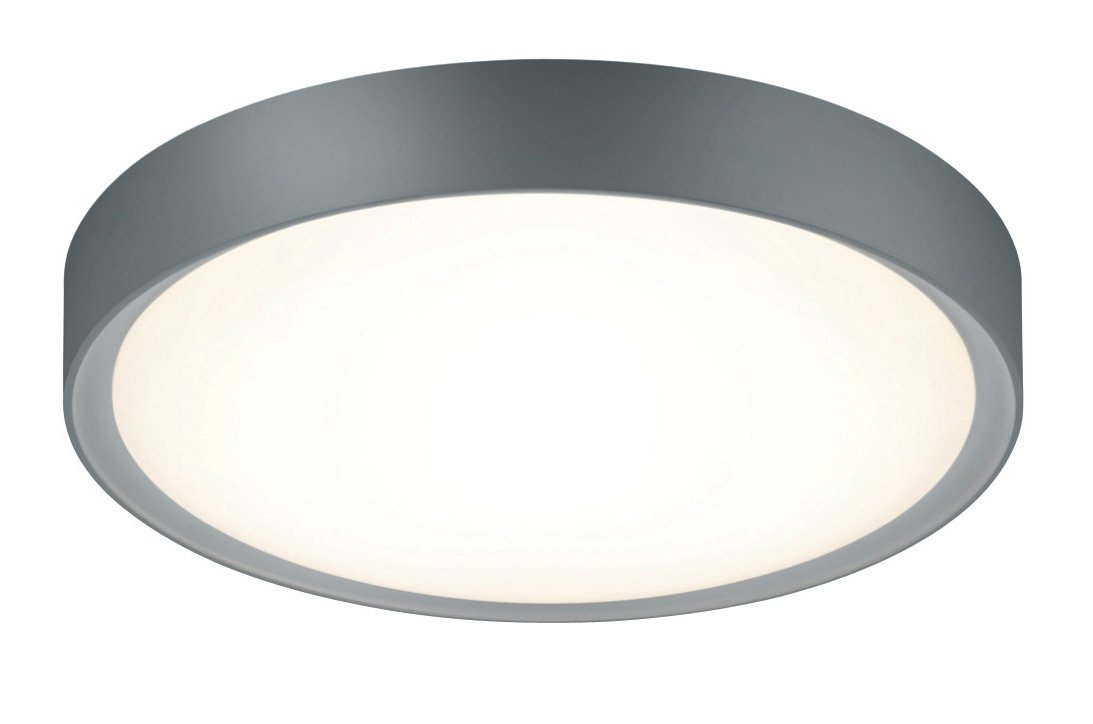
This manual provides comprehensive instructions for the Arnsberg Clarimo LED Bathroom Flush Mount, model 659011887. Designed with meticulous German engineering, this LED fixture offers efficient and stylish lighting for your bathroom. Please read these instructions carefully before installation and use to ensure safe operation and optimal performance.
Safety Information
- Always disconnect power at the circuit breaker before installation, maintenance, or servicing. Failure to do so may result in electric shock or serious injury.
- This fixture must be installed by a qualified electrician in accordance with all local electrical codes and ordinances.
- Do not modify the fixture in any way. Any modifications may void the warranty and create a safety hazard.
- Ensure all electrical connections are secure and properly insulated to prevent short circuits.
- Do not exceed the specified voltage (120V).
- Keep flammable materials away from the light fixture.
Package Contents
Carefully unpack your new Arnsberg Clarimo LED Bathroom Flush Mount. Verify that all components are present and undamaged. The package should include:
- 1 x LED Flush Mount Fixture
- 1 x Mounting Hardware Kit (screws, wire nuts)
- 1 x Remote Control
- 1 x User Manual
Setup and Installation
Before You Begin
- Ensure the power supply to the installation area is turned off at the circuit breaker.
- Gather necessary tools: screwdriver, wire strippers, electrical tape, drill (if needed).
- Read all instructions thoroughly before proceeding with installation.
Mounting the Fixture
- Mark the desired mounting location on the ceiling, ensuring it aligns with an existing electrical junction box.
- Secure the mounting bracket (from the hardware kit) to the junction box using the provided screws. Ensure the bracket is firmly attached and stable.
- Carefully pull the electrical wires from the junction box through the center hole of the mounting bracket.
Wiring
- Connect the black (live) wire from the fixture to the black (live) wire from the ceiling using a wire nut.
- Connect the white (neutral) wire from the fixture to the white (neutral) wire from the ceiling using a wire nut.
- Connect the green or bare copper ground wire from the fixture to the ground wire from the ceiling or junction box using a wire nut.
- Ensure all connections are tight and secure. Gently push the wired connections and excess wire into the junction box.
Securing the Fixture
- Align the fixture body with the mounting bracket.
- Secure the fixture to the mounting bracket using the provided screws, ensuring it is flush against the ceiling.
- Attach the acrylic diffuser by twisting or snapping it into place, depending on the design. Ensure it is seated properly to prevent dust and moisture ingress.
Operating Instructions
Powering On/Off
After installation is complete and power is restored at the circuit breaker, the light can be turned on and off using a standard wall switch or the provided remote control.
Remote Control Operation
The Arnsberg Clarimo LED Flush Mount features remote control functionality. Use the remote to turn the light on/off and adjust brightness or color temperature settings if available. Refer to the remote control's specific instructions for detailed operation, including battery installation and pairing if necessary.
Maintenance
Cleaning
To clean the fixture, ensure power is off at the circuit breaker. Wipe the exterior with a soft, damp cloth. Do not use abrasive cleaners, harsh chemicals, or solvents, as they may damage the finish or acrylic diffuser. Dry thoroughly with a soft, clean cloth.
LED Care
The integrated LED light source is designed for long life and does not require replacement under normal operating conditions. If the LED light source fails, the entire fixture may need to be replaced. Do not attempt to replace individual LED components. Contact customer support for assistance.
Troubleshooting
| Problem | Possible Cause | Solution |
|---|---|---|
| Light does not turn on. | No power to the fixture. Loose wiring connection. Wall switch is off. Remote control battery is dead. | Check the circuit breaker and ensure power is restored. Verify all wire connections are secure (ensure power is off first). Ensure the wall switch is in the 'ON' position. Replace the remote control battery. |
| Light flickers or dims incorrectly. | Loose wiring connection. Incompatible dimmer switch (if applicable). Remote control interference or low battery. | Ensure all wiring connections are tight (with power off). If using a dimmer, ensure it is compatible with LED fixtures. Consult a qualified electrician. Ensure the remote is within range and its battery is functional. |
| Remote control not responding. | Dead battery. Out of range. Not paired (if required). | Replace the remote control battery. Move closer to the fixture. Refer to the remote control's specific instructions for pairing procedures. |
Specifications
| Feature | Detail |
|---|---|
| Model Number | 659011887 |
| Brand | Arnsberg |
| Light Source | Integrated LED |
| Input Voltage | 120 Volts |
| Power Source | Corded Electric |
| Installation Type | Flush Mount, Ceiling Mount |
| Control Method | Remote Control |
| Finish | Titanium / Light Grey (Matte) |
| Shade Material | Acrylic, Metal |
| Item Weight | 3.98 Pounds |
| Room Type | Bathroom |
| UPC | 819781021636 |
Warranty and Support
This Arnsberg product is backed by a manufacturer's warranty. For specific warranty details, claims, technical support, or replacement parts, please contact Arnsberg customer service directly. Keep your purchase receipt as proof of purchase for any warranty-related inquiries.