1. Introduction
This manual provides essential instructions for the safe and effective use of your Kenwood Blender Bowl with Blade. This product is an original replacement part designed for specific Kenwood Multipro Compact FPP food processor models. It includes the blender bowl, blade assembly, base, and seal, enabling blending functions with your compatible appliance.
Please read all instructions carefully before assembly and operation to ensure proper function and safety.
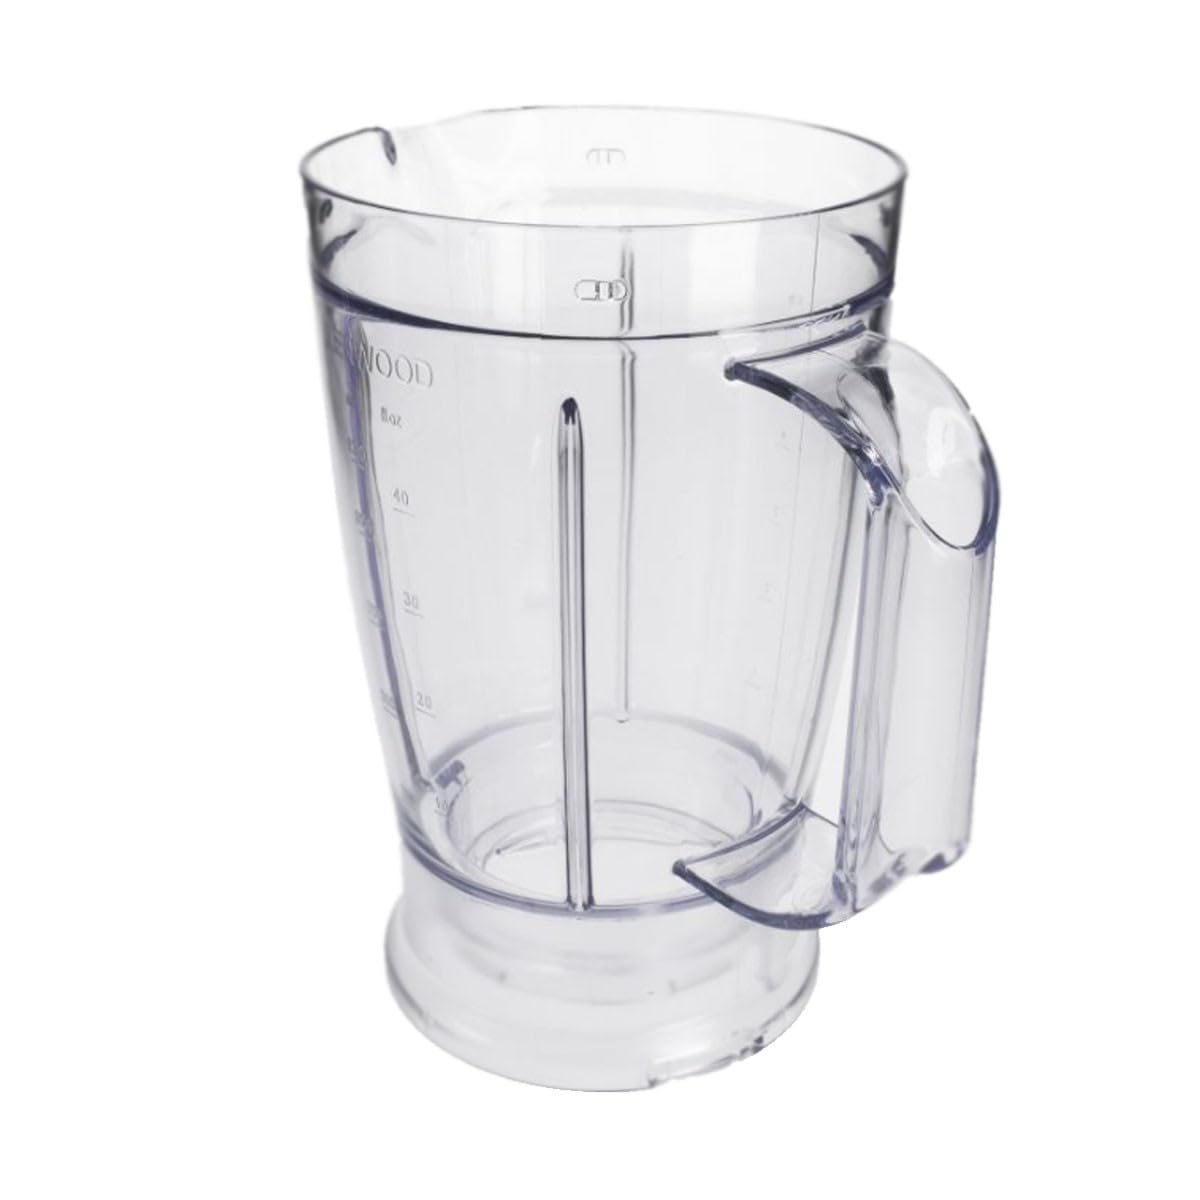
Figure 1: Kenwood Blender Bowl Assembly. This image shows the complete Kenwood blender bowl assembly, including the transparent bowl, the blade unit, and the base connector. It is designed as a replacement part for compatible Kenwood Multipro food processor models.
2. Safety Instructions
Always follow basic safety precautions when using electrical appliances to reduce the risk of fire, electric shock, and/or injury to persons.
- Unplug Appliance: Always unplug the food processor from the power outlet before assembling, disassembling, or cleaning the blender bowl.
- Sharp Blades: The blender blades are extremely sharp. Handle with extreme care. Never touch the blades directly with your hands, especially when the appliance is plugged in.
- Secure Assembly: Ensure the blender bowl, blade assembly, and lid (not included with this replacement part, use your original lid) are correctly and securely assembled before operating the food processor.
- Do Not Overfill: Do not exceed the maximum fill level indicated on the blender bowl to prevent spillage and potential damage.
- Supervision: Close supervision is necessary when any appliance is used by or near children.
- Avoid Hot Liquids: Allow hot liquids to cool before blending. Very hot liquids can cause pressure buildup and potentially eject the lid or contents.
- Foreign Objects: Never place hands or utensils into the blender bowl while the appliance is operating.
- Damaged Parts: Do not use the blender bowl if any part is damaged or cracked. Contact Kenwood customer support for replacement parts.
3. Compatibility
This Kenwood Blender Bowl with Blade is specifically designed for use with the following Kenwood Multipro Compact FPP food processor models:
- FPP220 Food Processor and Liquidizer
- FPP230 Food Processor and Liquidizer
- FPP239 Food Processor + Liquidizer (1.2L) + Centrifuge + Citrus Press
- FPP238 Food Processor + Liquidizer + Citrus Press
To ensure compatibility, please verify the model number of your Kenwood Multipro Compact food processor, usually found on the base of the appliance.
4. Setup and Assembly
Before first use, wash all parts of the blender bowl assembly (bowl, blade unit, seal, base) in warm soapy water, rinse thoroughly, and dry.
- Attach the Seal: Place the rubber seal securely into the groove on the blade assembly. Ensure it is seated correctly to prevent leaks.
- Insert Blade Assembly: Turn the blender bowl upside down. Insert the blade assembly into the opening at the bottom of the bowl.
- Secure the Base: Place the base onto the blade assembly and twist clockwise until it locks securely into place. Ensure it is tightened firmly to prevent leaks during operation.
- Attach to Food Processor: Place the assembled blender bowl onto the motor unit of your Kenwood Multipro Compact food processor. Align the tabs on the blender base with the slots on the motor unit and twist clockwise until it locks into position.
- Add Ingredients: Place your ingredients into the blender bowl.
- Secure the Lid: Place your original Kenwood Multipro blender lid onto the bowl and twist clockwise until it locks securely. Ensure the filler cap is also in place.
Note: The lid is not included with this replacement part. Please use the lid from your original Kenwood Multipro blender.
5. Operating Instructions
Once the blender bowl is correctly assembled and attached to your food processor, you can begin blending.
- Ingredient Preparation: Cut large ingredients into smaller pieces (approx. 2-3 cm) before adding them to the blender bowl.
- Liquid First: For best results, add liquids first, then soft ingredients, and finally harder ingredients or ice.
- Start Blending: Select the desired speed setting on your food processor. Start with a low speed and gradually increase if needed. Use the pulse function for short bursts of power.
- Do Not Overload: Avoid overloading the blender. If the motor strains, reduce the quantity of ingredients.
- Blending Time: Blend only for the necessary duration. Over-blending can overheat the motor or alter the texture of ingredients.
- Adding Ingredients During Operation: If you need to add ingredients during blending, remove the filler cap from the lid and carefully add them through the opening. Always ensure the lid remains securely in place.
- Finish Blending: Once blending is complete, switch off the food processor and unplug it from the power outlet. Wait for the blades to stop completely before removing the lid or the blender bowl.
6. Maintenance and Cleaning
Regular cleaning and maintenance will ensure the longevity and optimal performance of your blender bowl.
- Unplug: Always ensure the food processor is unplugged before cleaning.
- Disassemble: Carefully remove the blender bowl from the motor unit. Disassemble the lid, blade assembly, and base from the bowl.
- Wash Parts: Wash the bowl, lid, blade assembly, and base in warm soapy water. Use a brush to clean around the blades carefully.
- Rinse and Dry: Rinse all parts thoroughly under running water. Dry all components completely before reassembling or storing.
- Stubborn Stains: For stubborn stains or odors, a solution of baking soda and water can be used.
- Motor Unit: Wipe the motor unit of your food processor with a damp cloth. Never immerse the motor unit in water.
- Storage: Store the clean and dry blender bowl assembly in a safe place, away from children.
Caution: The blades are very sharp. Handle the blade assembly with extreme care during cleaning.
7. Troubleshooting
| Problem | Possible Cause | Solution |
|---|---|---|
| Blender not operating. |
|
|
| Liquid leaks from the base of the blender bowl. |
|
|
| Ingredients not blending smoothly. |
|
|
8. Specifications
| Feature | Detail |
|---|---|
| Brand | Kenwood |
| Compatible Models | Kenwood Multipro Compact FPP220, FPP230, FPP239, FPP238 |
| Product Dimensions (L x W x H) | 19 x 22.5 x 14 cm (approximately) |
| Item Weight | 550 g (approximately) |
| Material | Durable plastic (bowl), Stainless steel (blade) |
| MPN (Manufacturer Part Number) | KW714298 |
| EAN (European Article Number) | 5011423914954 |
9. Warranty and Support
This Kenwood product is manufactured to high-quality standards. For information regarding warranty coverage, service, or to purchase additional replacement parts, please refer to the documentation provided with your original Kenwood Multipro Compact food processor or visit the official Kenwood website for your region.
For direct support, you may contact Kenwood customer service through their official channels.