
1. Introduction
Thank you for choosing the Auto Power Plus 4 Inch 90W Cube Side Shooter LED Lights. These high-intensity LED pods are designed to provide superior illumination for various off-road and driving applications. Featuring a dual-row design with side-shooter LEDs, they offer a broad and far-reaching light output. This manual provides essential information for the safe installation, operation, and maintenance of your new LED lights.
2. Safety Information
- Always disconnect the vehicle's battery before performing any electrical work to prevent electrical shock or short circuits.
- Ensure all wiring connections are secure and properly insulated to prevent moisture ingress and electrical hazards.
- Mount the lights securely to prevent vibration and potential detachment during vehicle operation.
- Do not look directly into the light when it is operating, as the high intensity can cause eye strain or damage.
- Verify that the operating voltage of the lights (DC 9-30V) matches your vehicle's electrical system.
- Consult local regulations regarding auxiliary lighting installation and use.
3. Package Contents
Please verify that all components are present before beginning installation:
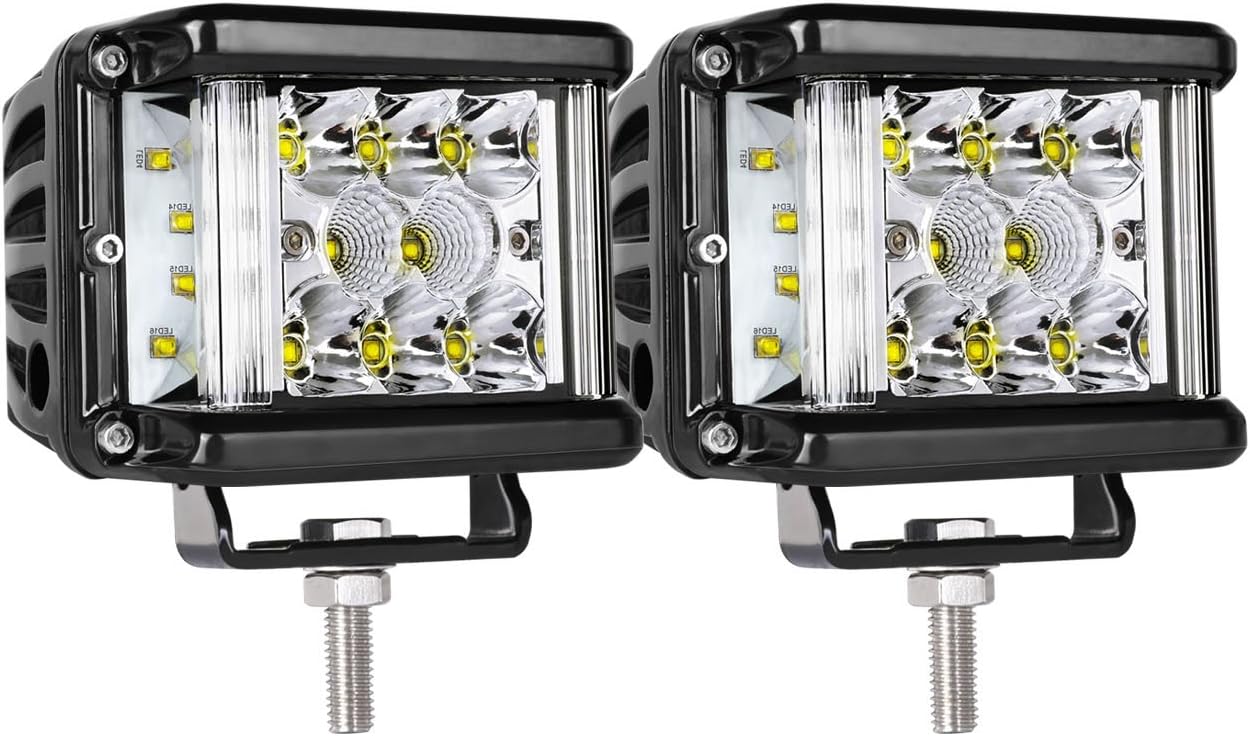
- 2 x Auto Power Plus 4 Inch Side Shooter LED Lights
- 2 x Mounting Brackets
- Hardware (bolts, nuts, washers, Allen wrenches)
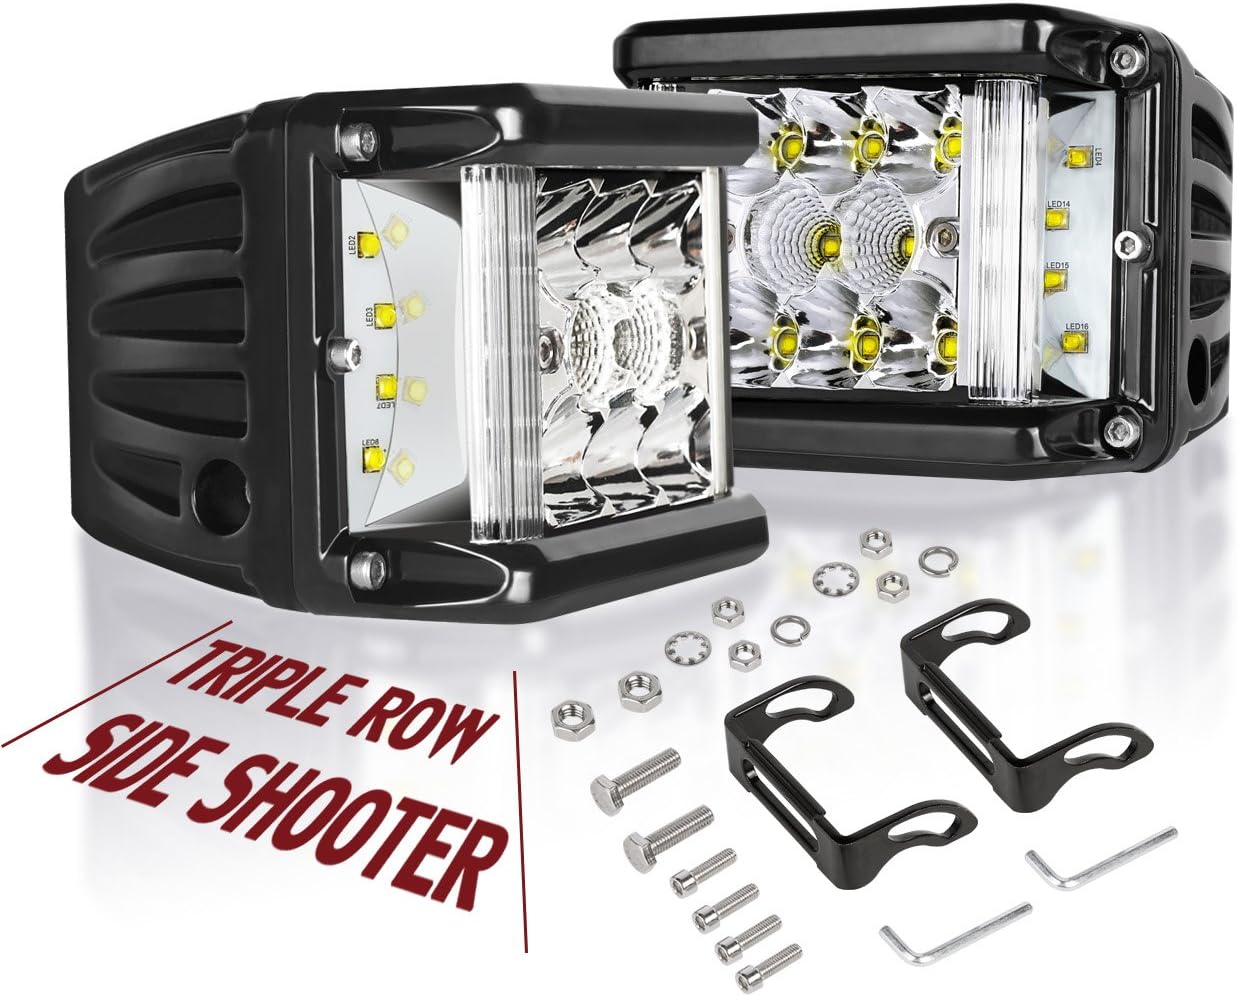
This image displays the two LED light pods along with the included mounting brackets, bolts, nuts, and Allen wrenches required for installation.
4. Specifications
| Feature | Specification |
|---|---|
| Model | NWL1680 |
| Power | 90 Watts (per pair) |
| Brightness | 9000 Lumens (per pair) |
| Color Temperature | 6000K Cool White |
| Operating Voltage | DC 9-30V |
| Beam Angle | 121° Driving Optics (forward), 30° (side shooter) |
| Material | Die-cast Aluminum Alloy Housing, Unbreakable PC Lens |
| Waterproof Rating | IP68 |
| Lifespan | Over 50,000 hours |
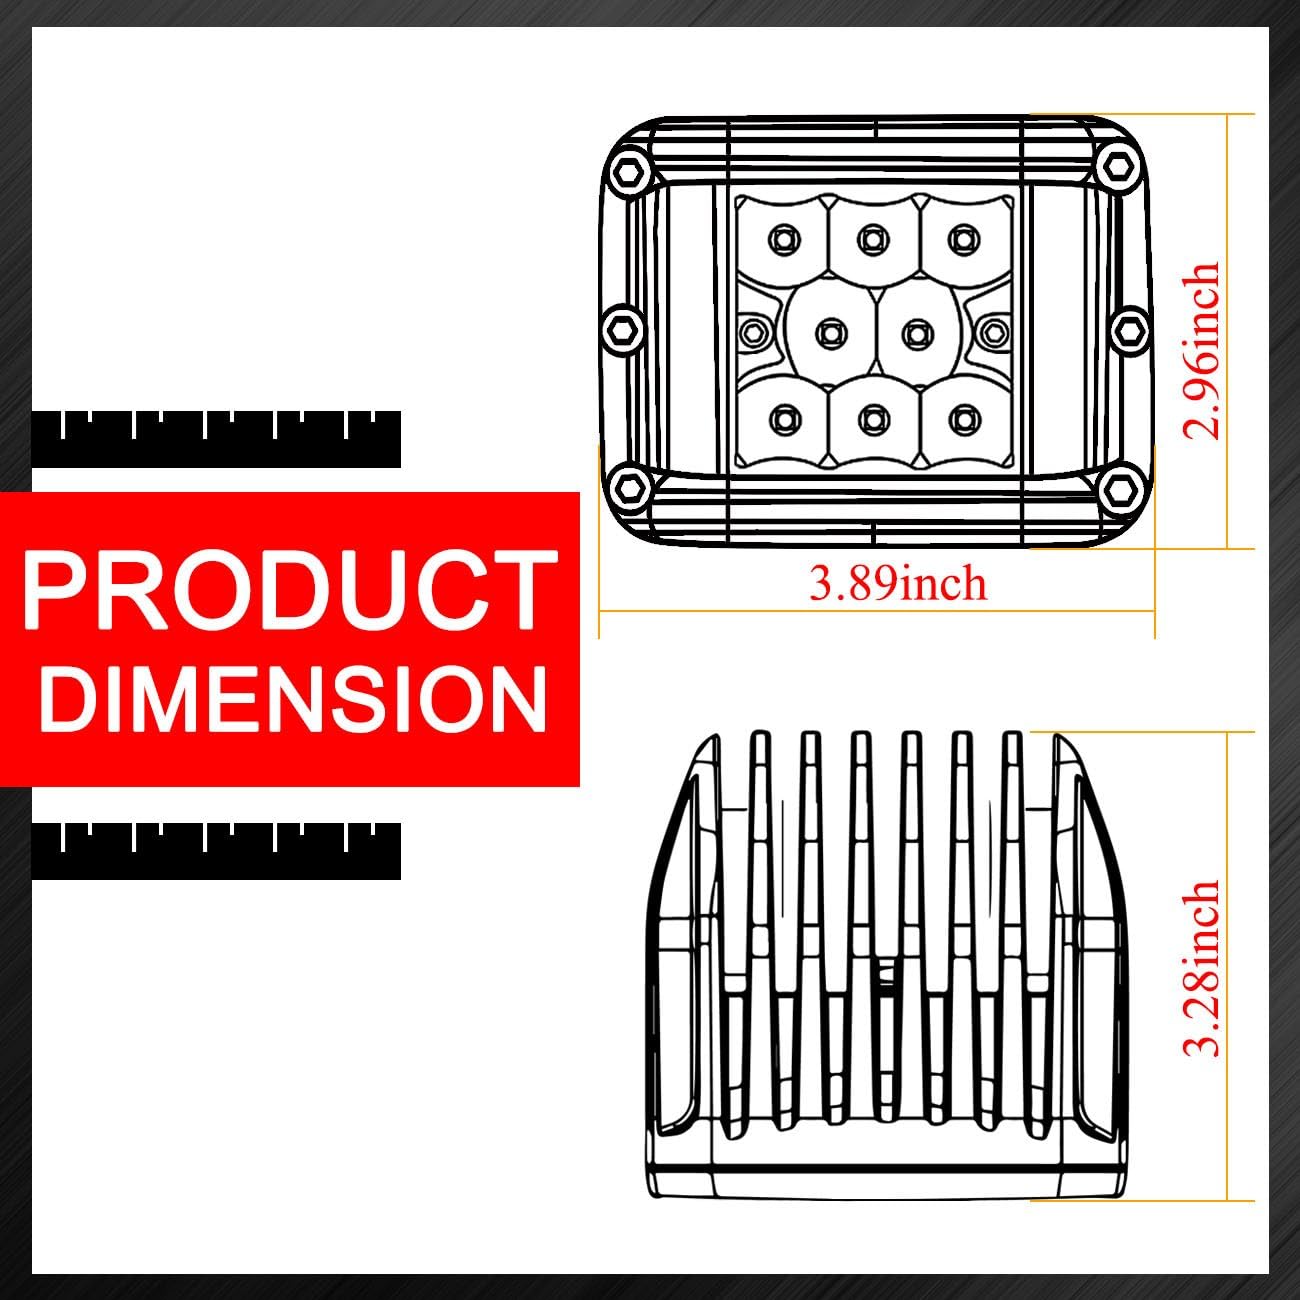
| Dimensions (L x W x H) | 9.5" x 4.9" x 3.3" (approximate, per light) |
A technical diagram providing precise measurements of the LED light pod, including its width, height, and depth, essential for installation planning.
5. Setup and Installation
Follow these general steps for installing your LED lights. Specific mounting locations may vary based on your vehicle.
5.1 Mounting the Lights
- Choose a Location: Select a suitable mounting location on your vehicle that provides optimal light projection and does not obstruct your view or other vehicle functions. Common locations include bumper, A-pillar, or roof rack.
- Assemble Brackets: Attach the provided mounting brackets to the LED light pods using the supplied hardware. Ensure all bolts are tightened securely.
- Secure to Vehicle: Position the assembled light and bracket on your chosen mounting surface. Mark the drilling points if necessary. Drill pilot holes if required, then secure the lights firmly using appropriate bolts and nuts.

This image shows the LED light pod installed on an off-road vehicle's A-pillar, demonstrating a typical mounting application. Additional images show the lights on a golf cart and another off-road vehicle, indicating versatile use.
5.2 Wiring Instructions
It is recommended to use a wiring harness with a relay and fuse (not included) for proper protection and operation.
- Connect Positive: Connect the positive wire (usually red) from the LED light to the positive terminal of your vehicle's battery, preferably through a fused relay circuit.
- Connect Negative: Connect the negative wire (usually black) from the LED light to a suitable ground point on the vehicle chassis or the negative terminal of the battery.
- Switch Connection: Wire a switch into the relay circuit to control the power to the lights.
- Test Functionality: Once all connections are made, re-connect the vehicle battery and test the lights to ensure they function correctly.
6. Operating Instructions
The Auto Power Plus LED lights are designed for straightforward operation.
- Power On/Off: Activate the installed switch to turn the LED lights on or off.
- Beam Pattern: These lights feature a combo beam pattern, providing both a focused spot beam for distance and a wide flood beam for peripheral vision, enhanced by the side-shooter LEDs.

A visual representation of the light's beam pattern, demonstrating the wide 121-degree forward illumination combined with 30-degree side-shooter coverage. Key specifications like 45W per light, combo beam, and over 50,000 hours lifespan are also noted.
7. Maintenance
Regular maintenance ensures optimal performance and longevity of your LED lights.
- Cleaning: Clean the lens and housing periodically with a soft cloth and mild soap solution. Avoid abrasive cleaners that could scratch the lens.
- Inspection: Regularly inspect the mounting hardware and wiring for any signs of looseness, corrosion, or damage. Tighten any loose bolts and repair or replace damaged wiring as needed.
- Waterproofing: The lights are IP68 rated for water and dust resistance. Ensure the wire connections remain sealed to maintain this protection.
The LED light pod is shown under a stream of water, emphasizing its IP68 waterproof and dustproof capabilities, ensuring durability in harsh weather conditions.
8. Troubleshooting
If you encounter issues with your LED lights, refer to the following common problems and solutions:
- Lights Not Turning On:
- Check all wiring connections for looseness or corrosion.
- Verify the fuse in the wiring circuit is not blown.
- Ensure the switch is functioning correctly.
- Confirm the vehicle battery has sufficient charge.
- Lights Are Dim:
- Check for proper voltage supply to the lights.
- Ensure the lens is clean and free from dirt or debris.
- Condensation Inside Lens:
- While IP68 rated, extreme temperature changes can sometimes cause minor condensation. This usually dissipates with use.
- If persistent or excessive, inspect the housing for cracks or damage that might compromise the seal.
9. Warranty Information
Auto Power Plus products are covered by a manufacturer's warranty against defects in materials and workmanship. Please refer to the product packaging or the official Auto Power Plus website for specific warranty terms and conditions. Keep your proof of purchase for warranty claims.
10. Support
For further assistance, technical support, or inquiries regarding your Auto Power Plus LED lights, please contact the manufacturer directly through their official website or customer service channels. Provide your product model number (NWL1680) and purchase details when seeking support.