1. Product Overview
This document provides essential information for the proper installation, function, and maintenance of the East Lake Axle Rear Wheel Axle, model RWA415.01. This axle is designed as a direct OEM replacement for specific Yamaha Grizzly 600 ATV models, ensuring compatibility and performance.

Image 1.1: The East Lake Axle Rear Wheel Axle, showcasing its full length and spline ends.
2. Compatibility
The East Lake Axle Rear Wheel Axle (Model RWA415.01) is compatible with the following Yamaha Grizzly 600 ATV models:
- 1999 Yamaha GRIZZLY 600
- 2000 Yamaha GRIZZLY 600
- 2001 Yamaha GRIZZLY 600
This axle is a direct OEM replacement for part numbers 5GT-25381-00-00 and 5GT-25381-10-00. Please verify compatibility with your specific vehicle before installation.
3. Package Contents
Upon opening the package, ensure all components are present and undamaged. The package should contain:
- One (1) East Lake Axle Rear Wheel Axle (Model RWA415.01)

Image 3.1: The East Lake Axle product packaging, indicating a heavy-duty ATV/UTV axle.
4. Safety Information
WARNING:
- Always wear appropriate personal protective equipment (PPE), including safety glasses and gloves, when performing vehicle maintenance.
- Ensure the vehicle is securely supported on a level surface using jack stands before beginning any work. Never rely solely on a jack.
- Disconnect the battery's negative terminal before working on electrical components.
- Refer to your vehicle's official service manual for specific torque specifications and detailed removal/installation procedures.
- If you are unsure about any step, seek assistance from a qualified mechanic.
5. Installation Guide
This section provides a general overview of the axle replacement process. For detailed, vehicle-specific instructions, always consult your Yamaha Grizzly 600 service manual.
5.1. Preparation
- Park the ATV on a flat, stable surface.
- Engage the parking brake.
- Loosen the lug nuts on the rear wheel.
- Safely lift the rear of the ATV using a jack and secure it with jack stands.
- Remove the rear wheel.
5.2. Axle Removal
- Remove the cotter pin and castle nut securing the axle to the hub.
- Carefully detach the brake caliper and rotor assembly, if necessary, and secure them out of the way without straining the brake line.
- Remove any retaining clips or bolts holding the axle in place within the differential or swingarm.
- Gently slide the old axle out of the hub and differential assembly. Be prepared for some fluid leakage if the differential seal is disturbed.

Image 5.1: Close-up view of one spline end of the axle, which connects to the wheel hub.
5.3. New Axle Installation
- Inspect the differential seals and bearings for wear. Replace if necessary.
- Apply a thin layer of grease to the splines of the new East Lake Axle.
- Carefully slide the new axle into the differential and then into the wheel hub. Ensure it seats correctly.
- Reinstall any retaining clips or bolts removed during the removal process.
- Reattach the brake caliper and rotor assembly.
- Install the castle nut and a new cotter pin, tightening to the manufacturer's specified torque.
- Reinstall the wheel and tighten lug nuts hand-tight.
- Lower the ATV to the ground and torque the lug nuts to the manufacturer's specifications.
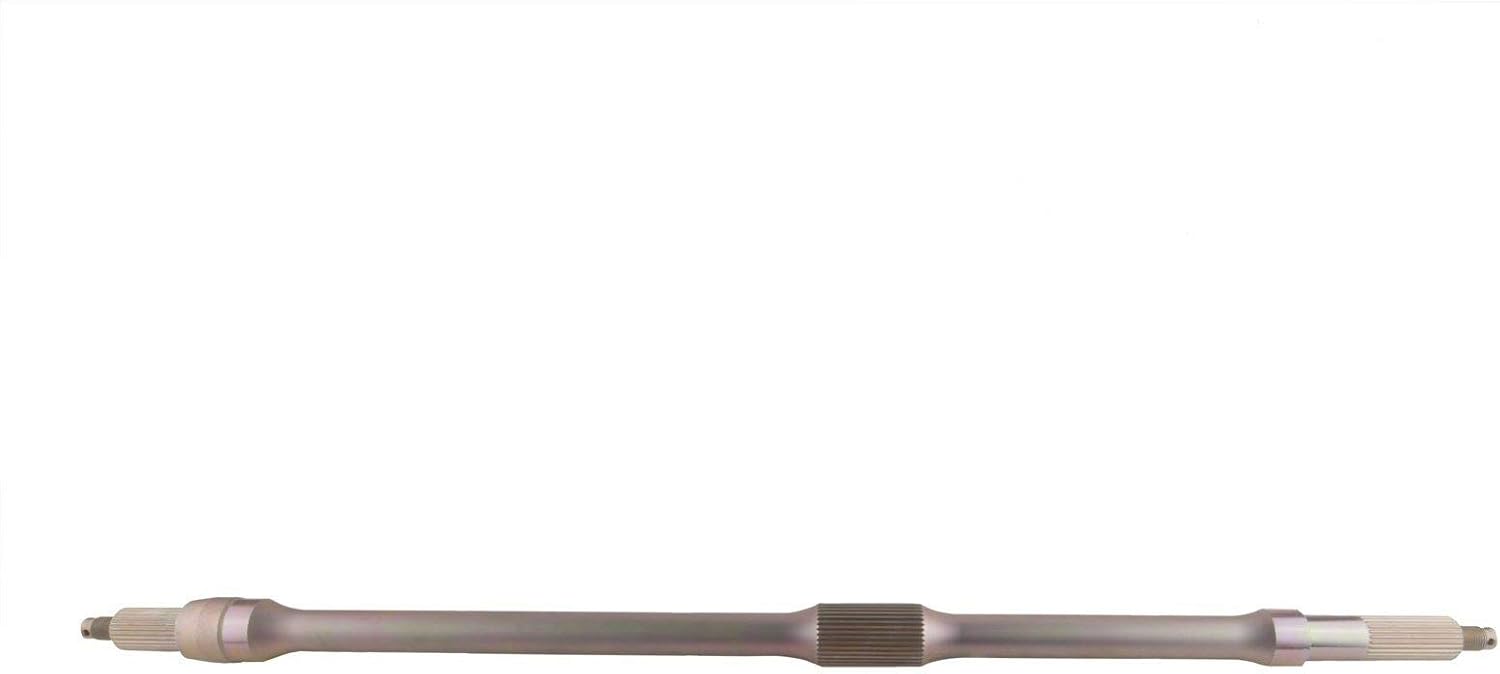
Image 5.2: Side profile of the East Lake Axle, showing the central shaft and spline sections.
6. Operating Considerations
Once installed, the rear wheel axle functions as a critical component of your ATV's drivetrain, transmitting power from the differential to the rear wheels. Proper installation ensures smooth operation and optimal power transfer. After installation, perform a short test ride at low speeds to ensure everything is functioning correctly and there are no unusual noises or vibrations.
7. Maintenance
While the axle itself is a robust component, regular inspection of surrounding parts is crucial for its longevity and the overall safety of your ATV.
- Regular Inspection: Periodically inspect the axle for any signs of damage, bending, or excessive wear. Check the integrity of the axle nuts and cotter pins.
- Boot Inspection: If your ATV uses axle boots (CV boots), regularly check them for tears or cracks. Damaged boots can lead to contamination and premature failure of CV joints (though this specific product is a solid axle, not a CV axle, general advice for ATV axles is good).
- Bearing and Seal Check: Inspect wheel bearings and differential seals for leaks or play. Address any issues promptly to prevent damage to the axle or other drivetrain components.
- Cleaning: Keep the axle and surrounding areas free from excessive dirt, mud, and debris.
8. Troubleshooting
If you experience issues after axle replacement, consider the following common problems and solutions:
- Unusual Noises (Clicking, Clunking):
- Possible Cause: Loose axle nut, worn wheel bearing, or issues with the differential.
- Solution: Re-torque axle nut, inspect/replace wheel bearings, or consult a mechanic for differential inspection.
- Vibration:
- Possible Cause: Improperly seated axle, unbalanced wheel, or bent axle.
- Solution: Re-check axle seating, balance wheels, or inspect axle for damage.
- Fluid Leaks:
- Possible Cause: Damaged differential seal during installation.
- Solution: Inspect and replace differential seal if necessary.
For persistent issues, it is recommended to consult a professional ATV mechanic.
9. Specifications
| Attribute | Detail |
|---|---|
| Brand | East Lake Axle |
| Model Number | RWA415.01 |
| OEM Part Numbers | 5GT-25381-00-00, 5GT-25381-10-00 |
| Position | Rear |
| Item Weight | 8 pounds |
| Package Dimensions | 38 x 8 x 8 inches |
| Exterior Finish | Metallic |
10. Warranty and Support
East Lake Axle provides a 2-Year No-Fault Warranty for this product. For warranty claims, technical assistance, or further inquiries, please contact East Lake Axle customer support directly. Refer to the official East Lake Axle website or your purchase documentation for contact information.
For additional product information or to explore other East Lake Axle products, visit the East Lake Axle Store on Amazon.