
Introduction
This manual provides essential instructions for the proper use and care of your Pampered Chef #1551 Ice Cream Cake Pan. Designed for creating layered ice cream cakes, this pan ensures easy release and consistent results when used correctly. Please read all instructions thoroughly before first use.
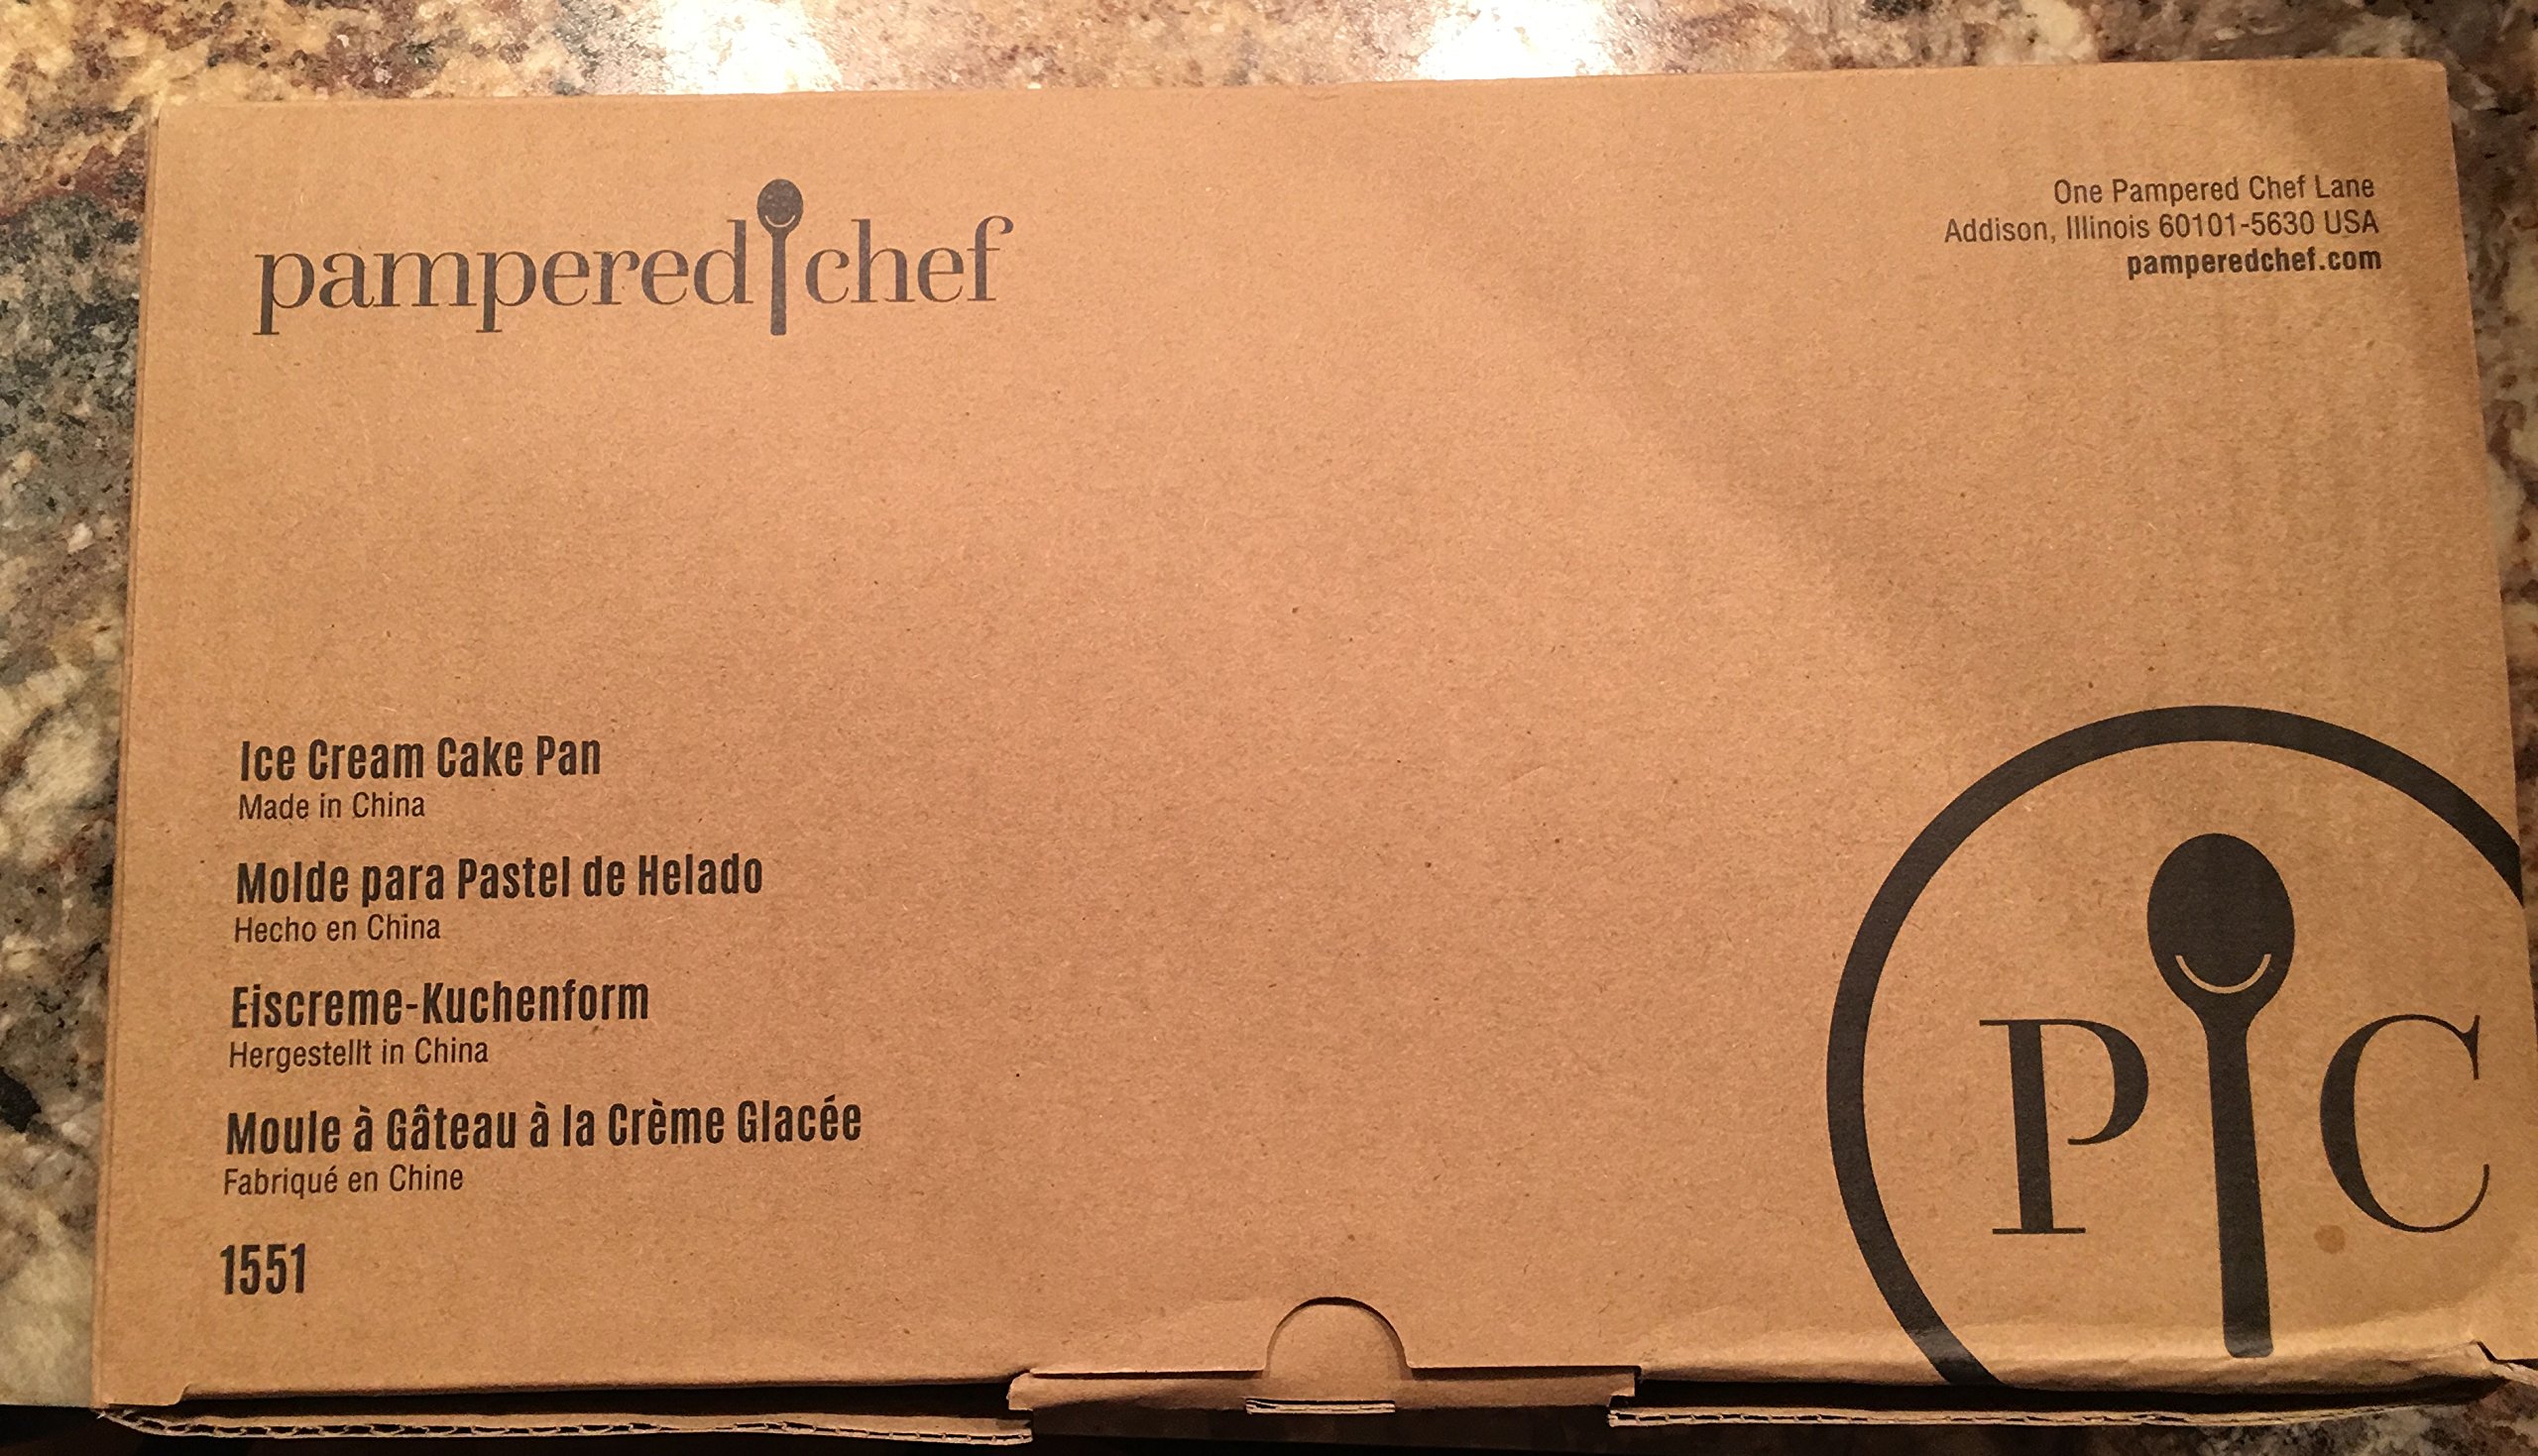
Image: The Pampered Chef #1551 Ice Cream Cake Pan, featuring its dark non-stick coating and removable bottom for easy cake release.
Setup and First Use
- Unpack: Carefully remove the pan from its packaging. Inspect for any damage.
- Wash: Before initial use, wash the pan thoroughly with warm, soapy water. Rinse completely and dry immediately with a soft cloth.
- Seasoning (Optional but Recommended): Although the pan has a non-stick coating, a light seasoning can enhance performance. Lightly coat the interior surface with a small amount of vegetable oil or shortening. Wipe off any excess.
- Assembly: Ensure the removable bottom is securely seated in the pan before adding ingredients.
Operating Instructions
Preparing Your Ice Cream Cake
- Chill the Pan: For best results, place the pan in the freezer for at least 15-30 minutes before adding ice cream layers. This helps prevent the ice cream from melting too quickly.
- Soften Ice Cream: Allow your ice cream to soften slightly at room temperature for 10-15 minutes. It should be pliable enough to spread but not completely melted.
- Layering:
- Press the first layer of softened ice cream evenly into the bottom of the pan.
- Add any desired fillings (e.g., cookie crumbs, fudge, fruit) over the ice cream layer.
- Add subsequent layers of ice cream, pressing each layer firmly and evenly.
- Freezing: Cover the pan tightly with plastic wrap and freeze for a minimum of 4-6 hours, or until the cake is completely firm. For best results, freeze overnight.
Demolding Your Ice Cream Cake
- Warm the Edges: To release the cake easily, briefly warm the sides of the pan. You can do this by:
- Dipping the bottom of the pan in warm water for 10-15 seconds.
- Wiping the exterior sides of the pan with a warm, damp cloth.
- Release: Place the pan on a sturdy, elevated surface (like an inverted bowl or a large can). Gently push down on the sides of the pan to release the cake from the bottom. The cake should slide down onto the elevated surface.
- Transfer: Carefully slide the cake onto a serving plate or cake stand.
- Decorate and Serve: Decorate your ice cream cake as desired and serve immediately, or return to the freezer until ready to serve.
Care and Maintenance
- Hand Washing Recommended: For best results and to preserve the non-stick coating, hand wash the pan with warm, soapy water.
- Avoid Abrasives: Do not use abrasive cleaners, scouring pads, or metal utensils, as these can damage the non-stick surface. Use soft sponges or cloths.
- Drying: Dry the pan thoroughly immediately after washing to prevent water spots and rust.
- Storage: Store the pan in a dry place. If stacking with other bakeware, place a soft cloth or paper towel between pans to protect the non-stick coating.
- Temperature Limits: This pan is designed for freezing and cold applications. Avoid using it in high-temperature ovens or on stovetops, as this can damage the coating and pan structure.
Troubleshooting
- Problem: Ice cream cake sticks to the pan.
- Solution: Ensure the pan was properly chilled before adding ice cream. Make sure the ice cream was softened enough to spread evenly without leaving gaps. Re-evaluate the demolding process; ensure the edges were sufficiently warmed before attempting to push the cake out. A very light coating of cooking spray (non-stick type) on the sides before adding ice cream can also help, though it's often not necessary with a good non-stick pan.
- Problem: Cake layers are uneven or have air pockets.
- Solution: Ensure ice cream is softened to the correct consistency for even spreading. Press each layer firmly and evenly into the pan, using an offset spatula or the back of a spoon to smooth the surface. Tap the pan gently on the counter after each layer to release any trapped air.
Specifications
| Model Number | #1551 |
| Brand | Pampered Chef |
| Included Components | Cake Pan (with removable bottom) |
| Color | Black |
| Item Weight | 703 Grams (1.55 Pounds) |
| Package Dimensions | 12.44 x 7.01 x 4.49 inches |
| Material | Non-stick coated metal (assumed based on typical bakeware) |
Warranty and Support
For detailed warranty information, product registration, or customer support, please refer to the official Pampered Chef website or contact their customer service directly. Specific warranty terms and conditions may vary.
You can typically find support information at: www.pamperedchef.com/support (Note: This is a placeholder URL and may not be the exact link. Please verify on the official website.)