Hampton Bay 1001 553 724
Hampton Bay GreyLock 3-Light Brushed Nickel Bowed Bar Vanity Light
Model: 1001 553 724
Important Safety Information
WARNING: Risk of electric shock. Disconnect power at the fuse box or circuit breaker before installing or servicing. Consult a qualified electrician if you are unsure about the installation process.
CAUTION: To reduce the risk of fire and overheating, ensure all connections are secure. Do not exceed the recommended wattage for bulbs.
- Always turn off the main power supply at the circuit breaker or fuse box before beginning installation.
- Ensure all electrical connections comply with local codes and ordinances, as well as the National Electric Code (NEC).
- If you are not familiar with electrical wiring, consult a qualified electrician.
- Handle glass components with care to prevent breakage.
- This fixture is designed for indoor use only.
Package Contents
Verify that all parts listed below are included in your package. If any parts are missing or damaged, contact Hampton Bay customer service.
- Light Fixture Assembly (Bowed Bar with integrated mounting plate)
- Frosted Glass Shades (3 pieces)
- Mounting Hardware Kit (includes mounting screws, wire nuts, ground screw)
- Instruction Manual

Image: All components of the Hampton Bay GreyLock vanity light laid out, showing the main fixture, three glass shades, and a small bag of hardware.
Tools Required
The following tools are typically required for installation:
- Phillips Head Screwdriver
- Flathead Screwdriver
- Wire Strippers
- Pliers
- Electrical Tape (optional)
- Safety Glasses
Setup and Installation
Follow these steps carefully to install your Hampton Bay GreyLock Vanity Light. It is recommended to have a second person assist during installation.
Step 1: Prepare for Installation
- Turn off Power: Locate the circuit breaker or fuse box that controls the power to the light fixture location. Turn off the main power supply. Verify the power is off using a voltage tester.
- Remove Old Fixture (if applicable): Carefully remove any existing light fixture. Disconnect all wires and remove the old mounting hardware.
Step 2: Attach Mounting Bracket
- Secure Mounting Bracket: Attach the mounting bracket (pre-attached to the fixture) to the electrical junction box using the provided mounting screws. Ensure the bracket is securely fastened and level.

Image: Detail of the fixture's mounting base, illustrating how it connects to the wall. This shows the brushed nickel finish and the central attachment point.
Step 3: Make Electrical Connections
- Connect Wires:
- Connect the black wire from the fixture to the black (hot) wire from the junction box using a wire nut.
- Connect the white wire from the fixture to the white (neutral) wire from the junction box using a wire nut.
- Connect the ground wire (bare copper or green) from the fixture to the ground wire from the junction box (or to the green ground screw on the mounting bracket) using a wire nut.
Ensure all wire nuts are twisted on tightly and secured with electrical tape if desired.
- Tuck Wires: Carefully tuck all connected wires into the junction box.
Step 4: Mount the Fixture
- Secure Fixture: Align the fixture with the mounting screws on the mounting bracket. Push the fixture onto the screws and secure it in place with the decorative nuts or screws provided. Ensure the fixture is flush against the wall.

Image: Side profile of the vanity light, highlighting the bowed bar design and the downward angle of the light shades. This view helps visualize how the fixture extends from the wall.
Step 5: Install Light Bulbs and Glass Shades
- Insert Bulbs: Screw in three (3) 60-Watt Type A (CFL or LED equivalent) bulbs (not included) into the sockets. Do not exceed the maximum wattage.
- Attach Shades: Carefully place each frosted glass shade over the bulb and secure it with the retaining ring or screws provided, ensuring it is snug but not overtightened.

Image: Detailed view of one of the light sockets with a frosted glass shade installed, showcasing the brushed nickel finish of the bulb holder and the texture of the glass.
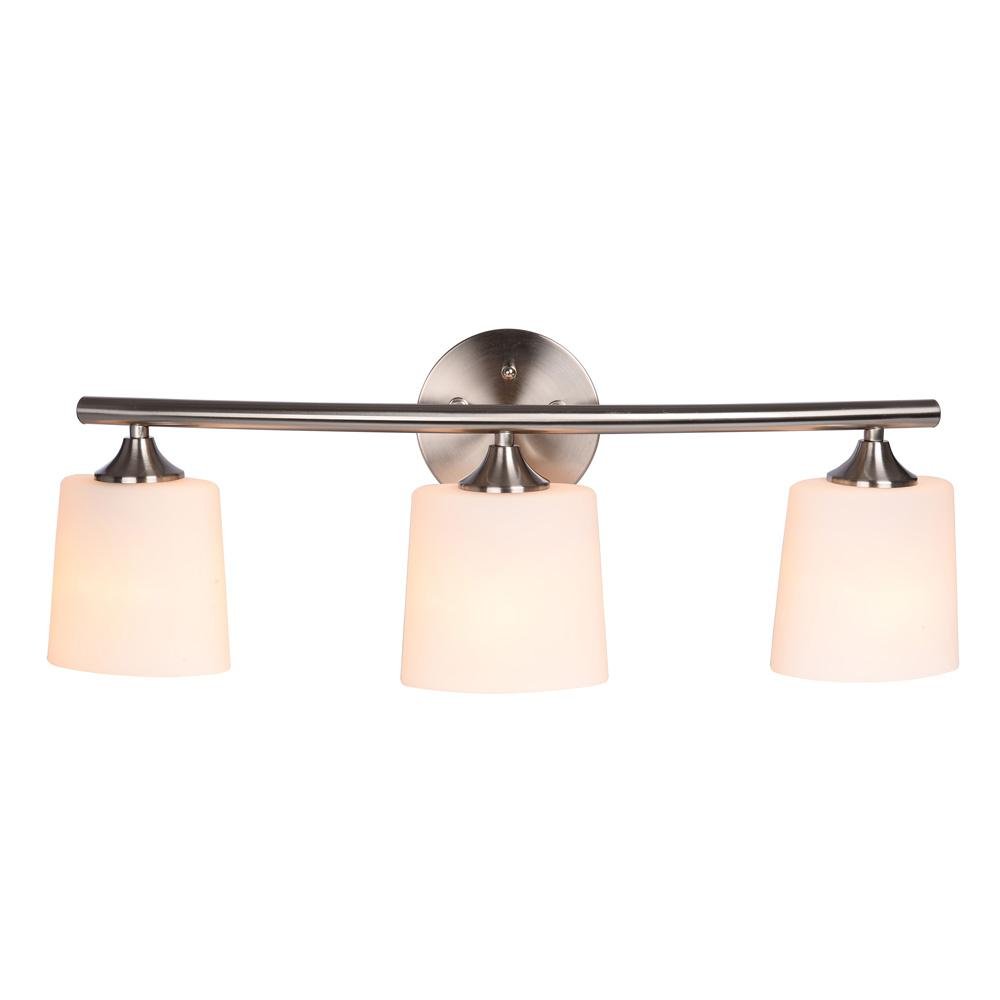
Image: The Hampton Bay GreyLock vanity light fully assembled and illuminated, showing the soft glow through the frosted glass shades. This image represents the final installed appearance.
Step 6: Restore Power
- Turn on Power: Restore power at the circuit breaker or fuse box. Test the light fixture to ensure it functions correctly.
Operating Instructions
The Hampton Bay GreyLock Vanity Light operates via a standard wall switch (not included). Once installed and powered, simply use your existing wall switch to turn the light fixture on or off.
Bulb Type: This fixture uses three (3) 60-Watt Type A bulbs (CFL or LED equivalent). For optimal performance and energy efficiency, consider using LED bulbs.
Maintenance
Regular cleaning will help maintain the appearance and performance of your light fixture.
- Cleaning: Always disconnect power before cleaning. Use a soft, dry cloth to wipe down the brushed nickel finish. For glass shades, a mild glass cleaner can be used, applied to the cloth first, not directly to the shade. Avoid abrasive cleaners or solvents as they may damage the finish.
- Bulb Replacement: Ensure power is off before replacing bulbs. Allow bulbs to cool completely before touching. Replace with bulbs of the same type and wattage (max 60W Type A).
Troubleshooting
If your light fixture is not functioning correctly, refer to the following common issues and solutions:
| Problem | Possible Cause | Solution |
|---|---|---|
| Light does not turn on. |
|
|
| Light flickers or dims. |
|
|
| Glass shade is loose. |
|
|
If the problem persists after trying these solutions, contact a qualified electrician or Hampton Bay customer service.
Specifications
| Brand | Hampton Bay |
| Model Number | 1001 553 724 |
| UPC | 022011645513 |
| Product Dimensions | 7 in. L x 25 in. W x 9 in. H (Assembled) / 10 x 24.6 x 7.5 inches (Shipping) |
| Weight | 3.58 Pounds |
| Material | Metal (Brushed Nickel), Frosted Glass |
| Bulb Type | Uses three 60-Watt Type A bulbs (CFL or LED equivalent) - not included |
| Fixture Form | Vanity Light |
| Style | Transitional |
Warranty and Support
Hampton Bay products are manufactured to high-quality standards and are backed by a manufacturer's warranty. Please refer to the warranty card included with your purchase for specific terms and conditions.
For technical assistance, missing parts, or warranty claims, please contact Hampton Bay customer service. Contact information can typically be found on the product packaging or the manufacturer's official website.
Online Resources: For additional support and FAQs, visit the official Hampton Bay website or the product page on the retailer's website where you purchased the item.
Related Documents - 1001 553 724
 |
Hampton Bay 4-Light Vanity Fixture Use and Care Guide | Installation & Troubleshooting Official Use and Care Guide for the Hampton Bay 4-Light Vanity fixture (Models HD32661D series). Includes detailed installation steps, safety warnings, warranty information, care instructions, and troubleshooting tips for your lighting fixture. |
 |
Hampton Bay Traditional Vanity Light with Nightlight - Use and Care Guide Comprehensive use and care guide for the Hampton Bay Traditional Vanity Light with Nightlight, including installation instructions, troubleshooting tips, and warranty information. Covers models C06025101A, C06026101A, C06024101A. |
 |
Hampton Bay 3-Light Vanity Use and Care Guide Comprehensive use and care guide for the Hampton Bay 3-Light Vanity fixture (Model # DSHD32661C4), including installation, safety, troubleshooting, and warranty information. |
 |
Hampton Bay 3-Light Vanity Use and Care Guide This guide provides instructions for the use and care of the Hampton Bay 3-Light Vanity fixture, including installation, safety information, and troubleshooting. |
 |
Hampton Bay 3-Light LED Vanity Light Use and Care Guide Comprehensive use and care guide for the Hampton Bay 3-Light LED Vanity Light, including installation instructions, safety information, troubleshooting, and warranty details. Model #SMA030EKTDG18D & SMA030EKTDG18B. |
 |
Hampton Bay 3-Light Vanity Fixture Use and Care Guide This guide provides instructions for the installation, use, care, and troubleshooting of the Hampton Bay 3-Light Vanity fixture. Includes safety information and warranty details. |