1. Introduction
Thank you for choosing the Nexlux LED Light Strip. This manual provides essential information for the safe and efficient use of your LED light strip. Please read these instructions carefully before installation and operation, and retain them for future reference.
2. Safety Information
- Ensure the power supply voltage matches the product's requirements (12V).
- Do not connect the LED strip to the power supply while it is still on the reel to prevent overheating.
- Avoid bending the LED strip sharply or at angles less than 90 degrees to prevent damage to the circuit board.
- Keep the product away from water and high humidity environments unless specified as waterproof. This model is for indoor use.
- Do not attempt to repair or modify the product yourself. Contact customer support for assistance.
- Unplug the power adapter from the wall outlet before cleaning or when not in use for extended periods.
3. Package Contents
Please check the package for the following items:
- Nexlux LED Light Strip (16.4 Ft or 32.8 Ft, depending on model)
- Control Unit/Receiver
- Power Adapter
- Remote Control (if included with your specific model)
- User Manual (this document)

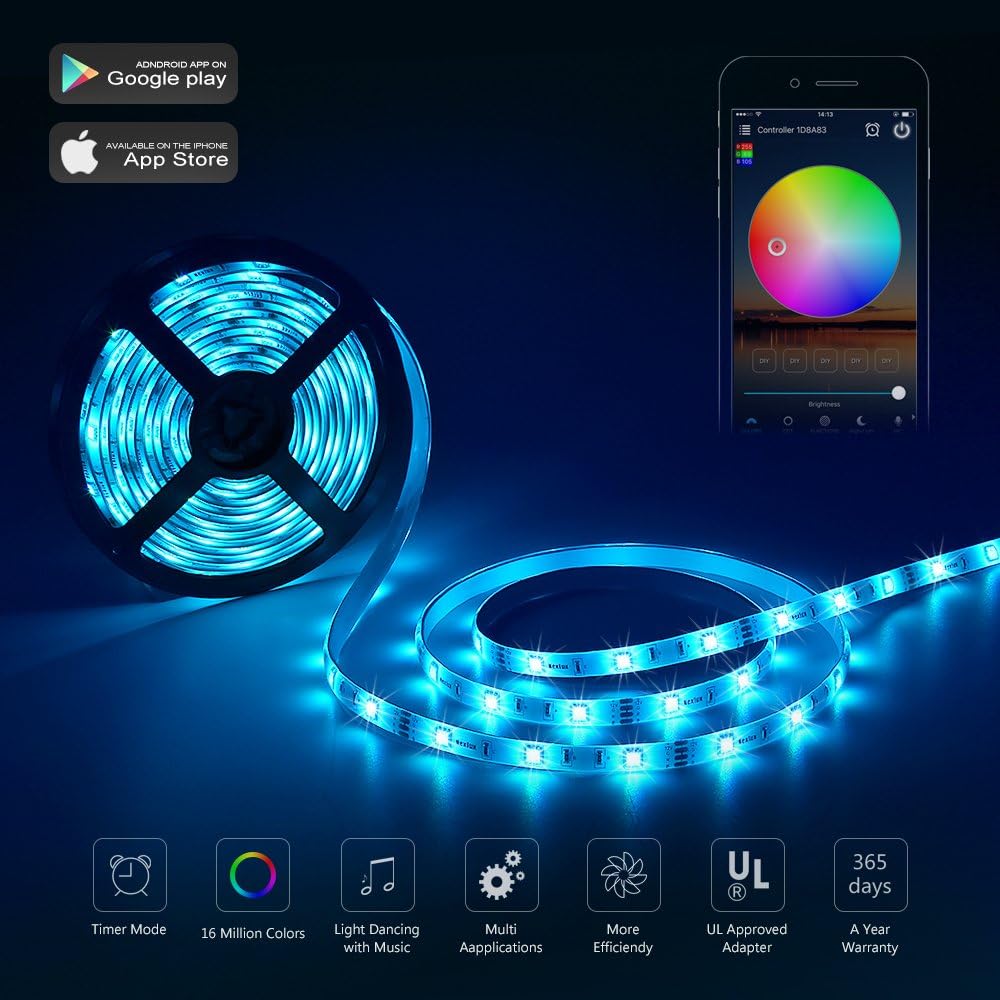
This image displays the Nexlux LED light strip coiled on a reel, alongside its control unit and a smartphone screen showing the companion mobile application for controlling the lights.
4. Setup
- Prepare the Surface: Ensure the installation surface is clean, dry, and smooth. Dust, oil, or moisture can affect the adhesive's effectiveness.
- Measure and Cut (Optional): If necessary, measure the desired length and cut the LED strip only at the designated cut marks (usually indicated by a copper pad and scissor icon). Do not cut elsewhere.
- Attach the Strip: Peel off the adhesive backing from the LED strip. Carefully press the strip onto the desired surface, ensuring firm contact along its entire length.
- Connect the Control Unit: Connect the end of the LED strip to the control unit. Ensure the arrows on both connectors align correctly.
- Connect Power: Plug the power adapter into the control unit, then plug the power adapter into a standard wall outlet.
- Download the App (Optional): For advanced features, download the Nexlux companion app from your smartphone's app store (Android or iOS). Follow the in-app instructions to pair your device.

This image presents two different room settings: a bedroom with blue LED lighting under the bed and along the walls, and a gaming room with vibrant multi-colored LED strips illuminating the desk and surrounding areas, showcasing diverse application possibilities.

This image features a modern living room where the Nexlux LED light strip is installed along shelves and ceiling edges, providing ambient lighting. The text 'Ultra long LED light strip' emphasizes the product's extended length suitable for larger spaces.
5. Operating Instructions
5.1 Basic Operation (Remote Control)
If your model includes a remote control, use it to:
- Turn the lights On/Off.
- Adjust brightness levels.
- Select static colors (Multi-color).
- Choose dynamic lighting modes (e.g., flash, fade, jump).
5.2 App Control
The Nexlux app provides comprehensive control over your LED light strip:
- Color Selection: Access a full spectrum of colors and customize your lighting.
- Brightness Adjustment: Fine-tune the light intensity.
- Dynamic Modes: Explore various pre-set and customizable lighting effects.
- Music Sync: Synchronize the lights with music playing on your device or through the app.
- Timer/Schedule Function: Set specific times for the lights to turn on or off automatically.
This image illustrates the scheduling capability of the Nexlux LED light strip, with settings for automatic turn-on at 8:00 AM and turn-off at 9:00 PM, enhancing convenience and energy saving.
5.3 Voice Control
Certain Nexlux LED Light Strip models support voice control integration with smart home assistants like Alexa. To enable voice control:
- Ensure your LED strip is connected to your home Wi-Fi network via the Nexlux app.
- Enable the Nexlux skill in your smart assistant's app (e.g., Amazon Alexa app).
- Discover new devices through your smart assistant.
- Use voice commands such as "Alexa, turn on the bedroom light" or "Alexa, change the living room light to blue."

This image shows the Nexlux LED light strip being controlled by voice command via Alexa, with an example of changing bedroom light to pink. Below, it displays the strip illuminating different areas of a home with various colors, highlighting its versatility.
5.4 Motion Sensor Feature
Some models of the Nexlux LED Light Strip include a motion sensor. This feature allows the lights to automatically turn on when motion is detected and turn off after a period of inactivity. Refer to the app settings for configuration options related to the motion sensor, such as sensitivity and duration.
6. Maintenance
- Cleaning: Gently wipe the LED strip with a dry, soft cloth. Do not use abrasive cleaners or solvents. Ensure the power is disconnected before cleaning.
- Storage: If storing the LED strip for an extended period, ensure it is clean, dry, and coiled loosely to prevent damage. Store in a cool, dry place.
- Inspection: Periodically check the strip and connections for any signs of wear or damage.
7. Troubleshooting
| Problem | Possible Cause | Solution |
|---|---|---|
| Lights do not turn on. | No power, loose connection, faulty power adapter. | Check power outlet, ensure all connections are secure, try a different power adapter if available. |
| Remote control not working. | Dead battery, remote out of range, IR sensor blocked. | Replace battery, ensure remote is pointed at the control unit, remove any obstructions. |
| App cannot connect to the strip. | Wi-Fi issue, incorrect pairing, app glitch. | Ensure Wi-Fi is active and correct, restart the app and LED strip, re-attempt pairing process. |
| Lights are flickering or dim. | Insufficient power, damaged strip, loose connection. | Check power adapter, inspect strip for damage, secure connections. |
8. Specifications
- Brand: Nexlux
- Model Number: YPL0051M
- Product Dimensions: 17 x 17 x 7 cm; 299 g (packaging)
- Color: Multi-color (RGB)
- Power Source: Corded Electric
- Light Source Type: LED
- Indoor/Outdoor Use: Indoor
- Special Feature: Motion Sensor
- Style: Strip
9. Warranty and Support
For warranty information and customer support, please refer to the documentation provided with your purchase or visit the official Nexlux website. Keep your purchase receipt as proof of purchase for any warranty claims.