Yosoo Yosoo Schlösser (ASIN: B072PVM8JJ)
Yosoo 3-Digit Mechanical Combination Lock User Manual
Brand: Yosoo | Model: Schlösser (ASIN: B072PVM8JJ)
1. Introduction
This manual provides comprehensive instructions for the installation, operation, and maintenance of your Yosoo 3-Digit Mechanical Combination Lock. Designed for cabinets, drawers, and mailboxes, this lock offers robust security without the need for keys.

Figure 1: Yosoo 3-Digit Mechanical Combination Lock. This image shows the silver-colored lock with its three numerical dials clearly visible, set to a combination.
Key Features:
- Constructed from high-strength zinc alloy for durability and security.
- Keyless 3-digit combination mechanism.
- Initial factory password set to 0-0-0.
- Suitable for various applications including cabinets, drawers, and mailboxes.
- Designed for easy installation without damaging furniture.
2. Package Contents
Please verify that all components are present in the package before proceeding with installation.
- 1 x Yosoo 3-Digit Mechanical Combination Lock
- 1 x 49mm Lock Extension (if applicable for your model variant)
- Mounting hardware (nuts, washers)
- 1 x Installation Tool (for tightening the nut)

Figure 2: Package contents including the lock, extension, and installation tool. This image displays three combination locks and a specialized wrench for installation.
3. Technical Specifications
| Feature | Specification |
|---|---|
| Product Dimensions (L x W x H) | 11 x 7 x 4 cm |
| Weight | 110 Grams |
| Material | Zinc Alloy |
| Color | Silver |
| Lock Type | 3-Digit Mechanical Combination |
| Recommended Usage | Cabinets, Drawers, Mailboxes |
| Applicable Panel Thickness | 17~23mm (This model) |
| Manufacturer | Yosoo |
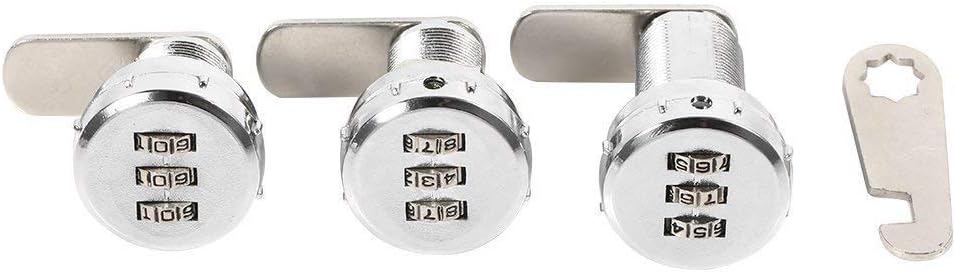
Figure 3: Detailed technical drawing showing lock dimensions in millimeters. This diagram provides precise measurements for installation planning.
4. Installation Guide
Follow these steps to properly install your Yosoo combination lock. Ensure the thickness of your cabinet or drawer panel is within the 17-23mm range for this specific model.
- Prepare the Mounting Hole: Drill a circular hole with a diameter of approximately 19mm (as indicated in Figure 3) at the desired location on your cabinet or drawer panel. Ensure the hole is clean and free of debris.
- Insert the Lock Body: With the lock in the unlocked position (initial code 0-0-0), insert the threaded barrel of the lock through the prepared hole from the front side of the panel.
- Secure the Lock: From the inside of the cabinet/drawer, place the washer and then thread the hexagonal nut onto the lock's barrel. Tighten the nut firmly using the provided installation tool or an appropriate wrench until the lock is securely fastened to the panel. Do not overtighten.
- Attach the Latch/Extension: Depending on your application, attach the appropriate latch or 49mm lock extension to the back of the lock mechanism using the screw provided. Ensure it aligns correctly with the strike plate or frame when the lock is engaged.
- Test Functionality: Before closing the cabinet/drawer, test the lock's mechanism. With the initial code (0-0-0), the lock should open. Rotate the dials to a different combination, and the lock should secure.
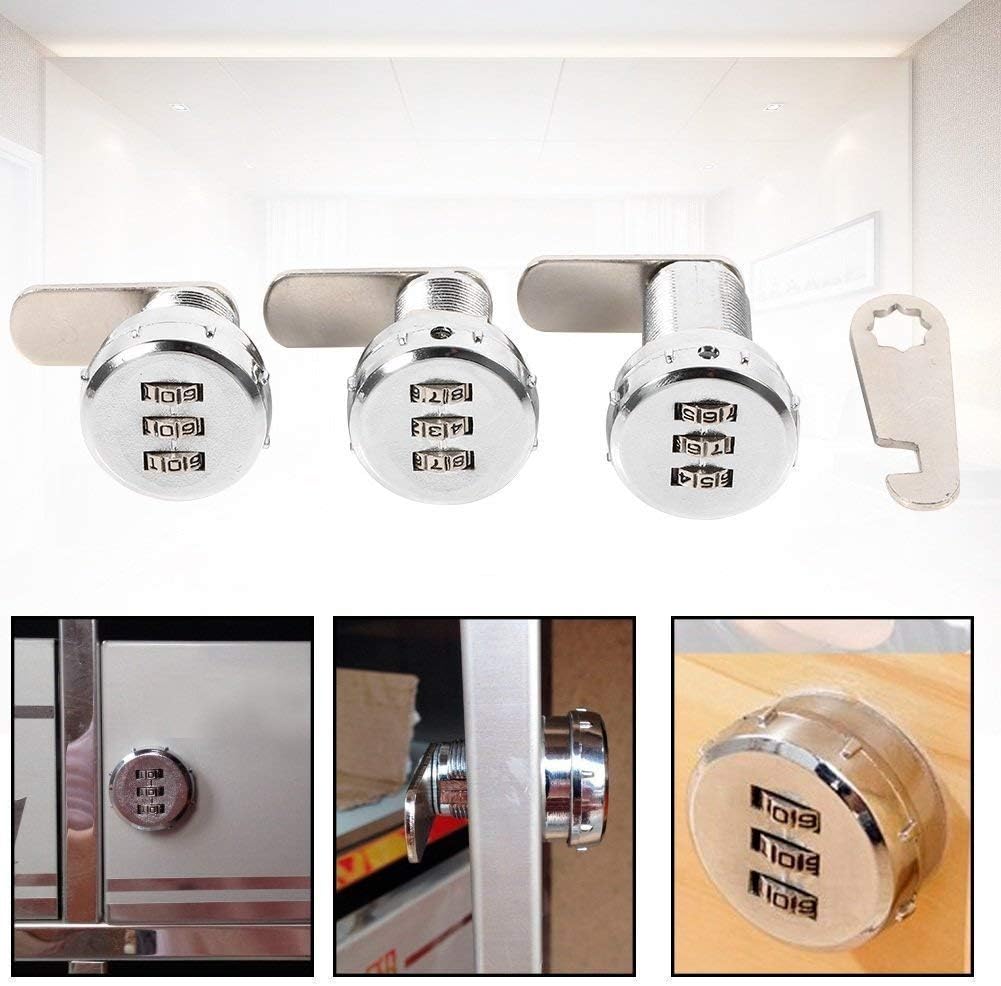
Figure 4: Example of the lock installed on a wooden cabinet panel. This image illustrates the lock's appearance when mounted.
5. Operating Instructions
5.1 Opening the Lock:
- Rotate the three numerical dials to align with the correct 3-digit combination (factory default is 0-0-0).
- Once the correct combination is set, the lock mechanism will disengage, allowing you to turn the knob/lever to open the cabinet or drawer.
5.2 Setting/Changing the Combination:
It is highly recommended to change the factory default combination immediately after installation for enhanced security.
- Open the Lock: First, open the lock by setting it to the current correct combination (e.g., 0-0-0).
- Locate the Reset Hole: On the back of the lock body (the part inside the cabinet), locate a small reset hole or button. (Refer to Figure 5 for typical location).
- Engage Reset Mechanism: Use a pointed object (like a pen tip or paperclip) to press and hold the reset button/pin inside the reset hole. While holding it, rotate the lock's knob/lever 90 degrees clockwise (or counter-clockwise, depending on the model, usually indicated by an arrow or notch). You should feel a slight click or resistance.
- Set New Combination: While holding the reset mechanism engaged, set your desired new 3-digit combination by rotating the dials. Choose a memorable but secure combination.
- Release Reset Mechanism: Release the reset button/pin and rotate the lock's knob/lever back to its original position. The new combination is now set.
- Test New Combination: Scramble the dials and then try to open the lock using your new combination to ensure it has been set correctly.
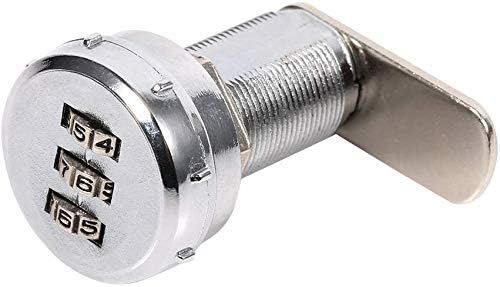
Figure 5: Close-up view of the numerical dials. This image highlights the clear numbering on the combination wheels.
6. Care and Maintenance
- Cleaning: Wipe the lock surface with a soft, damp cloth. Avoid using abrasive cleaners or solvents, as they may damage the finish.
- Lubrication: The internal mechanism is designed for long-term, maintenance-free operation. Avoid applying lubricants unless specifically instructed by the manufacturer, as this can attract dust and hinder performance.
- Environmental Conditions: While durable, avoid exposing the lock to extreme moisture or corrosive environments to prolong its lifespan.
7. Troubleshooting
- Lock will not open with the correct combination:
- Ensure each dial is precisely aligned with its number.
- Verify you are using the correct combination. If you recently changed it, try both the old and new combinations.
- Gently jiggle the knob/lever while entering the combination to ensure no internal parts are stuck.
- Cannot change the combination:
- Ensure the lock is in the open position with the current combination set.
- Confirm you are pressing the reset button/pin firmly and rotating the knob/lever fully as instructed in Section 5.2.
- Use a suitable pointed object that fits snugly into the reset hole.
- Lock feels stiff or difficult to turn:
- Check for any obstructions around the lock mechanism or the latch.
- Ensure the mounting nut is not overtightened, which could cause binding.
- Lock is loose after installation:
- Retighten the hexagonal nut on the inside of the cabinet/drawer using the installation tool.
8. Warranty and Support
For information regarding warranty coverage, technical support, or replacement parts, please contact Yosoo customer service through the retailer where you purchased the product or visit the official Yosoo brand store on Amazon:
Visit the Yosoo Store on Amazon
Please have your product model number (ASIN: B072PVM8JJ) ready when contacting support.
Ask a question about this manual
Ask about setup, troubleshooting, compatibility, parts, safety, or missing instructions. Manuals+ will review the question and use this page’s manual context to help answer it.