
Introduction
This manual provides detailed instructions for the installation and operation of the Maestro HRN-AR-CH2 Plug and Play Amplifier Harness. This harness is designed to facilitate the replacement of a factory amplifier with a more powerful aftermarket amplifier in compatible Chrysler, Dodge, and Jeep vehicles, requiring the Maestro AR amplifier replacement module.
Vehicle Compatibility
The Maestro HRN-AR-CH2 harness is compatible with select 2008-up Chrysler, Dodge, Jeep, and Ram vehicles. It is specifically designed to work in conjunction with the Maestro AR amplifier replacement module to ensure seamless integration with your vehicle's existing systems.
Key Features
- Plug and Play Installation: Designed for straightforward connection, minimizing the need for cutting or splicing factory wiring.
- Aftermarket Amplifier Integration: Enables the installation of a more powerful aftermarket amplifier (Maestro AR amplifier replacement module required).
- Retains Factory Controls: Maintains essential factory features such as fader control, tone settings, and other important functions.
What's in the Box
The Maestro HRN-AR-CH2 package includes:
- Maestro HRN-AR-CH2 Amplifier Harness
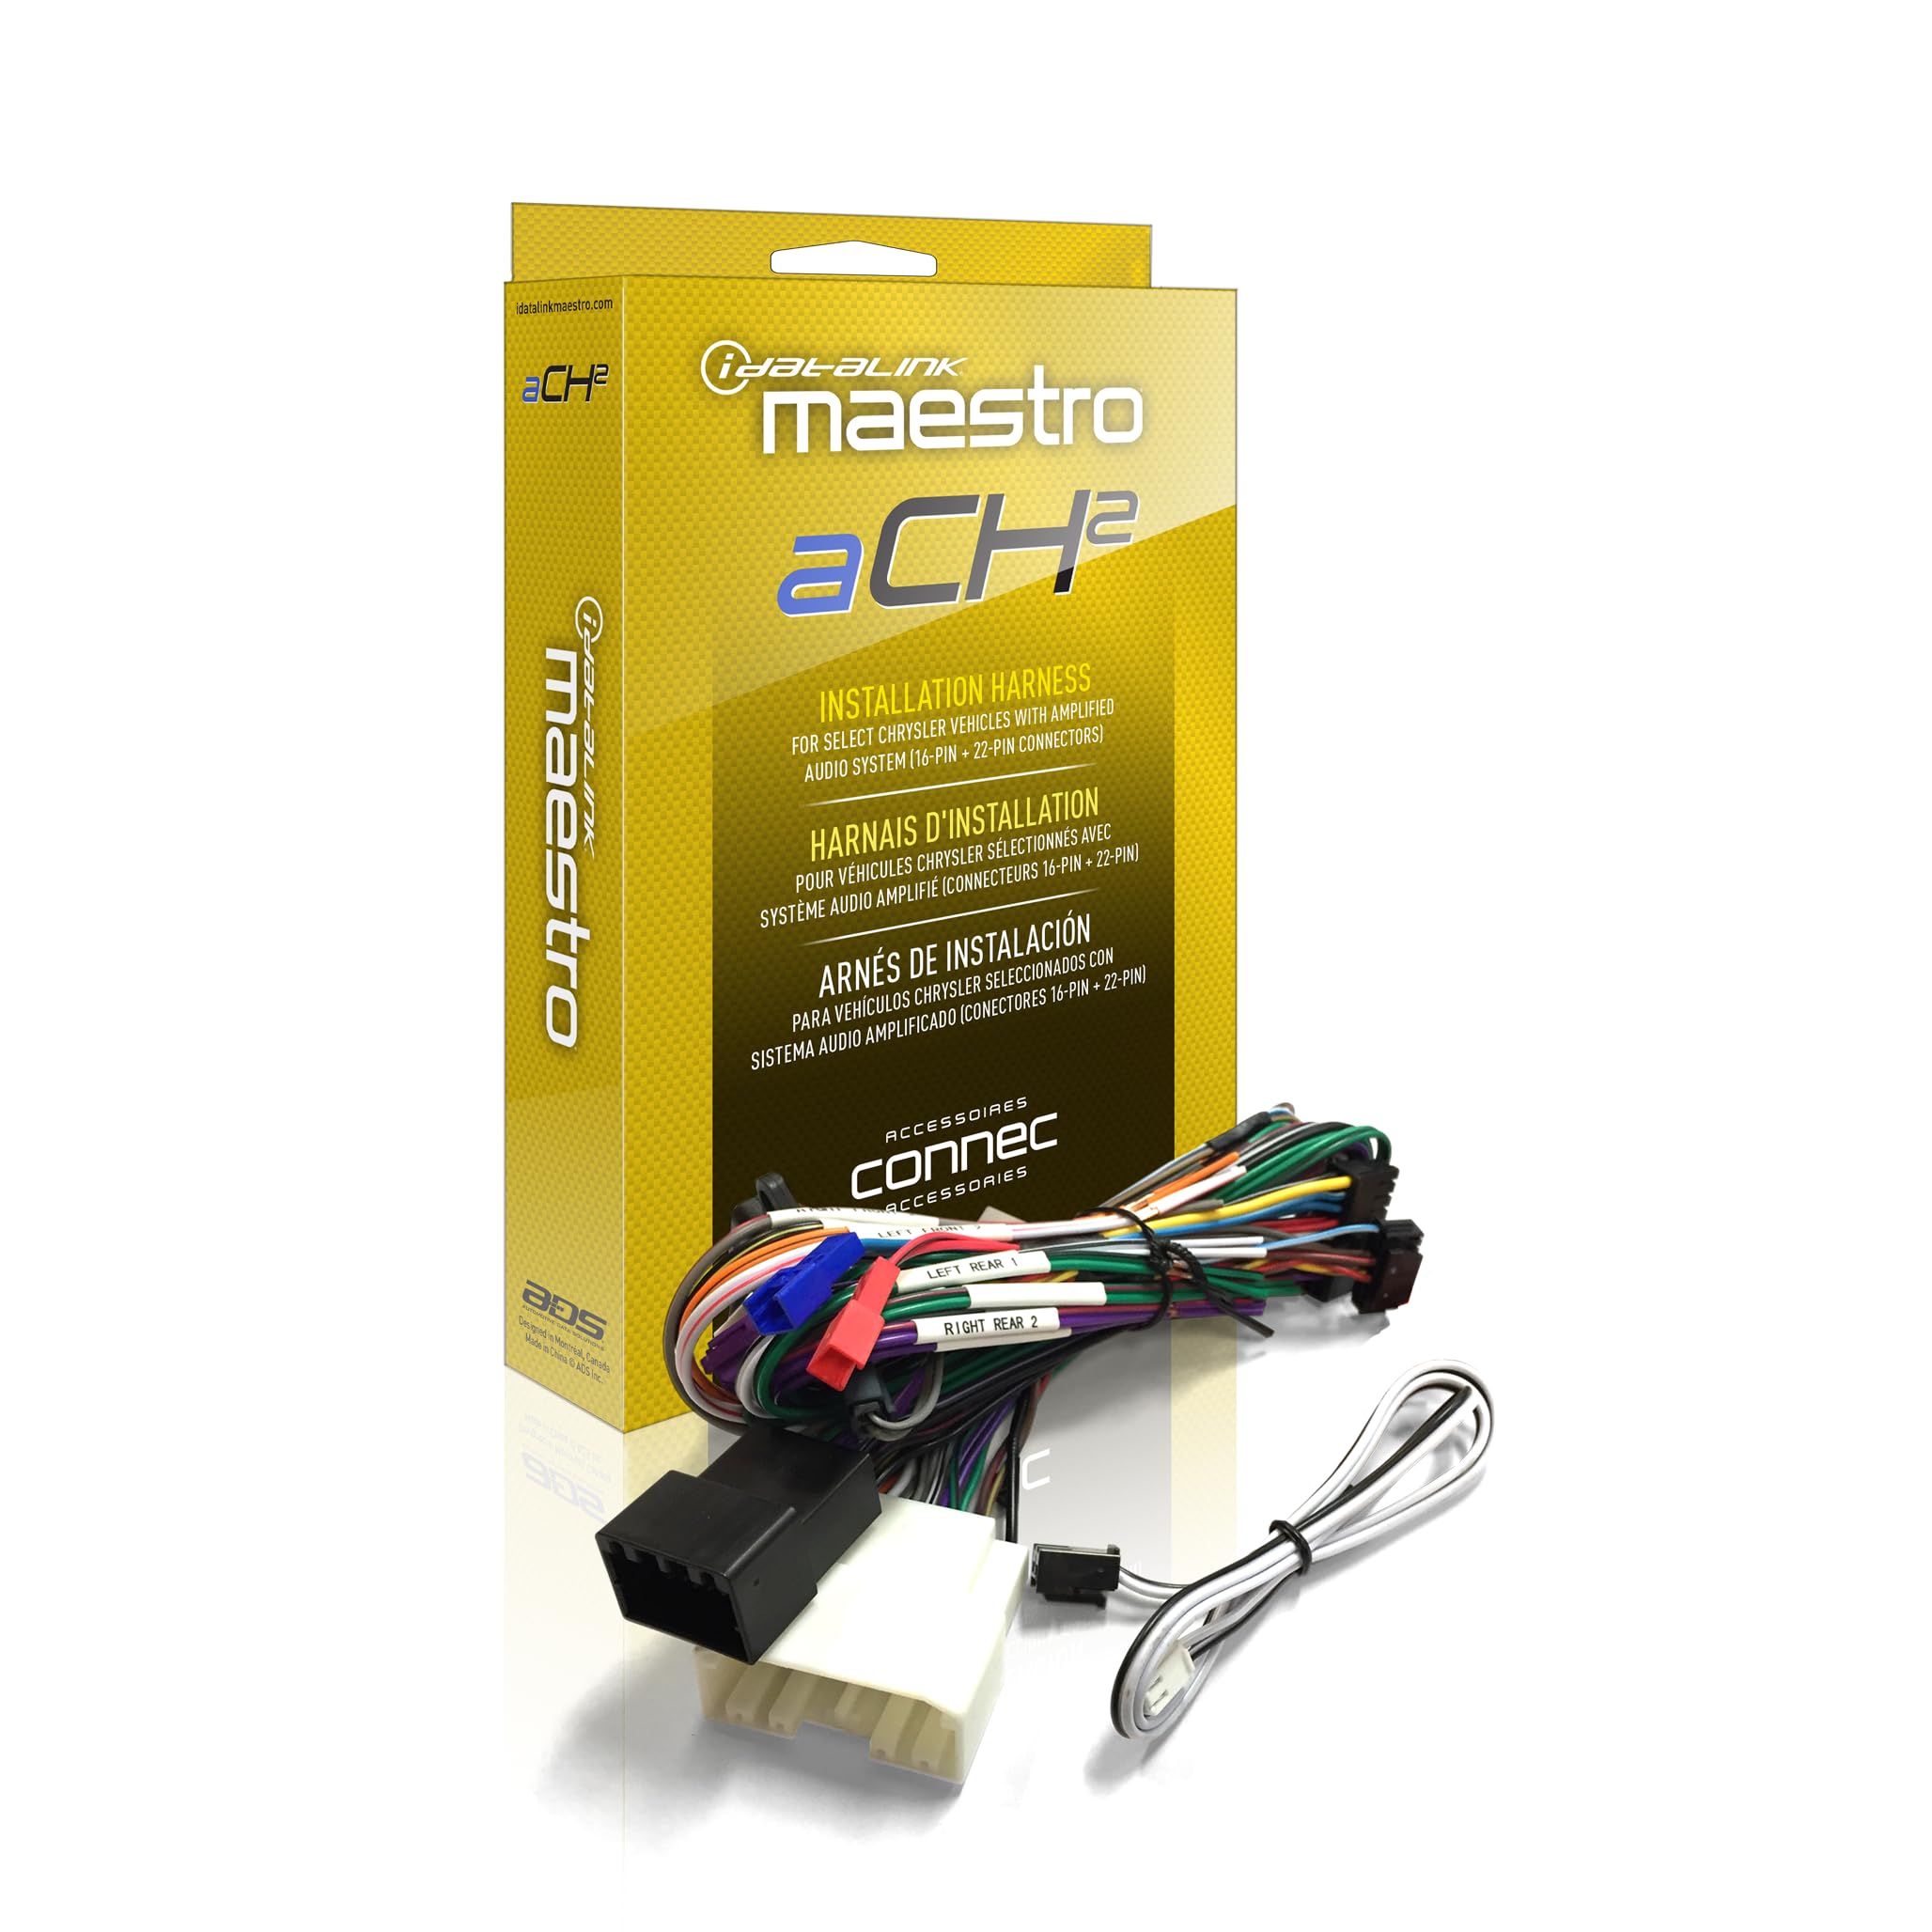
Image: A collection of wiring harnesses and connectors, including the main Maestro HRN-AR-CH2 amplifier harness, designed for vehicle audio system integration. Various colored wires are visible, terminating in connectors and bare ends for custom connections.
Installation Overview
Installation of the Maestro HRN-AR-CH2 harness requires the Maestro AR amplifier replacement module (sold separately). This harness connects directly to your vehicle's factory wiring and the Maestro AR module, simplifying the process of upgrading your audio system.
- Ensure the vehicle's battery is disconnected before beginning installation.
- Remove the factory radio and access the factory amplifier location.
- Connect the Maestro HRN-AR-CH2 harness to the factory wiring and the Maestro AR module as per the detailed installation guide (available via Weblink Desktop).
- Secure all connections and reassemble the vehicle's dashboard components.
- Reconnect the vehicle's battery and proceed with module programming.

Image: A close-up view of the various connectors and color-coded wires that make up the Maestro HRN-AR-CH2 amplifier harness, highlighting the plug-and-play design for easy integration.
Module Programming
The Maestro AR module, used with the HRN-AR-CH2 harness, requires programming to match your specific vehicle and aftermarket radio. This is typically done using the iDatalink Weblink Desktop application.
Weblink Desktop Installation and Module Flashing
Follow these steps to install the Weblink Desktop application and flash your Maestro module:
Video: This tutorial demonstrates how to download and install the iDatalink Weblink Desktop application on a Windows PC, create an account, and flash your Maestro module with vehicle-specific firmware. This is crucial for the HRN-AR-CH2 harness to function correctly with your vehicle and aftermarket amplifier.
Flashing the iDatalink Maestro ADS-MRR (General Overview)
For a general overview of the flashing process for iDatalink Maestro modules, refer to this video:
Video: This video provides a general guide on how to flash an iDatalink Maestro ADS-MRR module, which is part of the Maestro system. The principles shown are applicable to programming the Maestro AR module used with the HRN-AR-CH2 harness.
Retaining Vehicle Settings
The Maestro AR module, when used with the HRN-AR-CH2 harness, is designed to retain access to various vehicle settings that are typically controlled through the factory radio. These settings may include:
- Lighting Control
- Door Lock Options
- Safety and Driving Assistance Features
- Driving Modes
- Instrument Cluster Settings
- Parking Assistance
- TPMS Settings
These features can be controlled directly from a Maestro-compatible aftermarket radio's touchscreen or via Bluetooth using the Maestro Central mobile app (for iOS and Android devices) if the radio is not Maestro-compatible.
Vehicle Settings Retention Overview
Video: This video illustrates how iDatalink Maestro modules retain and allow control over various vehicle settings, such as lighting, door locks, and safety features, through an aftermarket radio or a mobile app. This functionality is supported when using the HRN-AR-CH2 harness with a Maestro AR module.
Camera Integration
The Maestro system, including the HRN-AR-CH2 harness and Maestro AR module, can retain and integrate factory reverse cameras, 360-degree cameras, and cargo cameras. If your vehicle's factory radio provided multiple viewing angles or split-screen views, the Maestro system will retain this functionality, allowing control from a steering wheel button.
Advanced Camera Features with Maestro
Video: This video demonstrates advanced camera features supported by iDatalink Maestro modules, including smart parking, low-speed front camera triggers, and side-view camera activation with turn signals. These features enhance safety and convenience when integrating an aftermarket radio with the HRN-AR-CH2 harness.
Programmable Outputs
The Maestro AR module offers two programmable outputs. These outputs can be configured to trigger various functions based on vehicle data messages. Examples include:
- Triggering external lighting.
- Activating additional cameras.
- Converting digital data messages to analog outputs for custom applications.
This allows for advanced customization and integration with other aftermarket accessories.
Specifications
| Item Dimensions (L x W x H) | 4.7 x 7.8 x 1.3 inches |
| Voltage | 12 Volts (DC) |
| Material | Acrylonitrile Butadiene Styrene |
| Item Weight | 8 ounces |
| Model Number | HRN-AR-CH2 |
| UPC | 627780001456 |
Troubleshooting
If you encounter issues during or after installation, consider the following:
- No Power to Aftermarket Amplifier: Verify all power and ground connections. Ensure the Maestro AR module is correctly programmed and receiving power.
- No Audio Output: Check all speaker connections and ensure the aftermarket amplifier is receiving an audio signal from the head unit. Confirm the Maestro AR module is correctly configured for amplifier integration.
- Loss of Factory Features: Re-verify the programming of the Maestro AR module using Weblink Desktop. Ensure all required OEM systems were selected during the programming process.
- Steering Wheel Control Issues: Confirm the correct steering wheel configuration was selected during programming. Check the physical connections to the steering wheel control interface.
- Camera Malfunction: Ensure the camera inputs are correctly assigned in the aftermarket radio settings and that the Maestro module is programmed for camera retention.
For detailed troubleshooting steps, refer to the complete installation guide available on the iDatalink Maestro website.
Support & Warranty
For technical assistance, detailed installation guides, and warranty information, please visit the official iDatalink Maestro website or contact their customer support.
- Official Website: www.idatalinkmaestro.com
- Customer Support: Refer to the website for contact details and support hours.
This product is covered by a manufacturer's warranty. Please retain your proof of purchase for any warranty claims.


