Introduction
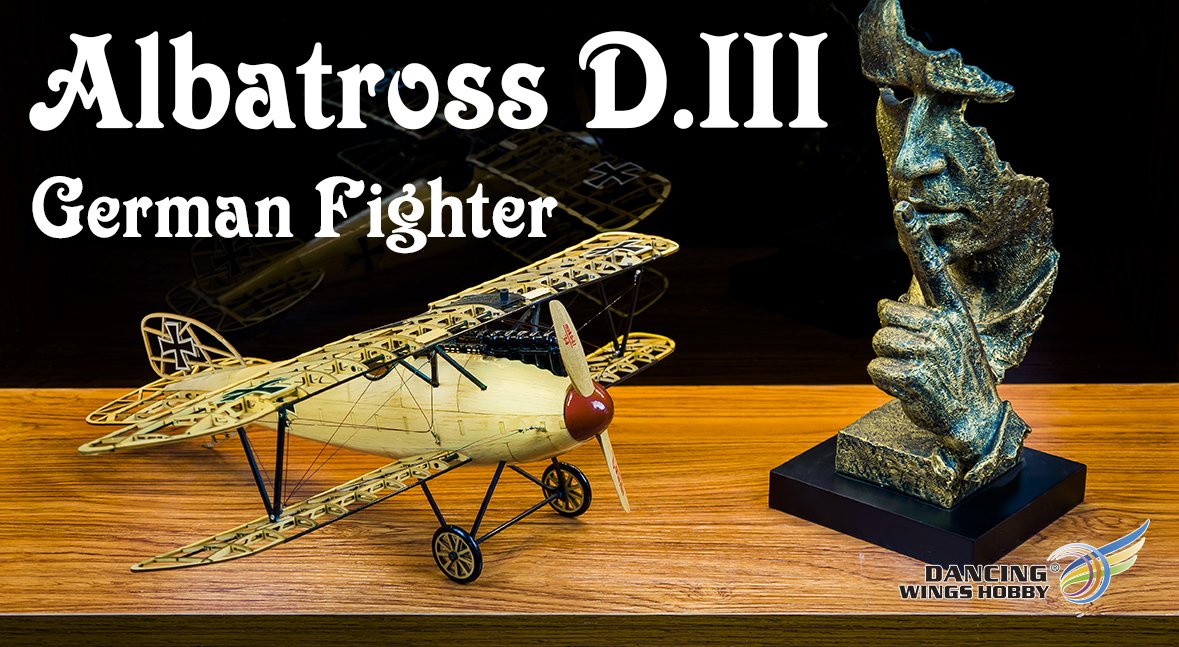
This manual provides detailed instructions for assembling your Dancing Wings Hobby Albatross D.III Static Model Kit. This 1:15 scale replica of the Albatross D.III German Fighter is designed for display and requires careful assembly.
This model is a static display model and is not designed for flight.
Package Contents
Your kit includes precision laser-cut wooden parts, pre-assembled scale components, and various accessories. Please verify all components are present before beginning assembly.
- Laser-cut wooden sheets for fuselage and wing structures.
- Pre-assembled engine block (black plastic).
- Two pre-assembled machine guns (black plastic).
- Pre-assembled radiator (black plastic).
- Decals for markings.
- Transparent PVC film for radiator covers.
- Wooden propeller (5-inch, for display only).
- Propeller nose cone (clear plastic, requires painting).
- Carbon rods and tubes for structural support.
- Rubber tubing for cockpit trim.
- Steel wire for rigging.
- Wooden wheels.
- Instruction manual (this document).
This video demonstrates the unboxing of the Albatross D.III kit, showcasing the various components included, such as the laser-cut wooden sheets, pre-assembled engine, machine guns, radiator, and other accessories.
Tools Needed
The following tools are recommended for assembly:
- Hobby knife or craft knife.
- Wood glue (e.g., SO2 glue).
- Sandpaper or sanding block.
- Small files or sanding sticks.
- Small pliers or tweezers.
- Paint (red, black, and clear coat recommended).
- Small paintbrushes.
- Cutting mat.
Assembly Instructions
Follow these steps carefully for successful assembly. Refer to the provided diagrams and images for visual guidance.
1. Prepare Parts
Carefully remove all laser-cut wooden parts from their sheets using a hobby knife. Ensure clean cuts and smooth edges. Identify all parts according to the instruction diagrams.

A close-up view of the laser-cut wooden sheets, showing various parts ready to be detached for assembly.
2. Fuselage Assembly
Begin by assembling the internal framework of the fuselage. Carefully interlock the wooden ribs and spars as indicated in the instructions. Pay close attention to the orientation of each piece.
Note: The instructions may require forcing larger wooden plates into smaller holes, which can cause splits. It is advisable to carefully trim or sand the edges of the larger pieces slightly to ensure a smoother fit and prevent damage.
This video segment demonstrates the initial assembly of the fuselage framework, highlighting the interlocking of wooden components. It also shows the challenge of fitting certain parts and the potential for wood splitting if not handled carefully.
Once the internal framework is complete, begin attaching the balsa wood covering panels. It is recommended to moisturize and gently bend the balsa wood before making a cover, especially if it's your first time. Ensure a snug fit for all panels.
Important: Some parts may not be labeled. Refer to the diagrams carefully to identify the correct placement.
This video segment illustrates the process of covering the fuselage framework with balsa wood panels, demonstrating how to fit and secure them to form the aircraft's body.
3. Wing Assembly
Assemble the wing structures by interlocking the ribs and spars. The kit includes stencils to ensure correct alignment and shape during assembly.
This video segment shows the assembly of the wing structures, detailing the process of interlocking the wooden ribs and spars, and utilizing the provided stencils for accurate construction.
4. Painting and Finishing
After the fuselage is covered, fill any gaps with wood filler and sand the entire body smooth. Apply a clear coat for protection and a polished finish.
The propeller nose cone (clear plastic) needs to be painted. A base coat of black followed by red paint is recommended for a deep, rich color.
This video segment demonstrates the sanding and filling process for the fuselage, followed by painting the propeller nose cone with a red finish.
5. Scale Parts Assembly
Attach the pre-assembled engine block, machine guns, and radiator to their designated positions on the fuselage. Refer to the diagrams for precise placement.
The transparent PVC film needs to be cut and painted to create the radiator covers. Carefully cut out the shapes and paint them black before attaching.
Note: The steel wire for the radiator may be bent incorrectly in the kit. Reshape it as needed to fit the model accurately.
This video segment shows the attachment of the engine block and radiator to the fuselage, including the process of cutting and painting the PVC film for the radiator covers.
6. Landing Gear and Wheels
Assemble the landing gear struts and attach them to the fuselage. The wooden wheels require shaping and painting to simulate tires. Use a file or sandpaper to create a rounded profile on the wooden rings, then paint them black.
This video segment demonstrates the assembly of the wooden wheels, including shaping and painting them to resemble tires, and attaching them to the landing gear.
7. Cockpit Trim and Rigging
Install the rubber tubing for the cockpit trim. This adds a finished look to the cockpit opening.
Attach the rigging wires to the wings and fuselage using the provided eyelets and turnbuckles. Ensure the wires are taut and correctly positioned according to the diagrams.
This video segment shows the installation of the cockpit trim and the intricate process of attaching and tensioning the rigging wires for the wings, adding structural detail to the model.
8. Final Assembly
Attach the upper and lower wings to the fuselage, ensuring they are securely mounted and aligned. Connect any remaining control surfaces or small details.
A view of the completed Albatross D.III model, showcasing the intricate wooden structure, painted details, and rigging.
Specifications
- Wingspan: 500mm
- Length: 365mm
- Scale: 1:15 replica
- Type: Static display model (cannot fly)
- Material: Wood (balsa, plywood)
- Assembly: DIY kit, 20% pre-built components (engine, machine guns, radiator).
- Recommended Age: 16 years and up
Safety Information
- This kit contains small parts and sharp tools. Keep out of reach of young children.
- Always use a cutting mat when using a hobby knife.
- Work in a well-ventilated area when using glues and paints.
- Wear appropriate safety glasses to protect your eyes.
Warranty and Support
For any questions regarding assembly, missing parts, or product support, please contact Dancing Wings Hobby customer service. Refer to your purchase documentation for contact details.