1. Introduction
The HP VH240a is a versatile 23.8-inch Full HD 1080p IPS LED monitor designed for enhanced productivity and viewing comfort. Its virtually borderless design and ergonomic stand make it suitable for various home and office setups. This manual will guide you through the features, setup, operation, and maintenance of your new monitor.
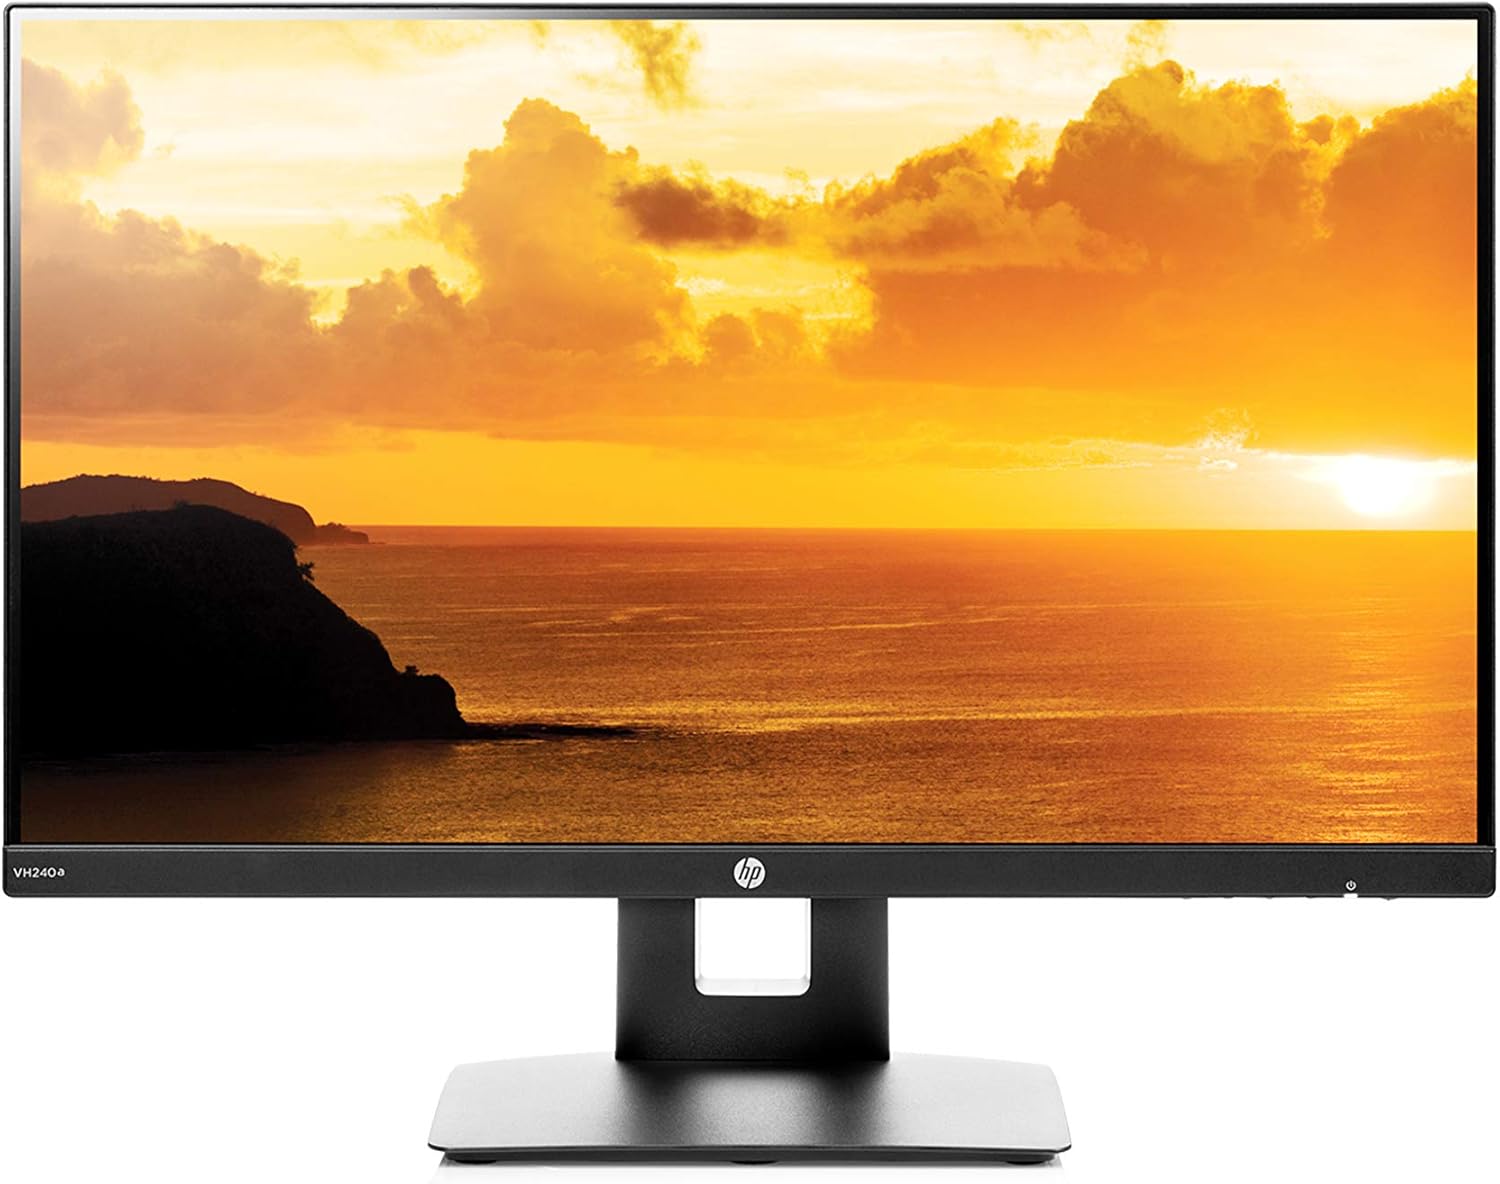
Figure 1: HP VH240a Monitor Front View
This monitor offers a 178° positional viewing angle, ensuring optimal image quality from almost any perspective. It also supports VESA mounting for wall or arm bracket installations, providing flexible placement options. Integrated speakers deliver audio, and multiple connectivity options ensure compatibility with various devices.
2. What's in the Box
Verify that all components are present in the package:
- HP VH240a 23.8-in Display
- Power Cable
- HDMI Cable
- Monitor Stand (Base and Neck)
3. Setup
3.1 Assembling the Monitor Stand
Attach the monitor panel to the stand neck, then secure the neck to the base. Ensure all connections are firm.

Figure 2: Monitor with Adjustable Stand
3.2 Connecting the Monitor
Connect the provided HDMI cable from your computer's HDMI port to the HDMI port on the monitor. Alternatively, use a VGA cable if your device supports it. Plug the power cable into the monitor and then into a power outlet.

Figure 3: Monitor Port Connectivity (HDMI, VGA)
3.3 VESA Mounting (Optional)
The HP VH240a monitor supports a 100mm VESA mounting pattern. To remove the stand for VESA mounting, locate the latch on the stand neck where it connects to the monitor panel. Pull the latch to release the panel from the stand.
Video 1: Demonstrating VESA Mounting and Stand Removal. This video illustrates how to detach the monitor from its default stand, revealing the VESA mounting holes on the back for alternative mounting solutions.
4. Operating the Monitor
4.1 Power On/Off
Locate the power button on the bottom right side of the monitor. Press it to turn the monitor on or off.
4.2 Menu Navigation
The menu buttons are located on the bottom edge of the monitor. Press any button to bring up the on-screen display (OSD) menu. Use the navigation buttons to select options and adjust settings such as brightness, contrast, color profiles (e.g., Low Blue Light, Night, Reading, Photo, Gaming), and input source.
Video 2: Monitor Features and Adjustments. This video highlights various features of the monitor, including its adjustable stand, port options, and on-screen display menu for customizing viewing modes and settings.
4.3 Adjusting the Monitor Position
The ergonomic stand allows for various adjustments:
- Tilt: Adjust the screen's vertical angle for comfortable viewing.
- Height Adjustment: Raise or lower the monitor to your preferred eye level.
- Pivot (Portrait/Landscape): Rotate the screen up to 90 degrees to switch between landscape and portrait orientations. This is ideal for tasks like coding, reading long documents, or viewing spreadsheets.

Figure 4: Monitor Pivot Adjustment
Video 3: Demonstrating Vertical (Portrait) Mode. This video showcases the monitor's ability to easily pivot into a vertical orientation, useful for specific tasks like coding or document viewing.
5. Key Features
- Full HD 1080p IPS Display: Enjoy crisp, vibrant visuals with a 1920 x 1080 resolution and wide 178° viewing angles.
- 5ms Response Time: Experience smooth, fluid motion without motion blur, ideal for videos and general use.
- Built-In Speakers: Integrated 2-watt per channel audio speakers provide convenient sound for your content.
- Thin Bezel-Less Frame: The ultra-widescreen design with narrow bezels on three sides allows for seamless multi-monitor setups.
- Versatile Connectivity: Equipped with HDMI and VGA ports for broad compatibility with various devices.
- Ergonomic Stand: Offers tilt, height, and pivot adjustments for personalized viewing comfort.
- VESA Mounting: Compatible with 100mm VESA mounts for flexible installation options.

Figure 5: IPS Display with Wide Viewing Angle
6. Maintenance
6.1 Cleaning the Monitor
To clean the screen, gently wipe it with a soft, lint-free cloth. For stubborn marks, slightly dampen the cloth with water or a screen-cleaning solution. Avoid using harsh chemicals or abrasive materials. For the monitor body, use a soft, dry cloth.
7. Troubleshooting
7.1 No Display/No Signal
- Ensure the monitor's power cable is securely connected to both the monitor and the power outlet.
- Check that the video cable (HDMI or VGA) is firmly connected to both the monitor and your computer.
- Verify that your computer is powered on and not in sleep mode.
- Use the monitor's OSD menu to select the correct input source (HDMI or VGA).
7.2 Image Quality Issues
- Adjust brightness, contrast, and color settings via the OSD menu.
- Ensure your computer's display resolution is set to 1920 x 1080.
8. Technical Specifications
| Feature | Specification |
|---|---|
| Standing screen display size | 23.8 Inches |
| Screen Resolution | 1920x1080 |
| Max Screen Resolution | 1920 x 1080 Pixels |
| Brand | HP |
| Series | VH240a |
| Item model number | VH240A |
| Item Weight | 9.9 pounds |
| Product Dimensions | 8.6 x 21.2 x 19.7 inches |
| Color | Black |
| Voltage | 240 Volts |
| Screen Surface Description | Anti-glare |
9. Warranty and Support
This Certified Refurbished product includes a 90-day limited hardware warranty from the manufacturer. For detailed warranty information and support, please refer to the official user guides:
For additional assistance, please visit the official HP support website or contact their customer service.