1. Introduction
Thank you for choosing the TOOLPORT PROFESSIONAL Pop-Up Canopy. This manual provides essential information for the safe and efficient assembly, operation, maintenance, and troubleshooting of your 10x15 ft canopy. Please read these instructions carefully before setup and retain them for future reference.
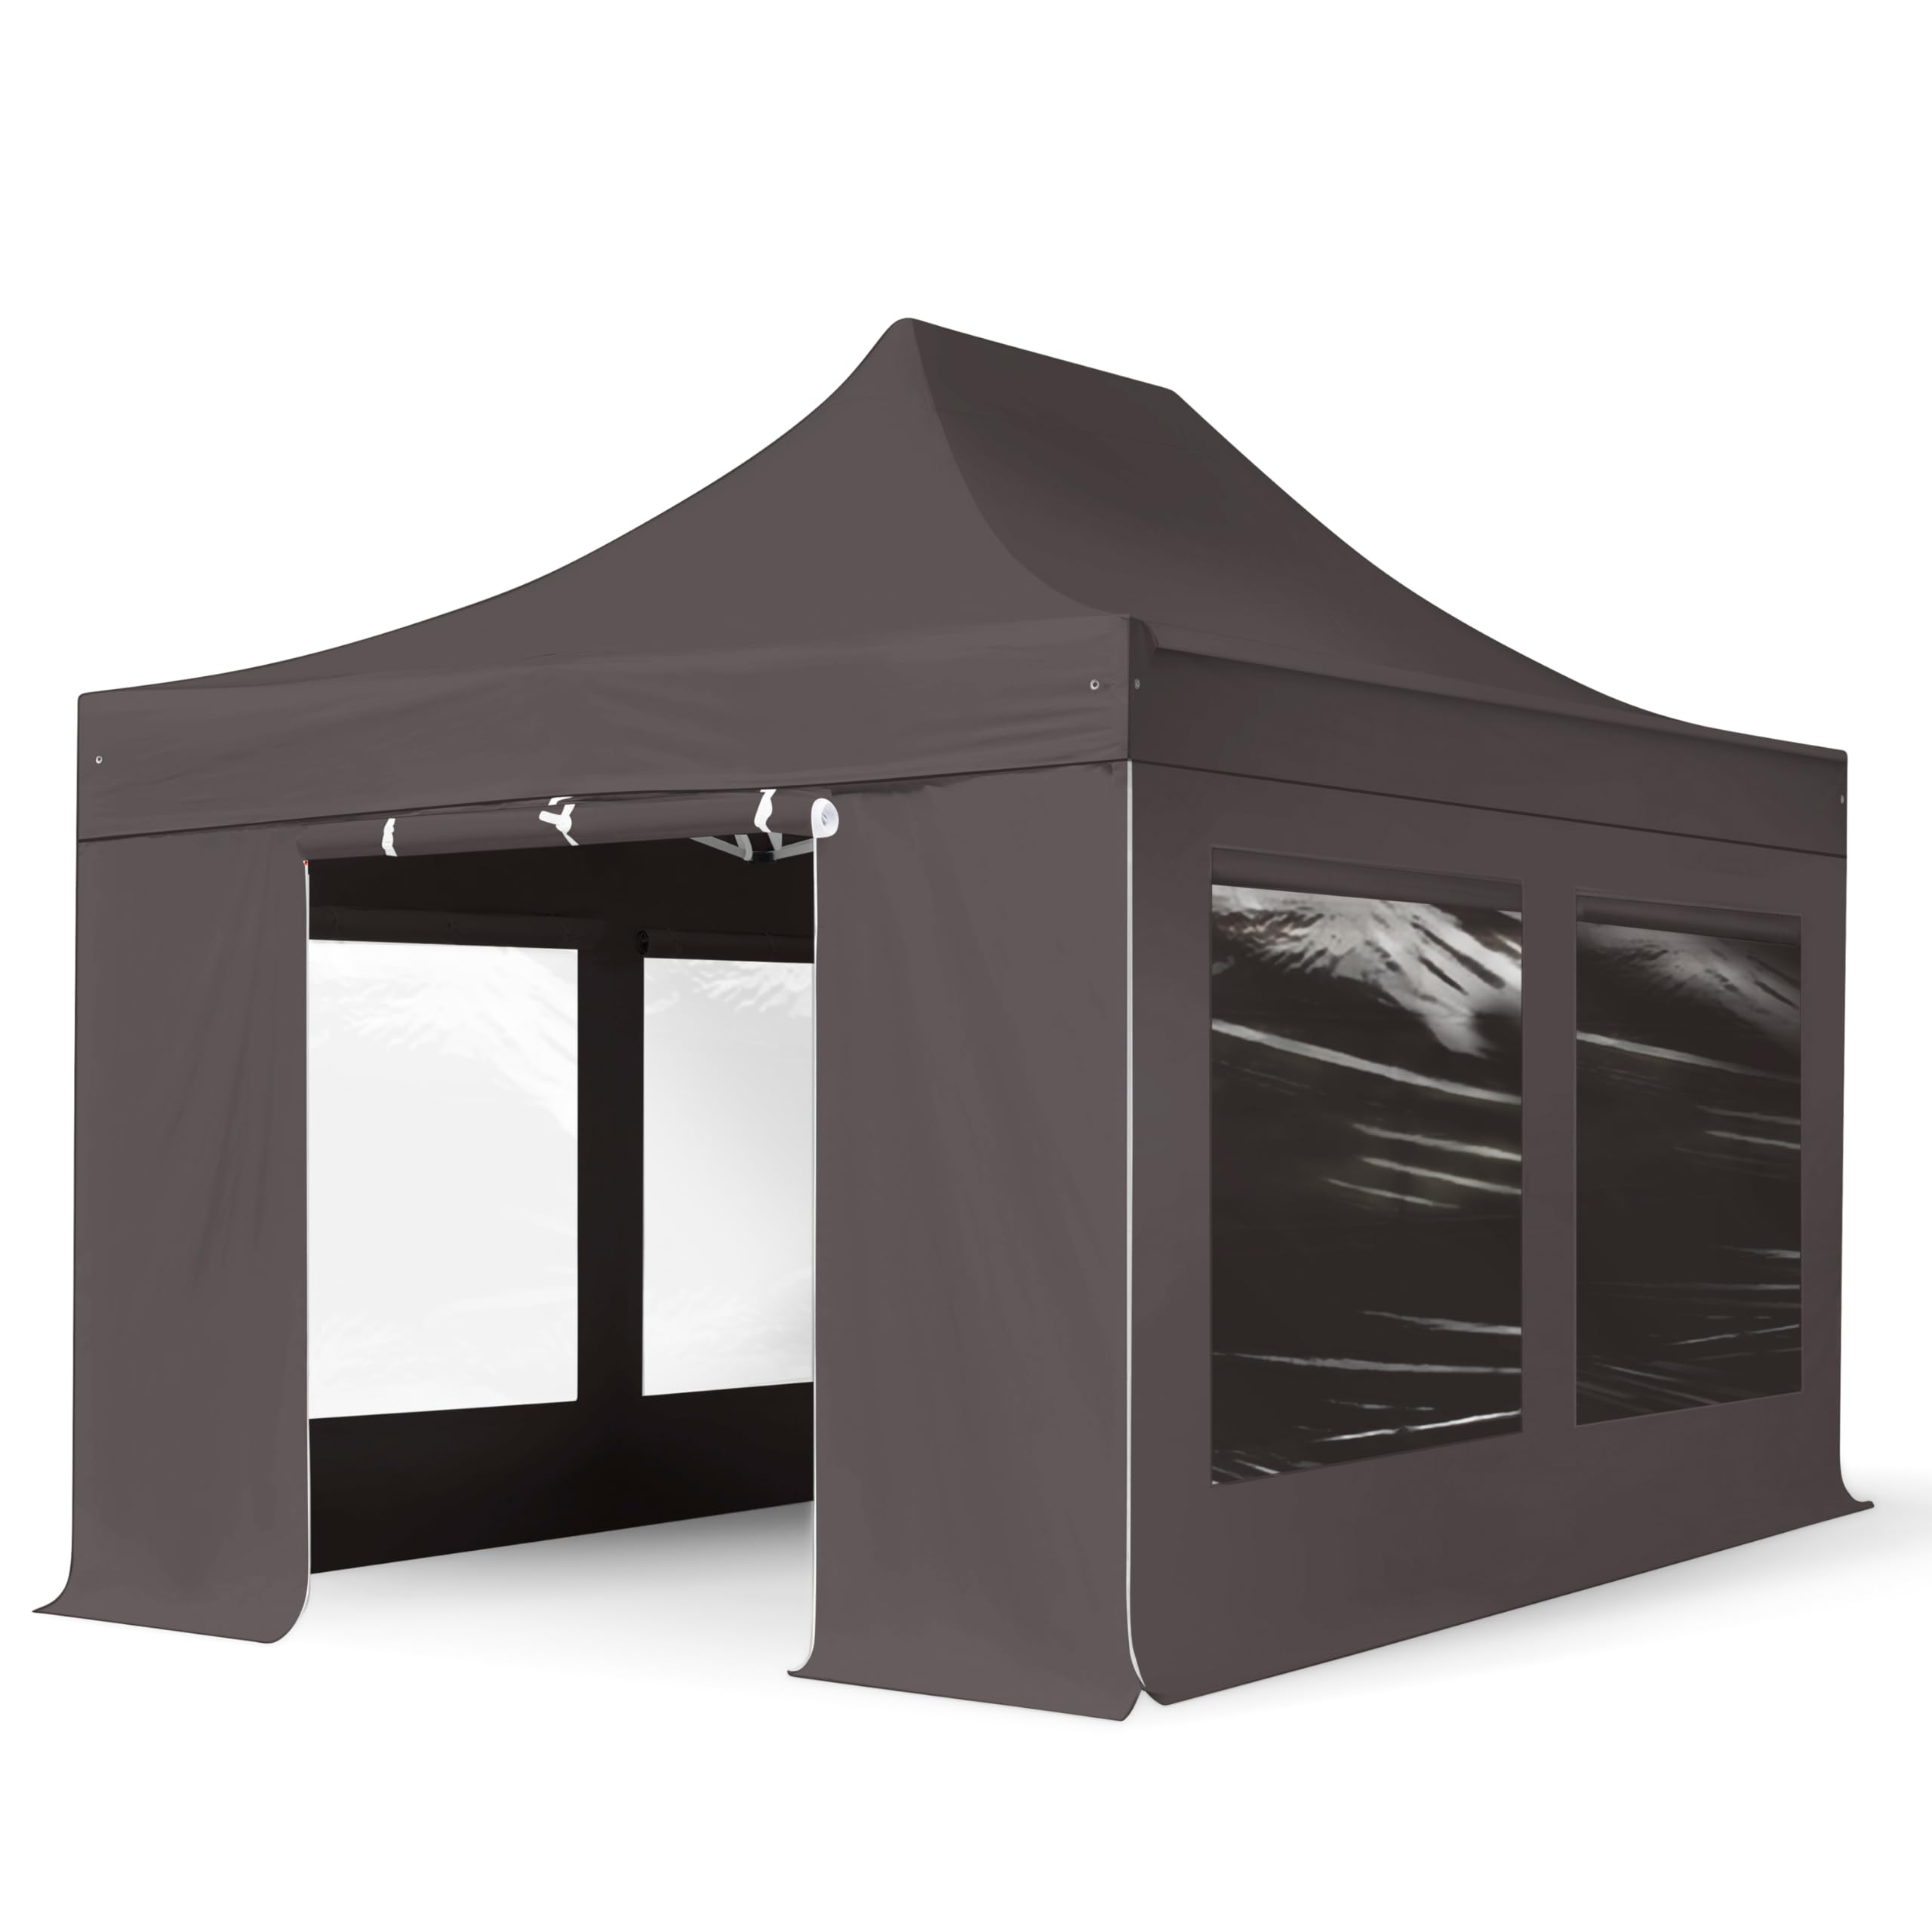
Image 1.1: Fully assembled TOOLPORT 10x15 ft Pop-Up Canopy.
2. Safety Instructions
To ensure safe use and prevent damage, observe the following safety guidelines:
- Secure the Canopy: Always use the provided guy ropes and ground stakes to firmly anchor the canopy. Failure to do so may result in the canopy lifting or collapsing in windy conditions.
- Weather Conditions: Do not use the canopy in strong winds, heavy rain, hail, or snow. Disassemble and store the canopy during adverse weather to prevent damage to the structure and potential injury.
- Fire Hazard: Keep all heat sources and open flames away from the canopy fabric. The material is not fireproof.
- Ventilation: If using heating or cooking equipment near or under the canopy, ensure adequate ventilation to prevent carbon monoxide buildup.
- Assembly Personnel: Assembly is recommended for 1-2 people. Ensure all individuals involved are aware of the assembly steps and safety precautions.
- Inspect Before Use: Before each use, inspect the frame, fabric, and all connectors for any signs of wear or damage. Do not use if damaged.
3. Package Contents
Verify that all components are present and undamaged upon receipt:
- Hexagonal Aluminum Frame with Scissors Mechanism
- 100% Waterproof Roof Tarp (PES 800 Polyester with PVC coating)
- Sidewalls with Panorama Windows (Quantity as per package)
- Guy Ropes
- Ground Stakes
- Sturdy Wheeled Storage Bag
- Instruction Manual (this document)

Image 3.1: The sturdy wheeled bag for convenient storage and transport.
4. Setup Instructions
The TOOLPORT Pop-Up Canopy is designed for quick and intuitive assembly by 1-2 people without the need for tools.
4.1. Unfolding the Frame
- Place the folded frame on a flat, clear surface.
- With a person at each end, gently pull the outer legs apart to begin unfolding the frame.
- Continue pulling until the frame is partially open, forming a square or rectangle.

Image 4.1: Folded frame.

Image 4.2: Partially unfolded frame.
4.2. Attaching the Roof Tarp
- Drape the roof tarp over the partially opened frame. Ensure the corners of the tarp align with the corners of the frame.
- Secure the tarp to the frame using the hook-and-loop fasteners or clips provided on the tarp.

Image 4.3: Roof tarp placed on frame.

Image 4.4: Detail of frame joint.
4.3. Extending the Legs and Securing
- From each corner, lift the frame slightly and push the central hub upwards until it locks into place.
- Extend each leg to the desired height by pressing the release button/ring and sliding the inner leg section downwards until it locks. Ensure all legs are at the same height for stability.
- Attach the guy ropes to the designated points on the canopy frame and secure them to the ground using the provided stakes. Ensure ropes are taut.

Image 4.5: Fully extended canopy.

Image 4.6: Leg height adjustment mechanism.
4.4. Attaching Sidewalls (Optional)
If your package includes sidewalls, attach them to the canopy frame using the hook-and-loop fasteners or zippers along the top edge and sides. Ensure they are securely fastened to provide full enclosure.
5. Operating Instructions
5.1. Adjusting Height
The canopy legs feature multiple height settings. To adjust, press the release ring on each leg and slide the inner leg section up or down to the desired position. Ensure all legs are locked at the same height for stability.
5.2. Disassembly and Storage
- Remove all sidewalls, guy ropes, and ground stakes.
- Retract the legs by pressing the release rings and sliding the inner leg sections upwards.
- Press the central hub release buttons and gently push the frame downwards to collapse it.
- Once fully collapsed, remove the roof tarp.
- Fold the tarp and sidewalls neatly. Place all components into the wheeled storage bag.

Image 5.1: Folded canopy frame ready for storage.

Image 5.2: Example of canopy usage with furniture.
6. Maintenance
Proper maintenance will extend the life of your canopy.
- Cleaning the Tarp: Clean the roof tarp and sidewalls with mild soap and water. Do not use harsh chemicals or abrasive cleaners, as this can damage the PVC coating and fabric. Rinse thoroughly and allow to air dry completely.
- Drying Before Storage: Ensure the entire canopy (tarp and sidewalls) is completely dry before folding and storing. Storing a damp canopy can lead to mold, mildew, and fabric degradation.
- Frame Inspection: Regularly inspect the aluminum frame for any signs of bending, cracks, or corrosion. Check all connection points and locking mechanisms for proper function.
- Lubrication: Periodically apply a silicone-based lubricant to the sliding parts of the frame to ensure smooth operation.

Image 6.1: Waterproof fabric showing water beading.
7. Troubleshooting
Here are solutions to common issues you might encounter:
| Problem | Possible Cause | Solution |
|---|---|---|
| Canopy is unstable or wobbly. | Legs not fully extended/locked; insufficient anchoring; uneven ground. | Ensure all legs are fully extended and locked. Use all guy ropes and ground stakes. Relocate to a flatter surface if possible. |
| Water pooling on the roof. | Tarp not taut enough; incorrect pitch. | Ensure the roof tarp is stretched tightly over the frame. Adjust leg heights slightly to create a better pitch for water runoff. |
| Frame difficult to open or close. | Dirt/debris in joints; lack of lubrication; bent components. | Clean joints and apply silicone lubricant. Inspect for bent parts; if severely bent, contact support for replacement parts. |
8. Specifications
Detailed specifications for your TOOLPORT Pop-Up Canopy:
- Brand: TOOLPORT
- Model Number: 600204
- Size: 10x15 ft (Product Dimensions: 177"L x 118"W x 133"H)
- Color: Gray
- Frame Material: Hexagonal Aluminium (1.6 inch poles)
- Roof Tarp Material: High Performance Polyester (PES 800) with PVC coating
- Water Resistance Level: Waterproof
- Ultraviolet Light Protection: 50
- Item Weight: Approximately 50.1 kg (110.4 lbs)
- Assembly Required: Yes (1-2 people, no tools)

Image 8.1: Canopy dimensions (3.0m x 4.5m, height adjustable).

Image 8.2: Hexagonal aluminum pole detail.

Image 8.3: Aluminum base foot for stability.
9. Warranty and Support
For warranty information, replacement parts, or technical support, please contact TOOLPORT customer service directly. Refer to your purchase documentation for specific warranty terms and contact details.
Manufacturer: TOOLPORT
ASIN: B072FJ7FQC