1. Introduction
This manual provides essential information for the safe and effective use of your NiteRider Lumina 1100 Boost Headlight and Solas 100 Taillight Combo. The Lumina 1100 Boost is designed for various cycling conditions, offering powerful illumination and a unique Boost Mode. The Solas 100 taillight enhances visibility with multiple modes, including a Group Ride Mode. Please read these instructions thoroughly before initial use.
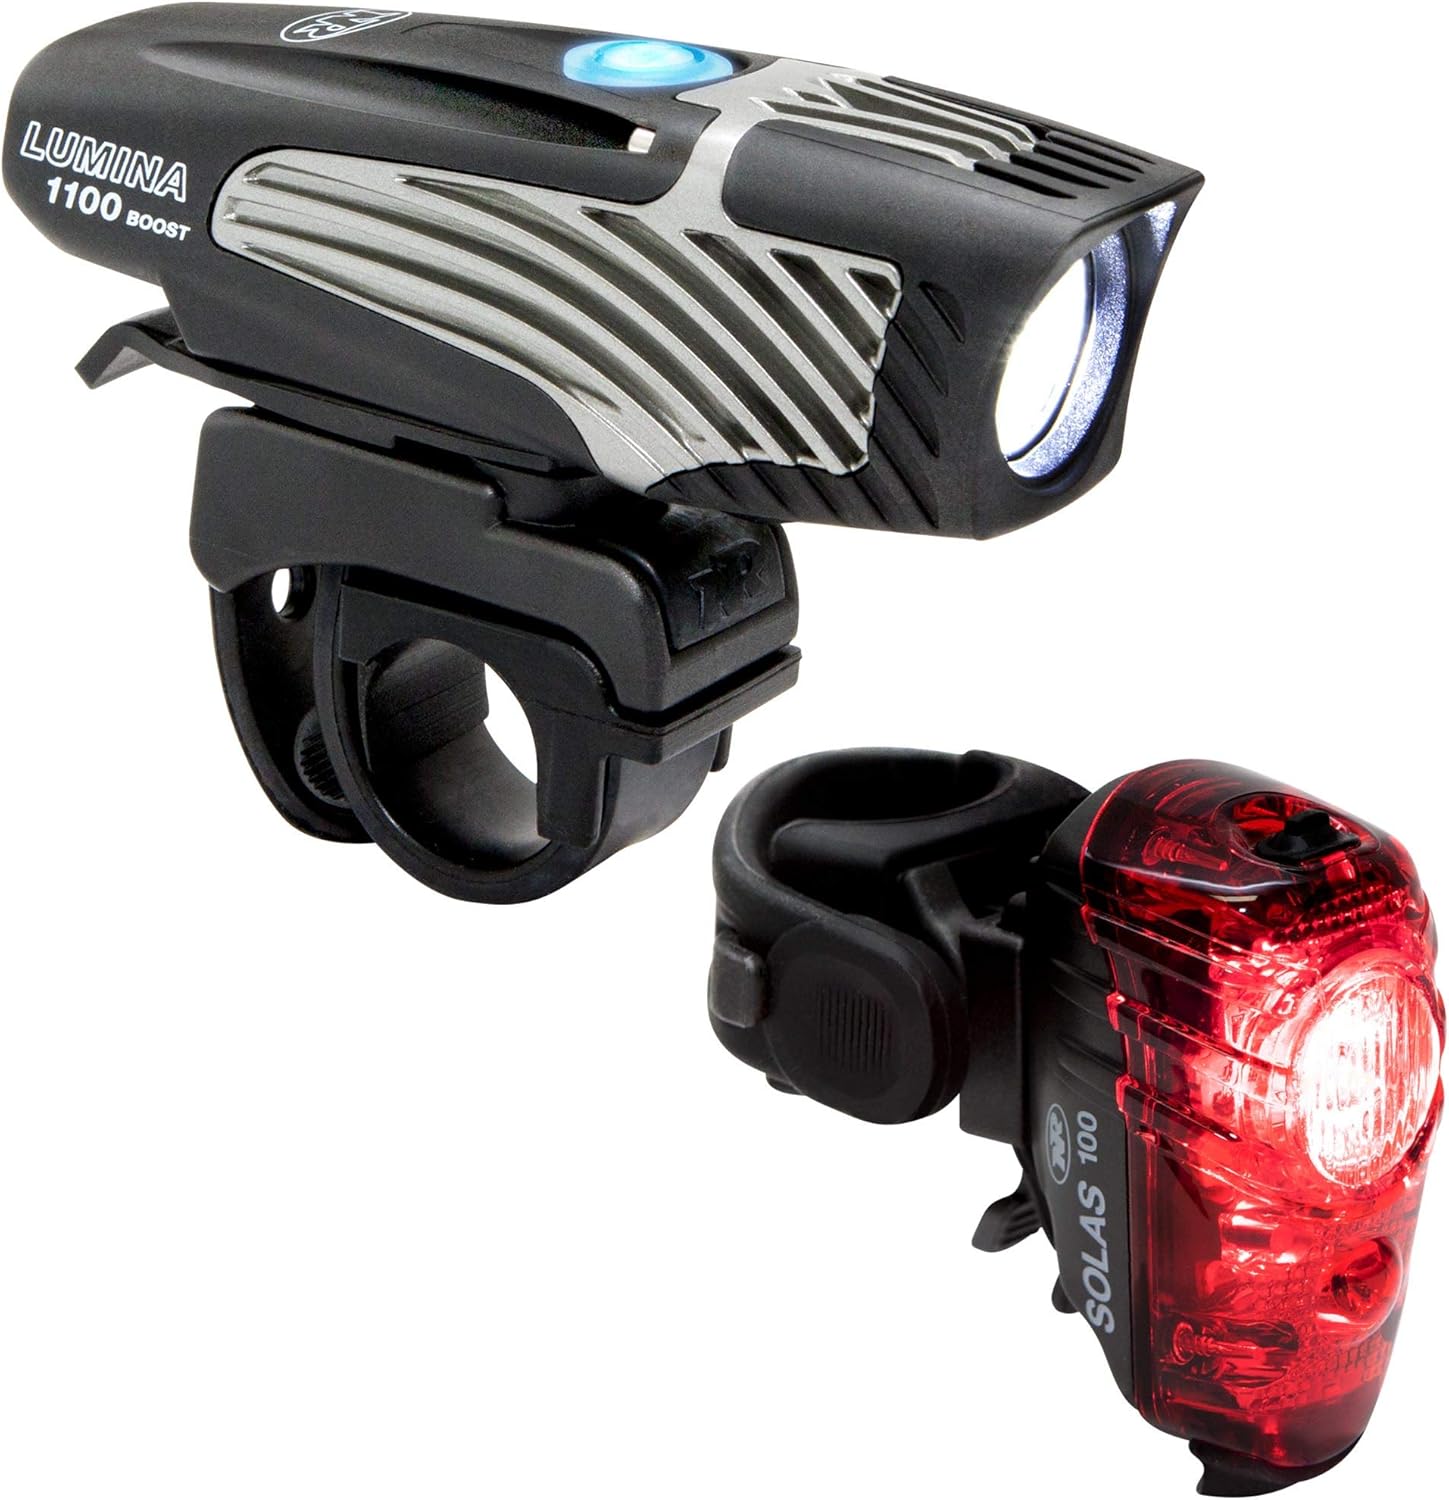
Image 1: NiteRider Lumina 1100 Boost Headlight and Solas 100 Taillight Combo. This image displays both the black Lumina 1100 Boost headlight and the red Solas 100 taillight, showcasing their compact design.
2. Package Contents
- LED Light Head (Lumina 1100 Boost)
- Internal Li-Ion Battery (integrated)
- Handlebar Mount
- LED Tail Light (Solas 100)
- Seatpost Mount
- USB Charging Cable (2 included)
3. Setup and Installation
3.1 Lumina 1100 Boost Headlight Installation
Attach the handlebar mount to your bicycle's handlebar. Ensure it is securely fastened and positioned to provide optimal forward illumination. Slide the Lumina 1100 Boost headlight onto the mount until it clicks into place.

Image 2: NiteRider Lumina 1100 Boost Headlight. This image shows the Lumina 1100 Boost headlight detached from its mount, highlighting its design and power button.
3.2 Solas 100 Taillight Installation
Secure the seatpost mount to your bicycle's seatpost. Position it to maximize rear visibility. Slide the Solas 100 taillight onto the mount until it locks securely.

Image 3: NiteRider Solas 100 Taillight. This image features the Solas 100 taillight, showing its red casing and mounting mechanism.
3.3 Initial Unlock (Lumina 1100 Boost)
The Lumina 1100 Boost is shipped in Lock Mode to prevent accidental activation and conserve battery. To unlock, press and hold the power button for approximately 7 seconds until the LED in the switch changes from red to blue. Once unlocked, the light is ready for use.
Video 1: Lumina Series lights come Locked for safety, Unlock to use. This video demonstrates how to unlock the NiteRider Lumina series headlight from its factory-set lock mode by pressing and holding the power button.
4. Operating Instructions
4.1 Lumina 1100 Boost Headlight
- Power On/Off: Press and release the power button to turn the light on. Press and hold the power button for approximately 1-2 seconds to turn the light off.
- Mode Cycling: With the light on, press and release the power button to cycle through the 5 light levels and 1 daylight flash mode.
- Boost Mode: Double-click the power button to activate Boost Mode, providing maximum light output.
- Lock Mode: To engage Lock Mode for storage or transport, press and hold the power button for 7 seconds. The LED will turn red to indicate it is locked. Repeat the process to unlock.
Video 2: Lumina Boost Highlights - High Power Lights By Day or Night. This video showcases the various light modes and features of the NiteRider Lumina Boost headlight, including its high power output for both day and night riding.
4.2 Solas 100 Taillight
- Power On/Off: Press and release the power button to turn the light on. Press and hold the power button for approximately 1-2 seconds to turn the light off.
- Mode Cycling: With the light on, press and release the power button to cycle through the 4 available modes (2 flash, 2 steady).
- Group Ride Mode: The Solas 100 features a Group Ride Mode designed to maintain visibility without distracting other cyclists in a group. Refer to the specific mode cycle for activation.
Video 3: NiteRider Solas 250 Video User Guide. This video provides a user guide for the NiteRider Solas 250 taillight, demonstrating its installation, function, and charging. While this video features the Solas 250, the operational principles are largely similar to the Solas 100.
5. Charging
Both the Lumina 1100 Boost and Solas 100 are USB rechargeable. Use the provided USB charging cables to connect the lights to a USB power source (e.g., computer, wall adapter). The charging port is located under a protective dust cap.
- Battery Indicator: The power button LED indicates battery status. Blue signifies more than 20% battery life remaining, while red indicates less than 20%.
6. Maintenance
To ensure optimal performance and longevity of your NiteRider lights, follow these maintenance guidelines:
- Cleaning: Wipe the lights with a soft, damp cloth to remove dirt and debris. Avoid using harsh chemicals or abrasive materials.
- Storage: Store the lights in a cool, dry place away from direct sunlight. For extended storage, ensure the lights are in Lock Mode to prevent accidental activation and discharge.
- Charging: Charge the lights regularly, especially if they will not be used for a prolonged period, to maintain battery health.
7. Troubleshooting
- Light Not Turning On: Check if the Lumina 1100 Boost is in Lock Mode. If the power button LED is red, press and hold the button for 7 seconds to unlock it. Ensure the battery is charged.
- Charging Issues: Verify that the USB cable is properly connected to both the light and the power source. Check the power source for functionality.
- Reduced Run Time: Battery run time can decrease over time with repeated use and charging cycles. Ensure the light is fully charged before each ride.
8. Specifications
| Feature | Lumina 1100 Boost (Headlight) | Solas 100 (Taillight) |
|---|---|---|
| Brightness | 1100 Lumens (Max) | 100 Lumens (Max) |
| Number of Settings | 5 Light Levels + 1 Daylight Flash | 4 Modes (2 Flash, 2 Steady) |
| Power Source | Battery Powered (Internal Li-Ion) | Battery Powered (Internal Li-Ion) |
| Water Resistance Level | Water Resistant (IP64) | Water Resistant |
| Mounting Type | Handlebar Mount | Seatpost Mount |
| Item Weight | 6.06 ounces | Not specified for Solas 100, but typically lightweight |
| Material | Aluminum and DuPont Fiberglass Reinforced Nylon | Not specified, typically durable plastic |
9. Warranty Information
NiteRider offers a lifetime warranty that covers any defects in mechanical components (housings, covers, mounts, and fasteners) and LEDs. This warranty ensures the quality and durability of your product.
10. Support
For further assistance, product registration, or to view additional NiteRider products, please visit the official NiteRider website or contact their customer support. Keep your purchase receipt for warranty claims.


