1. Product Overview
The CLEESINK Air Activated Switch Button provides a convenient and safe method for operating your garbage disposal. This polished stainless steel button is designed for sink top installation and is compatible with a wide range of garbage disposal brands.

Image 1.1: The CLEESINK Air Activated Switch Button seamlessly integrated into a kitchen sink countertop.
Key Features:
- High Versatility: Compatible with most garbage disposal brands, including ISE, Waste King, Moen, GE, Kitchen Aid, Whirlpool, Waste Maid, Emerson, Goplus, Frigidaire, Yescom, and BECBAS.
- Durable Construction: Manufactured from high-grade stainless steel and plastic for longevity and a polished aesthetic.
- Easy Installation: Designed for straightforward mounting on any sink or countertop with a pre-drilled hole between 1 1/4" and 1 3/4" in diameter.
- Extended Body: The 3.5-inch long body accommodates thicker countertops, such as granite, marble, or quartz.
- Generous Air Hose: Includes a 45-inch air hose for flexible placement.
2. Setup and Installation
2.1 Before You Begin
- Ensure you have a suitable mounting location on your sink or countertop.
- Verify that the countertop hole diameter is between 1 1/4" and 1 3/4".
- Confirm that the 3.5-inch button length is appropriate for your countertop thickness.
- Note: This product includes the air switch button and air tube only. A power module (relay) is required for operation and is sold separately.

Image 2.1: Comparison of the 2.5-inch (short) and 3.5-inch (long) air switch button models. The long version is suitable for thicker countertops.
2.2 Installation Steps
- Prepare the Mounting Hole: If a hole is not already present, drill a hole in your sink or countertop with a diameter between 1 1/4" and 1 3/4". Ensure the area is clean and free of debris.
- Assemble the Button: Place the support ring (if included) onto the button device. Insert the button device through the prepared hole from the top of the sink or countertop.
- Secure the Button: From underneath the sink/countertop, thread the locking nut onto the button device and tighten it securely to hold the button in place. Do not overtighten.
- Connect the Air Hose: Attach one end of the provided 45-inch air hose to the nipple on the underside of the air switch button. Connect the other end of the air hose to the air switch input on your garbage disposal's power module (sold separately).
- Adjust Air Hose Length: The provided air hose is 45 inches long. Cut any excess hose to the required length. Important: Do not coil up excess hose between the button and the power module, as this can reduce the reliability of the switch.
- Test the Connection: Once all connections are made, ensure the power module is plugged into a grounded outlet and the garbage disposal is connected to the power module.

Image 2.2: Visual guide for drilling the countertop hole and installing the air switch button.

Image 2.3: The individual components of the air switch button, including the button cap, main body, washer, and locking nut.
3. Operating Instructions
To operate your garbage disposal using the CLEESINK Air Activated Switch Button:
- Ensure the garbage disposal is properly installed and connected to a power module.
- Turn on the cold water faucet to a moderate flow.
- Press the CLEESINK Air Activated Switch Button firmly to activate the garbage disposal.
- To turn off the garbage disposal, press the button again.
- Allow the water to run for a few seconds after the disposal has stopped to flush the drain line.
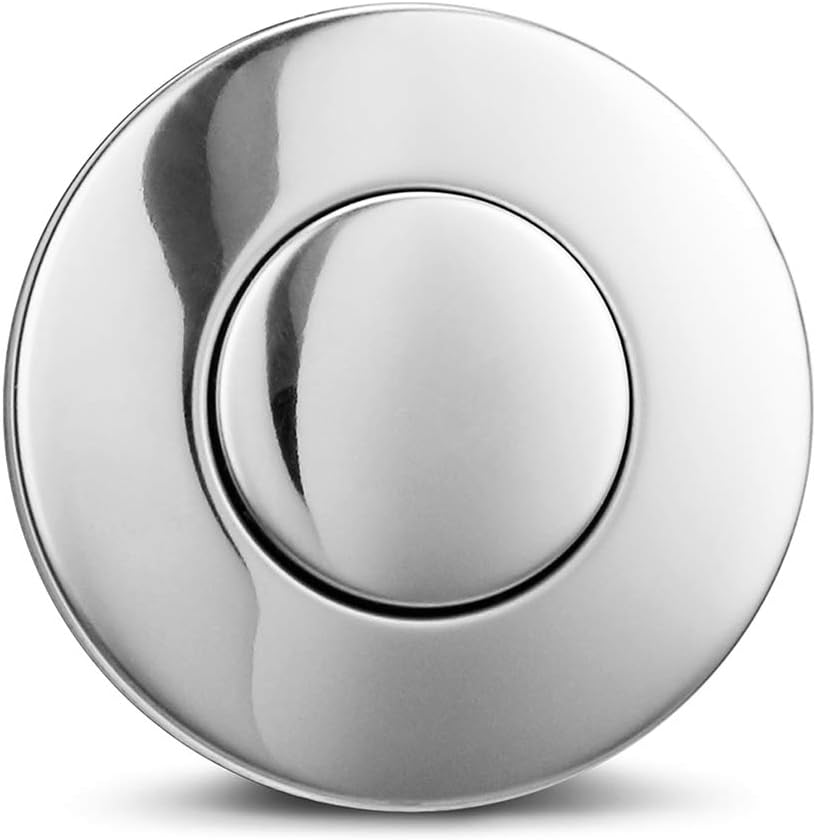
Image 3.1: Close-up of the polished stainless steel air switch button, ready for operation.
4. Maintenance
The CLEESINK Air Activated Switch Button requires minimal maintenance. To ensure its longevity and appearance:
- Cleaning: Wipe the button surface regularly with a soft, damp cloth. For stubborn spots, use a mild, non-abrasive cleaner suitable for stainless steel. Avoid harsh chemicals or abrasive scrubbers, which can damage the finish.
- Air Hose Inspection: Periodically check the air hose for any kinks, cracks, or damage. Ensure it remains securely connected to both the button and the power module.
- Button Functionality: If the button feels stiff or unresponsive, ensure no debris is lodged around its edges. Avoid forcing the button.
5. Troubleshooting
If you encounter issues with your CLEESINK Air Activated Switch Button, refer to the following table for common problems and solutions:
| Problem | Possible Cause | Solution |
|---|---|---|
| Garbage disposal does not turn on when button is pressed. |
|
|
| Button feels stiff or unresponsive. |
|
|
| Button does not match sink/countertop. | Incorrect finish or size selected. | Verify product specifications and consider alternative finishes or sizes if available. |
6. Product Specifications
| Specification | Detail |
|---|---|
| Manufacturer | CLEESINK |
| Part Number | BHY002M2WM |
| Item Weight | 0.81 ounces |
| Product Dimensions | 5.9 x 4.7 x 3.1 inches |
| Item Model Number | BHY002M2WM |
| Size | LONG/3.5" |
| Color | Polished Stainless Steel |
| Style | LONG/3.5" |
| Finish | Stainless |
| Material | Plastic |
| Hose Length | 45 Inches |
| Included Components | Air Switch Button, 45" Air Tube |
| Batteries Required | No |
7. Warranty and Support
For specific warranty information and customer support, please refer to the documentation provided with your purchase or contact CLEESINK customer service directly. Keep your purchase receipt for warranty claims.