1. Introduction
Thank you for choosing the AMOCAM Wired Video Intercom System. This system is designed to enhance your home or office security by providing clear visual and audio communication with visitors at your door. It features a 7-inch indoor monitor and a durable outdoor camera, enabling two-way communication, real-time monitoring, and remote door unlocking.
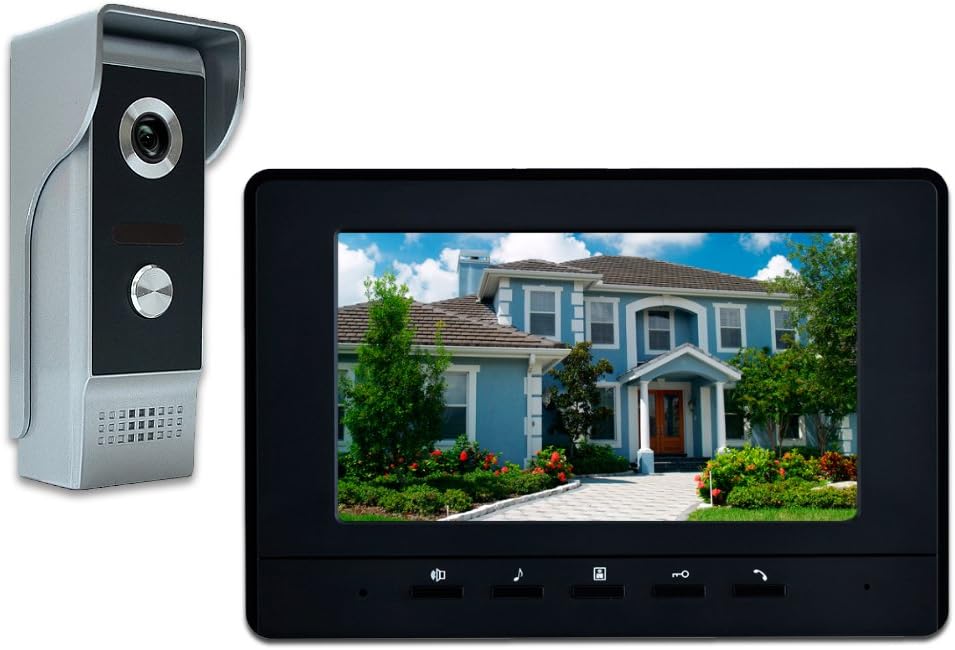
Figure 1.1: AMOCAM Wired Video Intercom System Components
2. Safety Information
- Ensure all wiring is performed by a qualified professional to prevent electrical hazards.
- Do not expose the outdoor unit to extreme temperatures or direct water immersion.
- Keep the indoor monitor away from moisture and direct sunlight.
- Use only the provided power adapter. Connecting directly to the outdoor unit can cause damage.
- Avoid placing the monitor near strong electromagnetic interference sources.
3. Components Overview
The AMOCAM Video Intercom System typically includes the following main components:
3.1 Indoor Monitor
The indoor monitor features a 7-inch LCD screen for viewing the outdoor camera feed and interacting with visitors. It includes control buttons for intercom, monitoring, unlocking, and adjusting settings.

Figure 3.1: Indoor Monitor Side View
3.2 Outdoor Unit (Door Camera)
The outdoor unit houses the HD camera, IR lights for night vision, and a call button. It is designed with a durable aluminum and acrylic front panel for protection against vandalism and weather elements.

Figure 3.2: Outdoor Unit Labeled Parts
4. Setup and Installation
This system is designed for surface mounting. Proper wiring is crucial for optimal performance.
4.1 Wiring Diagram
Refer to the following diagram for connecting the indoor monitor, outdoor unit, and optional electric lock. Ensure all connections are secure before powering on the system.

Figure 4.1: System Wiring Diagram
4.2 Cable Selection
The recommended cable types and lengths are:
- Up to 30m (95 feet): RVV4*0.30mm cable or CAT network cable.
- Up to 50m (150 feet): RVV4*0.50mm cable.
- Up to 100m (320 feet): RVV4*1.0mm cable.
Always test the doorbell kits with the provided cable before permanent installation to ensure functionality and avoid noise issues.
4.3 Mounting the Outdoor Unit
The outdoor unit comes with a rain cover and mounting bracket for surface installation. Secure the bracket firmly to the wall before attaching the unit.

Figure 4.2: Outdoor Unit and Mounting Bracket
4.4 Power Connection
Connect the power adapter to the indoor monitor. Do not connect the power adapter directly to the outdoor unit.
4.5 Installation Video Guide
Video 4.1: Official AMOCAM Video Doorbell Intercom System Installation and Operation Guide. This video demonstrates the connection process for the indoor monitor and outdoor unit, as well as basic functions like answering calls and monitoring.
5. Operating Instructions
The system offers several key functions for convenient and secure interaction.
5.1 Answering a Call
When a visitor presses the call button on the outdoor unit, the indoor monitor will ring and display the visitor's image. Press the 'Answer' button on the monitor to establish two-way audio communication.

Figure 5.1: Visitor Interaction with Doorbell System
5.2 Monitoring
You can view the outdoor camera feed at any time without a visitor pressing the call button. Press the 'Monitor' button on the indoor unit to activate the camera and see what is happening outside your door.
5.3 Door Unlocking
If an electric lock is connected to the system, you can remotely unlock the door by pressing the 'Unlock' button on the indoor monitor during a call or while monitoring.
5.4 Adjusting Settings
The indoor monitor allows you to adjust various settings for personalized use:
- Volume: Adjust the ringtone and intercom volume.
- Brightness & Contrast: Optimize the display quality of the screen.
- Ringtone: Select from 16 different doorbell chimes.

Figure 5.2: Indoor Monitor Features Overview
6. Maintenance
To ensure the longevity and optimal performance of your intercom system, follow these maintenance guidelines:
- Regularly clean the camera lens and monitor screen with a soft, dry cloth. Avoid abrasive cleaners.
- Check all wiring connections periodically to ensure they remain secure.
- Keep the outdoor unit's rain cover clear of debris to maintain clear visibility.
7. Troubleshooting
If you encounter issues with your AMOCAM Video Intercom System, refer to the following common troubleshooting steps:
| Problem | Possible Cause | Solution |
|---|---|---|
| No image on monitor | Loose cable connection; Power issue; Damaged camera/monitor. | Check all wiring connections. Ensure power adapter is correctly plugged into the indoor unit. Verify power outlet is functional. |
| No audio during intercom | Volume too low; Loose audio wire; Microphone/speaker issue. | Increase volume on the indoor monitor. Check audio wire connections. |
| Door unlock not working | Incorrect electric lock wiring; Incompatible lock type; Power supply issue for lock. | Verify electric lock connections according to the wiring diagram. Ensure the lock is compatible and has adequate power. |
| Intermittent ringing | Interference; Faulty call button. | Ensure proper grounding. Check for strong electromagnetic sources nearby. If issue persists, contact support. |
If the problem persists after attempting these solutions, please contact customer support for further assistance.
8. Specifications
Detailed technical specifications for the AMOCAM Wired Video Intercom System:
| Feature | Description |
|---|---|
| Model Number | 70H-M4 |
| Screen Size | 7 inches 16:9 LCD display |
| Resolution | 800*480 |
| Outdoor Camera Resolution | 700 TV-Lines |
| Viewing Angle | 92 degrees |
| Night Vision | IR LED projection |
| Ringtones | 16-chord melody rings |
| Connectivity | Wired |
| Material (Outdoor Unit) | Aluminum and Acrylic |
| Power Source | 240 Volts, 1 Watt (via indoor monitor) |
| Indoor Monitor Dimensions (L x W x H) | 9.4 x 8.6 x 2 inches (approx.) |
| Outdoor Unit Dimensions (L x W x H) | 4.92 x 1.96 x 1.77 inches (approx.) |
8.1 Dimensions
Detailed dimensions for the indoor monitor and outdoor unit are provided below:
Indoor Monitor Dimensions

Figure 8.1: Indoor Monitor Dimensions
Outdoor Unit Dimensions

Figure 8.2: Outdoor Unit Dimensions
9. Warranty and Support
9.1 Warranty Information
This product comes with a standard manufacturer's warranty. Please refer to the product packaging or contact your retailer for specific warranty terms and conditions.
9.2 Customer Support
For technical assistance, troubleshooting, or any inquiries regarding your AMOCAM Video Intercom System, please contact AMOCAM customer support through their official website or the contact information provided with your purchase.