Introduction
This manual provides detailed instructions for the installation, operation, and maintenance of your Dual Electronics XDVD156BT Multimedia Car Stereo Receiver. Please read this manual thoroughly before using the product to ensure proper usage and to prevent damage.
Safety Information
Important Safety Notice: This product contains chemicals known to the State of California to cause cancer and birth defects or other reproductive harm. For more information, please refer to the Proposition 65 warning.
Always observe traffic laws and regulations. Do not operate the unit in a way that distracts you from driving safely. Ensure proper installation to prevent electrical hazards or damage to your vehicle's systems.
Product Overview
The Dual Electronics XDVD156BT is a single DIN multimedia car stereo receiver featuring a retractable and detachable 7-inch LED backlit LCD touchscreen. It includes built-in Bluetooth for hands-free calling and audio streaming, a CD/DVD player, USB port, microSD card slot, and MP3 playback capabilities.
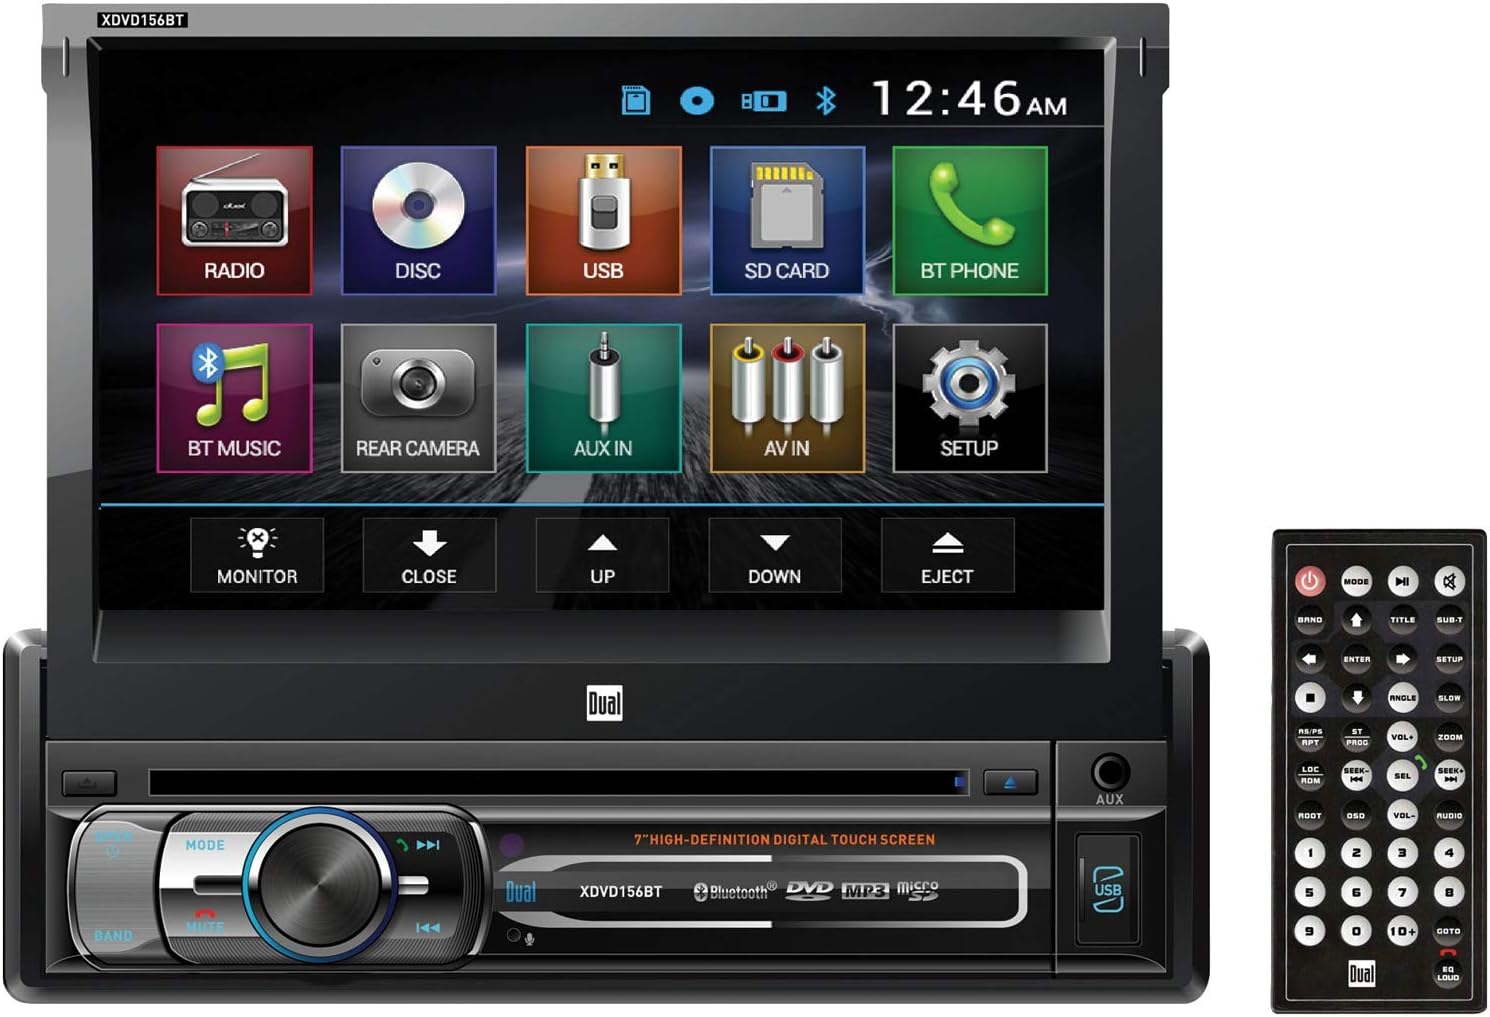
Image 1: Front view of the Dual Electronics XDVD156BT car stereo receiver with its 7-inch retractable touchscreen extended, displaying the main menu icons for Radio, Disc, USB, SD Card, BT Phone, BT Music, Rear Camera, AUX In, AV In, and Setup. A remote control is shown to the right.
Key Features:
- 7-inch LED Backlit LCD Touchscreen (800 x 480 resolution)
- Retractable and Detachable Display
- Built-in Bluetooth for Hands-Free Calling and Audio Streaming
- CD/DVD Player
- Front Panel USB Port with 1A Charging
- MicroSD Card Input
- AM/FM Radio Tuner
- Front and Rear Auxiliary Inputs
- Rear Camera Input
- 50W x 4 Peak Power Output
- 2V RCA Preamp Outputs (Front, Rear, Subwoofer)
Setup and Installation
Professional installation is recommended for this product. Incorrect wiring can cause damage to the unit or your vehicle. Always disconnect the vehicle's negative battery terminal before beginning installation.
1. Wiring Connections:
Refer to the wiring diagram provided with your unit for specific connections. Common connections include:
- Power Wires: Connect the yellow wire to constant 12V, red wire to accessory 12V, and black wire to ground.
- Speaker Wires: Connect to your vehicle's speakers, ensuring correct polarity.
- Antenna Wire: Connect to your vehicle's radio antenna.
- Parking Brake Wire: Connect to the parking brake circuit for video playback safety.
- Reverse Gear Wire: Connect for automatic rear camera activation.
- RCA Outputs: For external amplifiers or subwoofers.
- Video Outputs: For external monitors.
2. Mounting the Unit:
Install the single DIN chassis into your vehicle's dashboard opening. Secure the unit using the provided mounting hardware. Ensure sufficient clearance for the retractable screen to extend and retract without obstruction.
3. Initial Power On:
After all connections are made, reconnect the vehicle's negative battery terminal. Turn on the vehicle's ignition. The unit should power on. If not, recheck all wiring connections.
Operating Instructions
1. Power On/Off and Volume:
- Press the MODE button or the power button on the unit/remote to turn the unit on.
- Press and hold the MODE button to turn the unit off.
- Rotate the central knob or use the VOL+ / VOL- buttons on the remote to adjust volume.
2. Source Selection:
From the main menu on the touchscreen, tap the desired icon:
- RADIO: Access AM/FM tuner.
- DISC: Play CDs or DVDs.
- USB: Access media from a USB drive.
- SD CARD: Access media from a microSD card.
- BT PHONE: Access Bluetooth hands-free calling.
- BT MUSIC: Stream audio via Bluetooth.
- REAR CAMERA: View the rear camera feed (if installed).
- AUX IN: Use the front or rear auxiliary input.
- AV IN: Use the A/V input.
- SETUP: Access system settings.
3. Bluetooth Pairing:
- Ensure Bluetooth is enabled on your mobile device.
- On the XDVD156BT, tap the BT PHONE icon.
- Search for available devices on your mobile phone. The unit will appear as "XDVD156BT".
- Select "XDVD156BT" to pair. A confirmation prompt may appear.
- Once paired, you can make/receive calls and stream music.
4. CD/DVD Playback:
- Insert a CD or DVD into the disc slot. The unit will automatically switch to DISC mode.
- Use the touchscreen controls for playback functions (Play, Pause, Skip, Stop).
5. USB/MicroSD Playback:
- Insert a USB drive into the front USB port or a microSD card into the slot.
- Tap the USB or SD CARD icon on the main menu.
- Browse and select media files for playback.
6. Radio Operation:
- Tap the RADIO icon.
- Use the BAND button to switch between AM and FM bands.
- Use the SEEK+ / SEEK- buttons to automatically search for stations.
- Manually tune using the touchscreen controls.
- Press and hold a preset button to save the current station.
7. Touchscreen and Remote Control:
The 7-inch touchscreen provides intuitive control over all functions. Additionally, a remote control is included for convenient operation from a distance. Refer to the remote control diagram for button functions (e.g., MODE, VOL+ / VOL-, SEEK+ / SEEK-, SETUP).
Maintenance
1. Cleaning the Unit:
Use a soft, dry cloth to wipe the unit's exterior. For the touchscreen, use a soft, lint-free cloth slightly dampened with a screen cleaner solution. Avoid abrasive cleaners or solvents.
2. Detachable Panel Care:
When detaching the front panel, store it in a protective case to prevent scratches or damage. Avoid exposing the panel to direct sunlight or extreme temperatures.
3. Disc Care:
Handle discs by their edges. Keep them clean and free of scratches. Store discs in their cases when not in use.
Troubleshooting
| Problem | Possible Cause | Solution |
|---|---|---|
| No power | Incorrect wiring, blown fuse, vehicle battery issue. | Check power and ground connections. Inspect vehicle fuses. Ensure battery is charged. |
| No sound | Speaker wires disconnected, volume too low, mute activated. | Verify speaker connections. Increase volume. Check if mute is active. |
| Bluetooth not connecting | Device not in pairing mode, incorrect pairing procedure, interference. | Ensure both devices are in pairing mode. Delete previous pairings and try again. Move closer to the unit. |
| Disc error | Dirty or scratched disc, incorrect disc format. | Clean the disc. Try a different disc. Ensure disc format is supported (CD/DVD). |
| Screen not retracting/extending | Obstruction, motor issue. | Check for any physical obstructions. If the issue persists, contact support. |
For more complex issues, please refer to the full troubleshooting guide available on the Dual Electronics support website or contact customer service.
Specifications
- Model: XDVD156BT
- Screen Size: 7 Inches
- Display Type: LED Backlit LCD Touchscreen
- Resolution: 800 x 480
- Media Playback: CD, DVD, USB, Micro SD, MP3, WMA
- Bluetooth: Built-in for Hands-Free Calling & Audio Streaming
- Power Output: 50 Watts x 4 (Peak)
- Preamp Outputs: 2V RCA (Front, Rear, Subwoofer)
- Inputs: Front AUX, Rear AUX, Rear Camera Input, A/V Input
- Outputs: 2 RCA Video Outputs (Rear)
- Dimensions (Product): 6 x 10 x 12 inches
- Item Weight: 7 pounds
Warranty Information
This Dual Electronics XDVD156BT unit comes with a 1-year warranty covering parts and labor. This warranty ensures high quality and reliability. For specific terms and conditions, please refer to the warranty card included with your product or visit the official Dual Electronics website.
Customer Support
If you require further assistance or have questions not covered in this manual, please contact Dual Electronics customer support. You can typically find contact information on the official Dual Electronics website or on the product packaging.
Online Resources: Visit the Dual Electronics Store on Amazon for product information and updates.