Anytek DT-33936
Anytek Car Dash Cam Full HD 1080P User Manual
Model: DT-33936
Introduction
Thank you for choosing the Anytek Car Dash Cam. This manual provides detailed instructions for the proper installation, operation, and maintenance of your new dash camera. Please read this manual thoroughly before using the device to ensure optimal performance and longevity. Keep this manual for future reference.
Package Contents
Please verify that all items listed below are included in your package:
- 1x Anytek Car Dash Cam
- 1x Car Charger
- 1x Power Cable (Mini USB)
- 1x Suction Mount
- 1x User Manual (this document)
Note: A 32GB Class 10 Micro SD card is required for operation but is not included in the package. Please format the SD card on the camera before first use.
Product Overview
Familiarize yourself with the components of your Anytek Car Dash Cam.

Figure 1: The Anytek Car Dash Cam shown with its two included suction mounts, ready for installation. The camera features a wide-angle lens and a display screen.
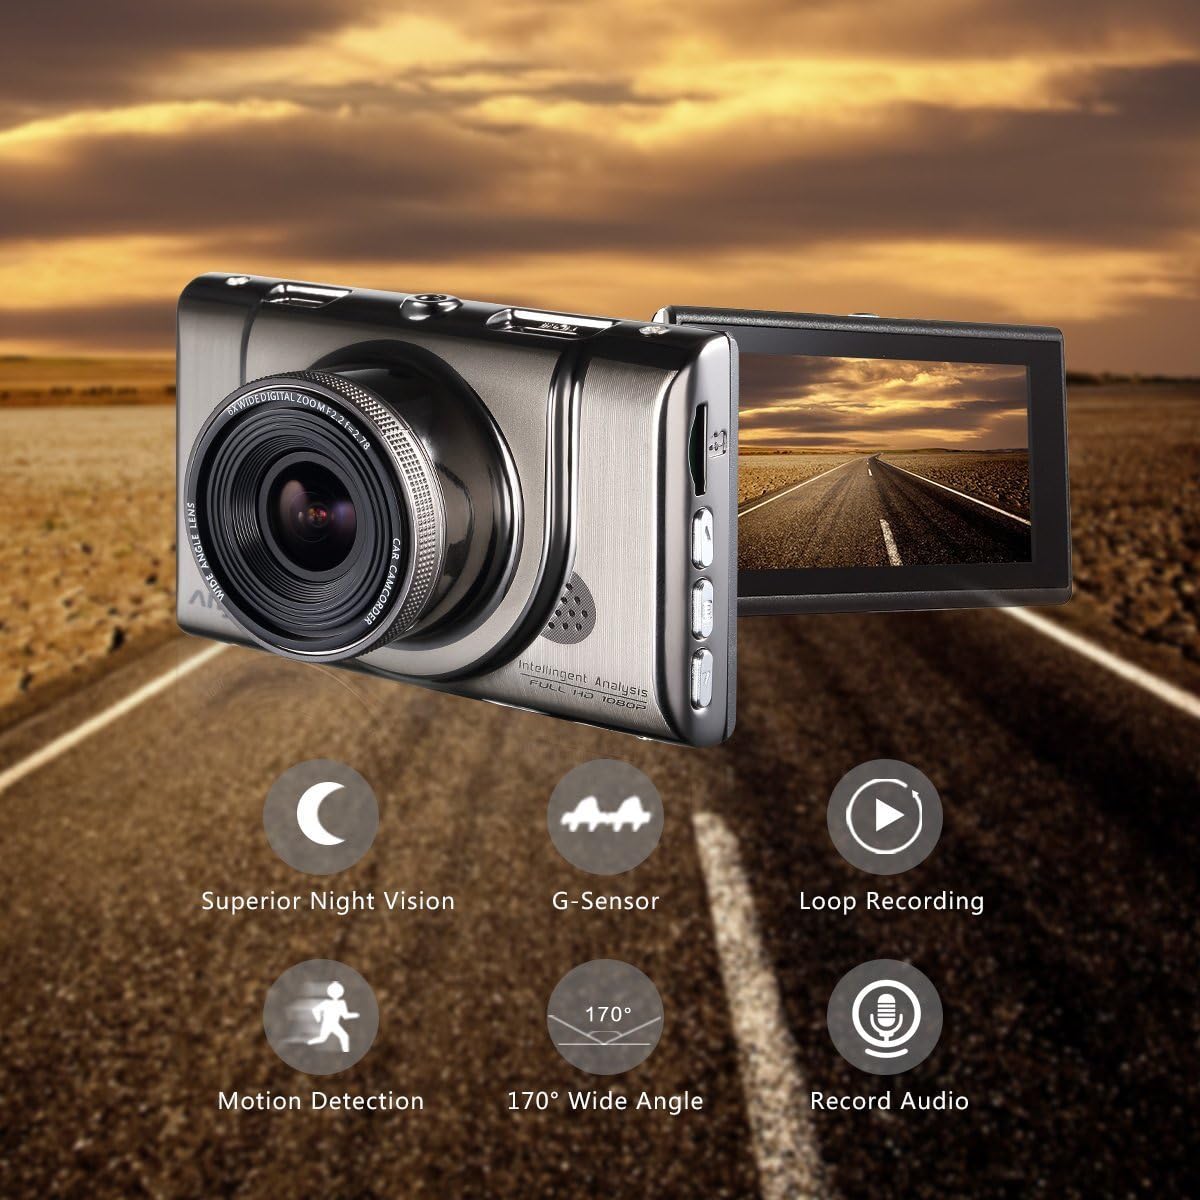
Figure 2: The dash cam displaying its key functionalities: Superior Night Vision, G-Sensor, Loop Recording, Motion Detection, 170° Wide Angle, and Record Audio capabilities.
Setup and Installation
Follow these steps to properly set up and install your dash cam in your vehicle.
- Prepare the Micro SD Card: Insert a Class 10 or higher Micro SD card (up to 32GB recommended) into the dash cam's SD card slot. It is crucial to format the SD card directly on the camera before its first use to ensure compatibility and proper function.
- Mount the Dash Cam: Use the included suction mount to securely fasten the dash cam to your car's windshield or dashboard. Choose a location that does not obstruct your view of the road.
- Connect Power: Plug the included car charger into your vehicle's cigarette lighter socket. Connect the Mini USB power cable from the car charger to the dash cam. The dash cam will automatically power on and begin recording when the vehicle's ignition is turned on.

Figure 3: Visual guide demonstrating the simple installation process of the dash cam, including suggested cable routing for a neat setup within the vehicle's interior.
Operating Instructions
This section outlines the basic operation of your dash cam.
Automatic Recording
Once powered on, the dash cam will automatically start recording. Recording will stop when the power is disconnected (e.g., when the vehicle is turned off).
Menu Navigation
Use the buttons on the side of the device to navigate through the menu options. These options allow you to adjust settings such as video resolution, loop recording duration, G-sensor sensitivity, and more. Refer to the on-screen prompts for specific button functions.
Playback Mode
To review recorded footage, switch to playback mode. You can view videos directly on the dash cam's screen or by connecting the device to a computer via USB, or by removing the SD card and inserting it into a card reader.
Key Features
The Anytek Car Dash Cam is equipped with several advanced features to enhance your driving safety and recording experience.
Superior Night Vision & WDR
The dash cam supports excellent night vision capabilities, capturing clear images even in low light conditions. This feature is crucial for recording details not typically visible at night. The Wide Dynamic Range (WDR) technology automatically adjusts the camera's exposure to create balanced and high-quality images and footage, ensuring clarity in varying light environments, from bright daylight to dark tunnels.

Figure 4: The dash cam's display showcasing its superior night vision, providing clear visibility of the road ahead even in challenging low-light conditions.

Figure 5: A side-by-side comparison illustrating the dash cam's ability to capture clear and detailed video footage during both daytime and nighttime driving conditions.
Emergency Accident Lock (G-Sensor)
Equipped with a G-sensor, the dash cam automatically detects sudden shakes or collisions. When an incident occurs, the G-sensor triggers the camera to lock the current video file, preventing it from being overwritten by loop recording. This ensures that critical footage of unexpected incidents is secured and can serve as important evidence for insurance claims or accident investigations.

Figure 6: An illustration depicting the G-Sensor's function, which automatically locks video footage during a collision to secure critical evidence.
Loop Recording
Footage is continuously recorded in segments of 3, 5, or 10 minutes, depending on your settings. When the memory card reaches its full capacity, the dash cam will automatically overwrite the oldest unlocked file, ensuring continuous recording without manual intervention. Locked files (triggered by the G-sensor) are protected from being overwritten.

Figure 7: An illustration demonstrating the loop recording function, where the dash cam continuously records and overwrites the oldest files when the memory card is full.
170° Wide Angle Lens
The 170-degree wide-angle lens captures a broad view of the road ahead, minimizing blind spots and providing comprehensive coverage. This wide perspective ensures that more details of the driving environment are recorded, acting as your independent witness.
Motion Detection
When enabled, the motion detection feature allows the dash cam to automatically start recording if it detects movement in front of the vehicle while parked. This can be useful for monitoring your vehicle when it's unattended.
Durable Metal Shell
The dash cam features a robust zinc alloy metal shell, providing enhanced durability and heat dissipation. This construction contributes to the device's stable performance and offers anti-collision and explosion-proof properties.
Maintenance
Proper maintenance ensures the longevity and optimal performance of your dash cam.
- Clean the Lens: Regularly clean the camera lens with a soft, lint-free cloth to ensure clear video recording. Avoid abrasive materials that could scratch the lens.
- SD Card Formatting: It is recommended to format the Micro SD card every few weeks or months, especially if you experience recording issues. This helps maintain the card's health and prevents data corruption. Always back up important files before formatting.
- Temperature Considerations: Avoid exposing the dash cam to extreme temperatures for prolonged periods. While the metal shell aids in heat dissipation, excessive heat can still affect performance and battery life.
- Firmware Updates: Check the manufacturer's website periodically for any available firmware updates. Updates can improve performance, add new features, or fix bugs.
Troubleshooting
If you encounter issues with your Anytek Car Dash Cam, refer to the following common problems and solutions.
| Problem | Possible Cause / Solution |
|---|---|
| Dash cam does not power on. |
|
| "No Memory Card" error or recording issues. |
|
| Dash cam freezes or restarts unexpectedly. |
|
| Date and time settings are not saved. |
|
| Video quality is poor or blurry. |
|
Specifications
| Feature | Detail |
|---|---|
| Brand | Anytek |
| Model Number | DT-33936 |
| Product Dimensions | 15 x 5 x 10 cm |
| Item Weight | 500 g |
| Video Resolution | Full HD 1080P |
| Screen Size | 3.0 inches |
| Lens Angle | 170 degrees Wide Angle |
| Special Features | G Sensor, Night Vision, Parking Monitor (Motion Detection), Loop Recording, WDR, Anti-shaking, Record Audio |
| Storage | Supports Micro SD card (Class 10, up to 32GB, not included) |
| Connectivity | USB |
| Shell Material | Zinc Alloy Metal |
Warranty and Support
Your Anytek Car Dash Cam comes with a 12-month worry-free warranty from the date of purchase. This warranty covers manufacturing defects and ensures reliable performance of your device.
For technical support, warranty claims, or any inquiries regarding your product, please contact our customer service team. Refer to the contact information provided on the product packaging or the official Anytek website for the most current support details.