Introduction
This manual provides detailed instructions for the installation, operation, and maintenance of your Audiopipe APCLE-30001D Class D Monoblock Amplifier. Please read this manual thoroughly before attempting installation or operation to ensure proper use and to prevent damage to the unit or your vehicle's electrical system.
The Audiopipe APCLE-30001D is a high-power Class D monoblock amplifier designed to deliver robust audio performance for your car audio system, specifically optimized for driving subwoofers.
Safety Instructions
Always observe the following safety precautions during installation and operation:
- Disconnect the vehicle's negative battery terminal before starting any electrical work.
- Ensure all wiring is properly routed and secured to prevent pinching or damage.
- Use appropriate gauge power and ground wires as specified in the installation section.
- Install an inline fuse on the main power cable, close to the battery.
- Avoid mounting the amplifier in locations exposed to direct sunlight, excessive heat, moisture, or dust.
- Do not operate the amplifier if it is damaged or malfunctioning. Refer to the troubleshooting section.
- Seek professional assistance if you are unsure about any installation steps.
Package Contents
Verify that your package contains the following items:
- Audiopipe APCLE-30001D Monoblock Amplifier
- Mounting hardware (screws)
- User Manual (this document)
Features
The Audiopipe APCLE-30001D amplifier offers the following key features:
- Class D Monoblock Design: Efficient power delivery with reduced heat generation.
- High Power Output: Up to 3000 Watts (peak/max power).
- Variable Low Pass Crossover: Allows for precise tuning of subwoofer frequencies.
- Variable Bass Boost: Enhances low-frequency response.
- Protection Circuitry: Safeguards against overheating, overcurrent, and short circuits.
Setup and Installation
Proper installation is crucial for optimal performance and longevity of your amplifier. If you are not confident in your ability to install this unit, please consult a professional installer.
Mounting the Amplifier
Choose a mounting location that is dry, well-ventilated, and away from direct heat sources. Ensure there is sufficient space around the amplifier for air circulation. Common locations include under a seat, in the trunk, or on a custom amplifier rack.
- Place the amplifier in the desired mounting location and mark the screw holes.
- Drill pilot holes if necessary, ensuring not to drill into any vehicle wiring, fuel lines, or brake lines.
- Secure the amplifier using the provided mounting screws.
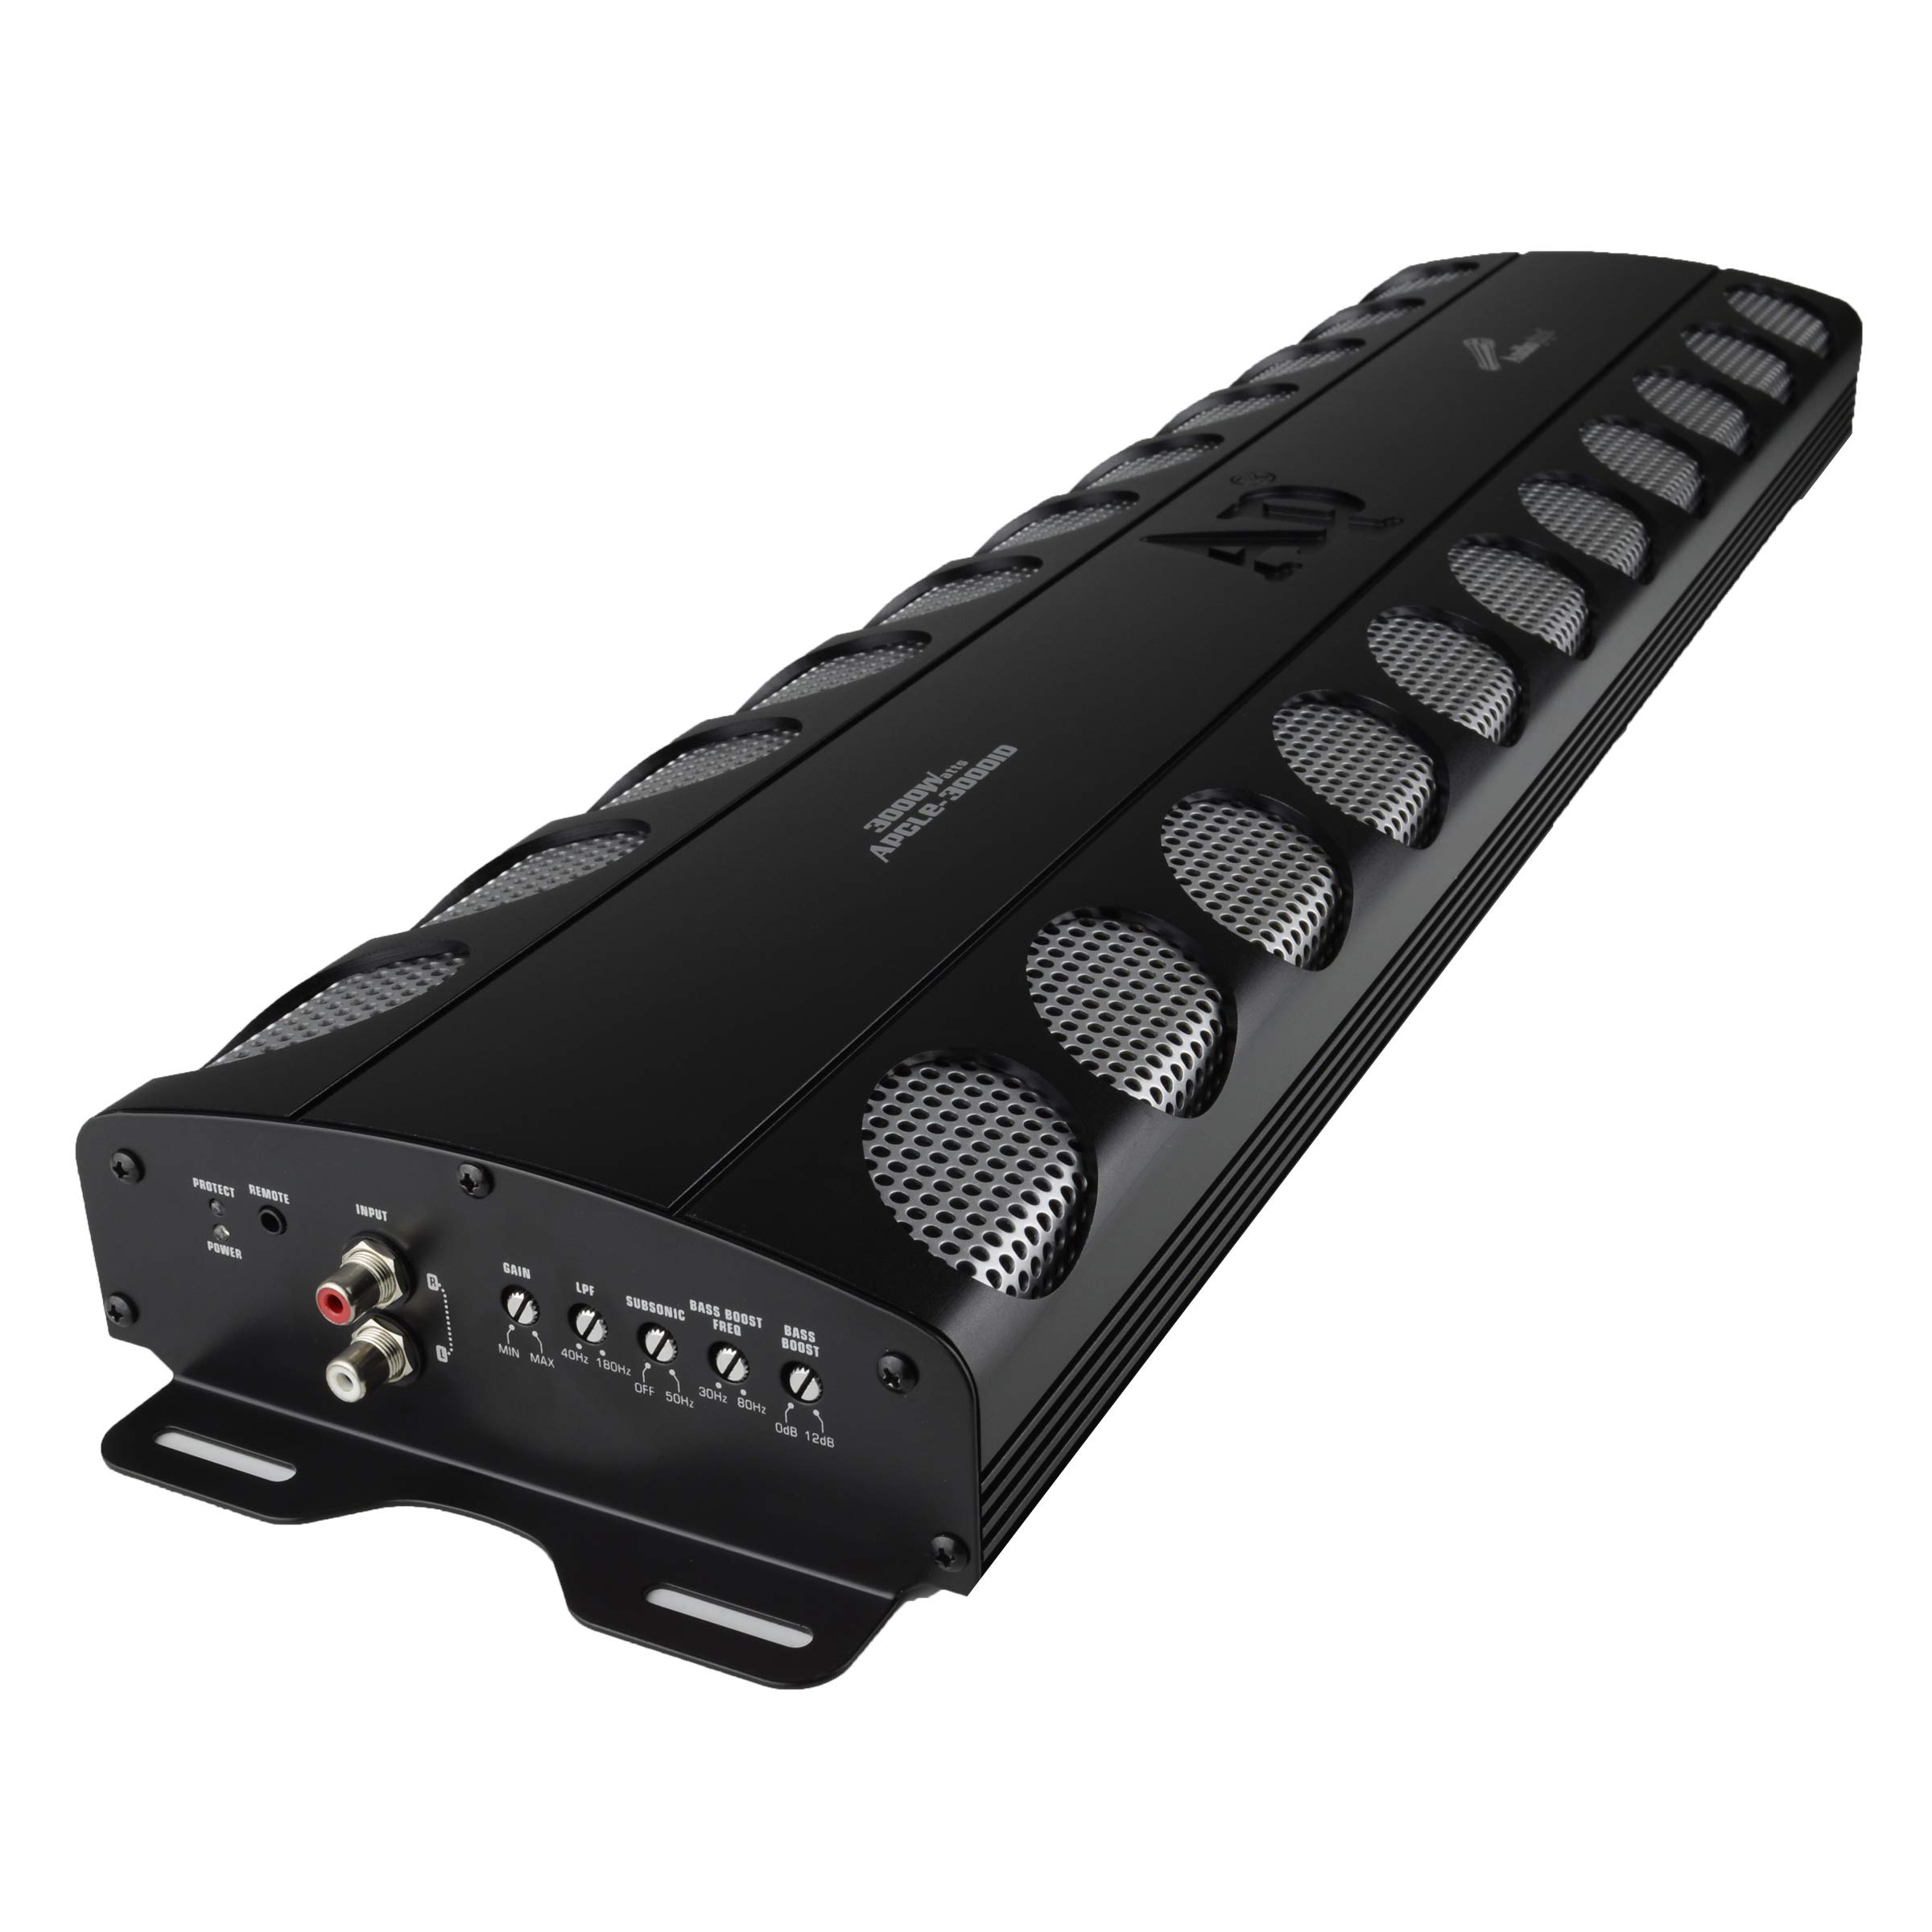
Image: Audiopipe APCLE-30001D Monoblock Amplifier. This image shows the overall design of the amplifier, including its dimensions and connection terminals.
Wiring Connections
All wiring should be done with the vehicle's battery disconnected. Use high-quality wiring components for best results.
Power (BATT+) Connection
- Run a power cable (minimum 4-gauge recommended for 3000W) directly from the positive terminal of the vehicle's battery to the amplifier's BATT+ terminal.
- Install an inline fuse holder with an appropriate fuse (e.g., 150A-200A, consult amplifier specifications or professional for exact rating) within 18 inches (45 cm) of the battery.
Ground (GND) Connection
- Run a ground cable (same gauge as power cable) from the amplifier's GND terminal to a clean, unpainted metal surface on the vehicle's chassis.
- Ensure the connection point is free of paint, rust, or dirt for a solid electrical connection.
- The ground cable should be as short as possible, ideally less than 3 feet (1 meter).
Remote (REM) Turn-On Connection
- Connect a remote turn-on wire (typically 18-gauge) from the amplifier's REM terminal to the remote output of your head unit or a switched 12V source.
- This wire tells the amplifier to turn on when the head unit is powered.
RCA Input Connections
- Connect RCA cables from the subwoofer output of your head unit to the RCA input jacks on the amplifier.
- Route RCA cables away from power cables to prevent noise interference.
Speaker Output Connections
- Connect your subwoofer(s) to the speaker output terminals on the amplifier.
- Ensure correct polarity (+ to + and - to -) for all speaker connections.
- Verify that the total impedance of your connected subwoofers is within the amplifier's stable operating range (e.g., 1 Ohm, 2 Ohms, 4 Ohms). Refer to your subwoofer's specifications.
Initial Settings and Adjustments
After all connections are made and verified, reconnect the vehicle's negative battery terminal.
- Gain Control: Start with the gain control set to minimum. Gradually increase it until the desired volume is achieved without distortion. Do not use the gain control as a volume knob; it matches the amplifier's input sensitivity to the head unit's output.
- Low Pass Filter (LPF): Adjust the LPF to filter out frequencies above your desired subwoofer range, typically between 50Hz and 120Hz. This ensures the amplifier only reproduces low frequencies.
- Bass Boost: Use the bass boost sparingly. Excessive bass boost can lead to distortion and potential damage to your speakers or amplifier. Start at minimum and adjust slightly if needed.
- Subsonic Filter (if available): If your amplifier has a subsonic filter, set it slightly below your subwoofer's port tuning frequency (for ported enclosures) or around 20-30Hz (for sealed enclosures) to protect the subwoofer from playing ultra-low, inaudible frequencies that can cause damage.
Operating Instructions
Once installed and configured, operating your Audiopipe APCLE-30001D amplifier is straightforward:
- Turn on your vehicle's ignition and head unit. The amplifier should power on automatically via the remote turn-on wire.
- Adjust the volume on your head unit to your preferred listening level.
- Fine-tune the amplifier's gain, LPF, and bass boost settings as needed for optimal sound quality and to match your system's characteristics.
- Observe the amplifier's indicator lights. A green light typically indicates normal operation, while a red light or no light may indicate a protection mode or power issue.
Maintenance
Regular maintenance helps ensure the longevity and performance of your amplifier:
- Cleaning: Periodically clean the amplifier's exterior with a soft, dry cloth. Avoid using harsh chemicals or abrasive cleaners. Ensure ventilation fins are free of dust and debris.
- Connections: Occasionally check all power, ground, remote, RCA, and speaker connections to ensure they are secure and free from corrosion. Loose connections can cause performance issues or damage.
- Ventilation: Ensure the amplifier's mounting location remains well-ventilated. Do not block any cooling fins or vents.
Troubleshooting
If you experience issues with your amplifier, refer to the following common problems and solutions:
No Power / Amplifier Does Not Turn On
- Check Fuse: Verify the inline fuse on the power cable near the battery and any fuses on the amplifier itself. Replace if blown.
- Power/Ground Connections: Ensure the BATT+ and GND connections are secure and making good contact. Check for proper voltage at the BATT+ terminal.
- Remote Turn-On: Confirm the REM wire is connected and receiving 12V when the head unit is on.
No Sound Output
- RCA Connections: Check that RCA cables are securely connected at both the head unit and amplifier.
- Speaker Connections: Ensure speaker wires are correctly connected to the amplifier and subwoofers, with correct polarity.
- Gain Setting: Verify the gain control is not set to minimum.
- Head Unit Output: Confirm the head unit is sending an audio signal (e.g., check fader/balance settings).
Distorted Sound
- Gain Setting: Reduce the gain control if it is set too high, causing clipping.
- Speaker Impedance: Ensure the connected subwoofer impedance is compatible with the amplifier.
- Crossover Settings: Adjust the LPF to ensure only appropriate frequencies are being sent to the subwoofer.
- Power Supply: Check for adequate power and ground connections. Voltage drops can cause distortion.
Amplifier Overheating / Protection Mode
- Ventilation: Ensure the amplifier has adequate airflow and is not covered.
- Impedance: Verify the speaker load impedance is not too low for the amplifier.
- Gain Setting: Reduce the gain setting to prevent the amplifier from working too hard.
- Short Circuit: Check speaker wires for any shorts to ground or between positive and negative terminals.
Specifications
The following are the technical specifications for the Audiopipe APCLE-30001D Monoblock Amplifier:
| Specification | Value |
|---|---|
| Brand | Audiopipe |
| Model Number | APCLE30001D |
| Output Power | 3000 Watts |
| Amplifier Class | Class D |
| Number of Channels | 1 (Monoblock) |
| Minimum Supply Voltage | 12 Volts |
| Item Dimensions (L x W x H) | 34.88 x 8.75 x 3.25 inches |
| Item Weight | 17.16 pounds |
| Mounting Type | Surface Mount |
| Operating Temperature | 40 Degrees Fahrenheit (Note: This value may represent a minimum or storage temperature. Refer to official documentation for full operating range.) |
| Certifications | CE, FCC, RoHS |
| UPC | 784644417447 |
Warranty and Support
Audiopipe products are designed for reliability and performance. This amplifier is covered by a limited warranty against defects in materials and workmanship. The specific terms and duration of the warranty may vary by region and retailer. Please retain your proof of purchase for warranty claims.
For technical support, warranty inquiries, or service, please contact your authorized Audiopipe dealer or visit the official Audiopipe website for contact information.
Note: Unauthorized modifications or improper installation may void the product warranty.