1. Introduction
The AOZBZ Portable Document Scanner is a compact and versatile device designed for quick and efficient scanning of documents and images on the go. It offers multiple resolution settings and saves files directly to a Micro SD card, providing convenience for various professional and personal uses. This manual provides comprehensive instructions to help you set up, operate, and maintain your scanner.

The AOZBZ Portable Document Scanner, a compact device designed for on-the-go scanning, shown alongside a Micro SD card for storage.
2. Product Overview and Components
Familiarize yourself with the scanner's components to ensure proper operation.
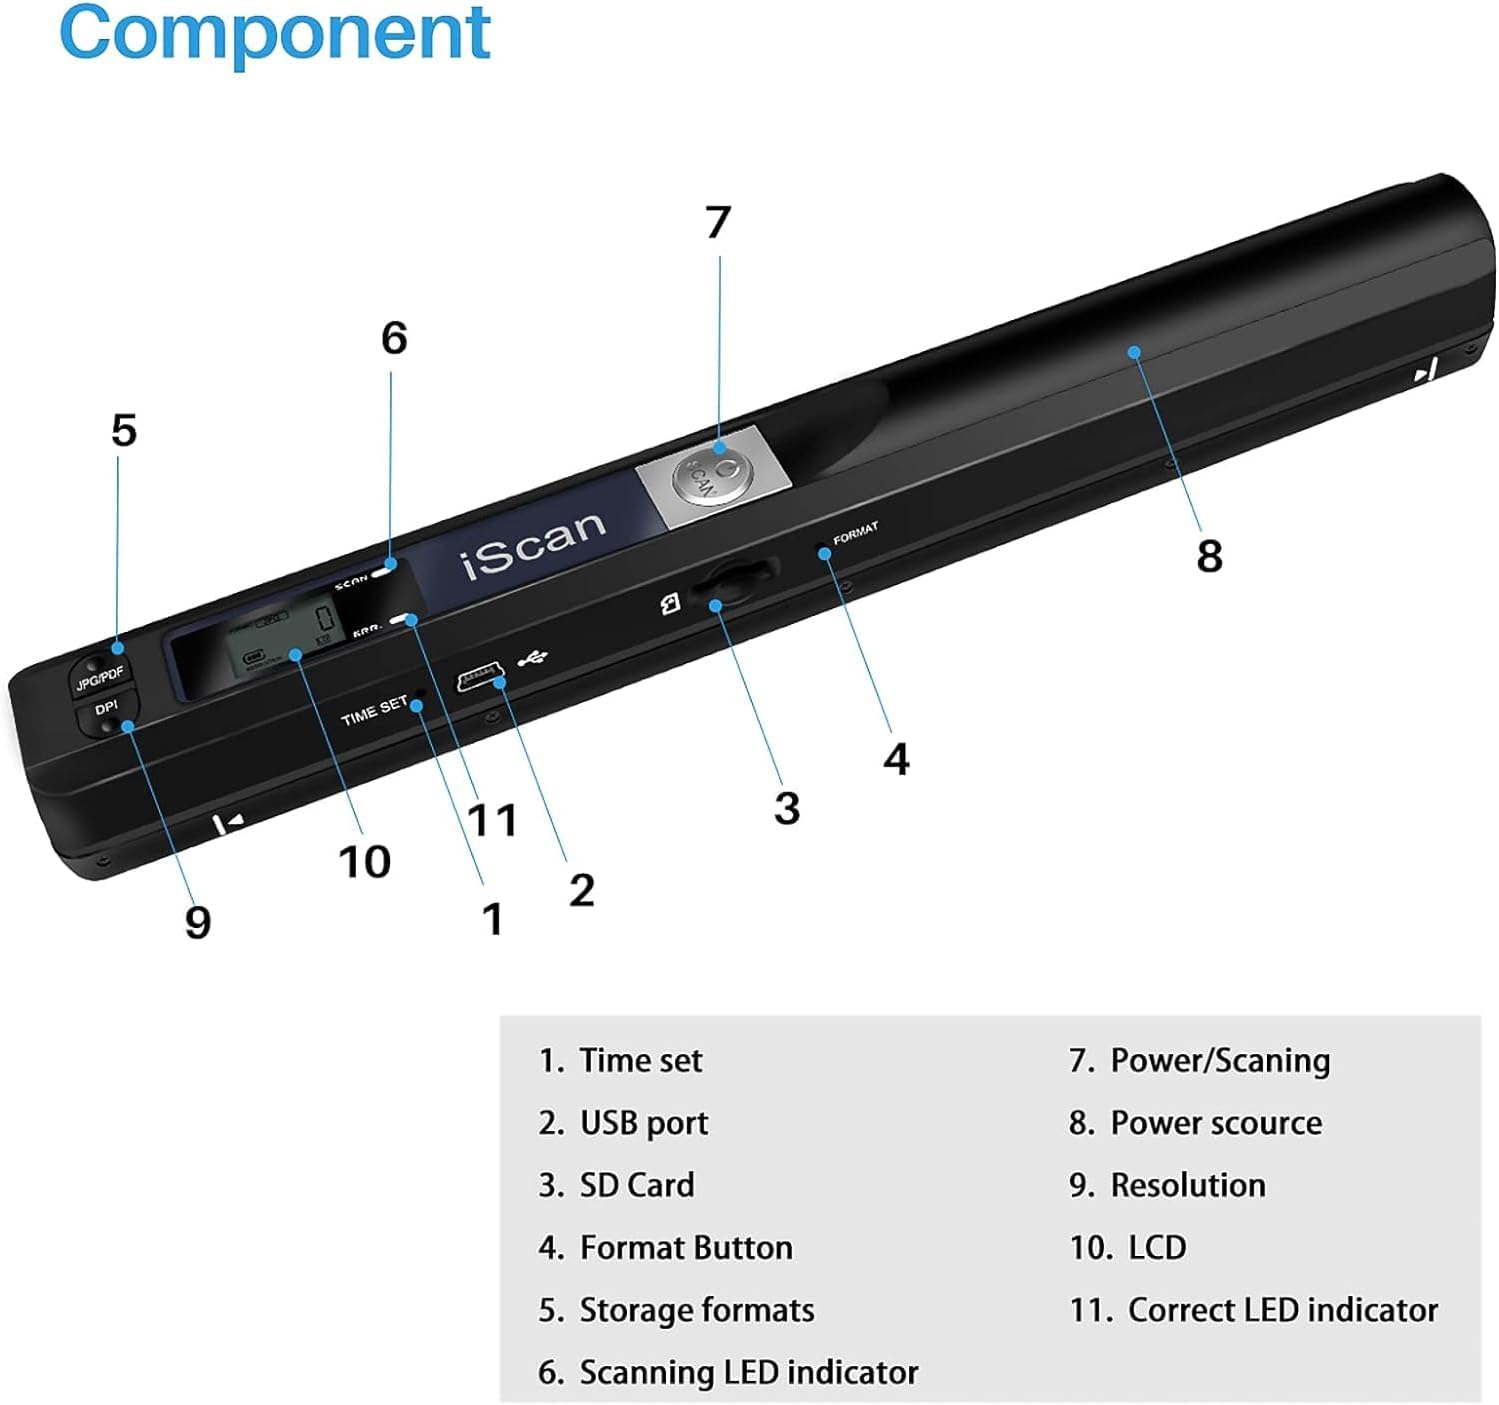
An annotated diagram illustrating the various parts of the scanner, including buttons, ports, and indicators.
- Time Set Button
- USB Port
- SD Card Slot
- Format Button
- Storage Formats (JPG/PDF) Button
- Scanning LED Indicator
- Power/Scanning Button
- Power Source (Battery Compartment)
- Resolution (DPI) Button
- LCD Display
- Correct LED Indicator
3. Setup
3.1 Battery Installation
The scanner is powered by 2 AA batteries (not included). Ensure correct polarity when inserting.
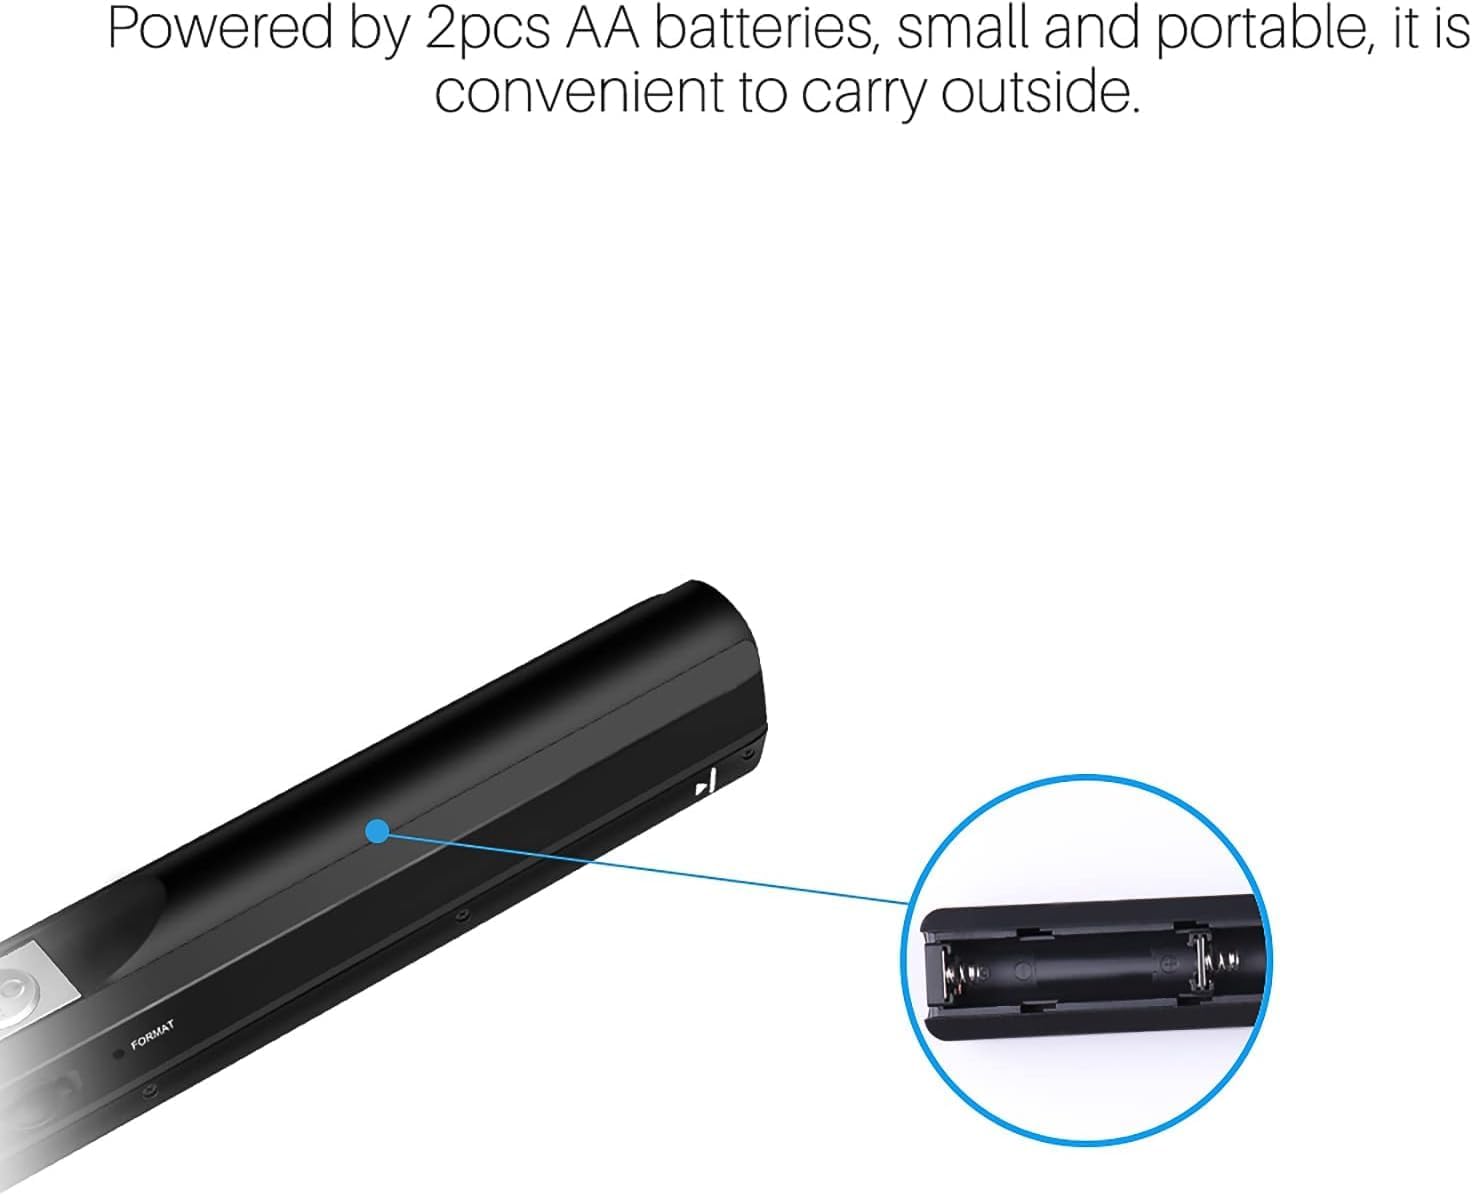
This image shows the battery compartment, which requires two AA batteries for operation.
- Locate the battery compartment on the scanner (Component 8).
- Slide open the battery cover.
- Insert 2 AA batteries, observing the polarity markings (+/-).
- Close the battery cover securely.
3.2 Micro SD Card Insertion
A Micro SD card (up to 32GB, not included) is required to save scanned files.

The scanner supports Micro SD cards up to 32GB for direct storage and connects via USB to computers running Windows XP/7/Vista or Mac OS 10.4 and above.
- Locate the Micro SD card slot on the side of the scanner (Component 3).
- Insert the Micro SD card into the slot until it clicks into place.
- To remove, gently push the card inward until it springs out.
4. Operation
4.1 Basic Scanning Process
Follow these steps to scan a document or image.

The scanner in action, demonstrating its ability to quickly scan documents. It supports A4 size, USB 2.0, and outputs in JPG/PDF formats with up to 900 DPI resolution.
- Press and hold the Power/Scanning Button (Component 7) for approximately 2 seconds to turn on the scanner. The LCD display (Component 10) will light up.
- Ensure the document or image is placed on a flat surface.
- Position the scanner at the top edge of the document, ensuring it is centered.
- Press the Power/Scanning Button (Component 7) once to start scanning. The Scanning LED Indicator (Component 6) will illuminate green.
- Slowly and steadily slide the scanner down the document. Maintain even pressure and speed for optimal results.
- Once the scan is complete, press the Power/Scanning Button (Component 7) again to stop scanning. The green LED will turn off.
- The scanner will automatically power off after 3 minutes of inactivity.
4.2 Resolution Settings (DPI)
You can select from three resolution modes: 300 DPI, 600 DPI, and 900 DPI.

This image visually compares the output quality at different resolution settings (300 DPI, 600 DPI, 900 DPI), allowing users to choose the clarity suitable for their needs.
- Press the Resolution (DPI) Button (Component 9) to cycle through the available resolutions.
- The selected resolution will be displayed on the LCD screen.
- Choose 300 DPI for quick scans and smaller file sizes.
- Choose 600 DPI for standard quality scans.
- Choose 900 DPI for high-detail scans, suitable for images or documents requiring maximum clarity.
4.3 File Formats
The scanner supports both JPEG and PDF file formats.
- Press the Storage Formats (JPG/PDF) Button (Component 5) to switch between JPEG and PDF.
- The current format will be indicated on the LCD display.
- JPEG is ideal for images and photos.
- PDF is suitable for multi-page documents and text.
5. Connectivity
5.1 Transferring Files to a Computer
You can transfer scanned files to your computer via USB.
- Connect the scanner to your computer using a USB cable (Component 2).
- The scanner will appear as a removable disk drive on your computer.
- Navigate to the scanner's drive to access your scanned JPEG or PDF files.
- Copy the files to your computer as needed.
The scanner is compatible with Windows XP / 7 / Vista / Mac OS 10.4 or later. No special software installation is required for basic file transfer.
6. Maintenance
6.1 Cleaning the Scanner
Regular cleaning ensures optimal scanning performance.
- Use a soft, dry, lint-free cloth to wipe the exterior of the scanner.
- For the scanning glass, use a specialized lens cleaning cloth or a soft cloth lightly dampened with a non-abrasive glass cleaner. Avoid spraying cleaner directly onto the scanner.
- Ensure the scanner is powered off before cleaning.
6.2 Battery Care
- Remove batteries if the scanner will not be used for an extended period to prevent leakage.
- Replace batteries when the low battery indicator appears on the LCD.
7. Troubleshooting
Refer to the table below for common issues and their solutions.
| Problem | Possible Cause | Solution |
|---|---|---|
| Scanner does not turn on. | Low or no batteries; incorrect battery polarity. | Replace batteries or ensure they are inserted correctly. |
| Scanned image is blurry or distorted. | Scanner moved too fast or unevenly; dirty scanning glass. | Scan slower and more steadily; clean the scanning glass. |
| Cannot save files. | No Micro SD card inserted; Micro SD card full or corrupted. | Insert a Micro SD card; delete unnecessary files or format the card (this will erase all data). |
| Computer does not recognize scanner. | Loose USB connection; incompatible operating system. | Ensure USB cable is securely connected; verify OS compatibility (Windows XP/7/Vista, Mac OS 10.4+). |
8. Technical Specifications
- Model: OBZD112814QZC7B5294
- Brand: AOZBZ
- Scan Resolution: 300 DPI, 600 DPI, 900 DPI
- File Format: JPEG, PDF
- Storage: Micro SD card (up to 32GB, not included)
- Connectivity: USB 2.0
- Power Source: 2 x AA Batteries (not included)
- Supported OS: Windows XP / 7 / Vista, Mac OS 10.4 or later (not compatible with Windows 10)
- Dimensions: Approximately 25.5cm x 2.5cm x 2.5cm (10.0" x 1.0" x 1.0")
- Weight: 178 Grams
- Light Source: LED

The scanner's compact dimensions (25.5cm x 2.5cm x 2.5cm) make it highly portable, easily fitting into a bag for travel.
9. Warranty and Support
For warranty information and technical support, please refer to the product packaging or contact the retailer where the product was purchased. Keep your proof of purchase for any warranty claims.