CTS UT-10514, UT-10779, UT-10788, UT-10799R, UT-10815, UT-10883, UT-10532, UT-10926, RY74003D
CTS Carburetor Instruction Manual
For Homelite and Ryobi Chainsaws (Models UT-10514, UT-10779, UT-10788, UT-10799R, UT-10815, UT-10883, UT-10532, UT-10926, RY74003D)
1. Introduction
This instruction manual provides essential information for the proper installation, operation, maintenance, and troubleshooting of your new CTS Carburetor. This carburetor is designed as a replacement part for various Homelite and Ryobi chainsaw models. Please read this manual thoroughly before attempting any installation or operation to ensure safety and optimal performance of your equipment.
2. Safety Information
Always prioritize safety when working with power tools and fuel systems. Failure to follow safety instructions can result in serious injury or property damage.
- Disconnect Spark Plug: Before performing any maintenance or installation, always disconnect the spark plug wire to prevent accidental starting.
- Fuel Handling: Work in a well-ventilated area. Avoid open flames or sparks. Store fuel in approved containers.
- Personal Protective Equipment (PPE): Wear safety glasses, gloves, and appropriate clothing to protect against fuel, sharp objects, and moving parts.
- Professional Assistance: If you are unsure about any step, consult a qualified technician or refer to your chainsaw's original service manual.
- Cleanliness: Keep the work area clean and free of debris.
3. Product Overview
The CTS Carburetor is a precision-engineered component designed to mix air and fuel in the correct ratio for your chainsaw engine. Proper functioning of the carburetor is crucial for engine performance and efficiency.

Figure 1: Front-side view of the CTS Carburetor, showing the main body and fuel inlets.

Figure 2: Side view of the CTS Carburetor, highlighting the throttle linkage mechanism.
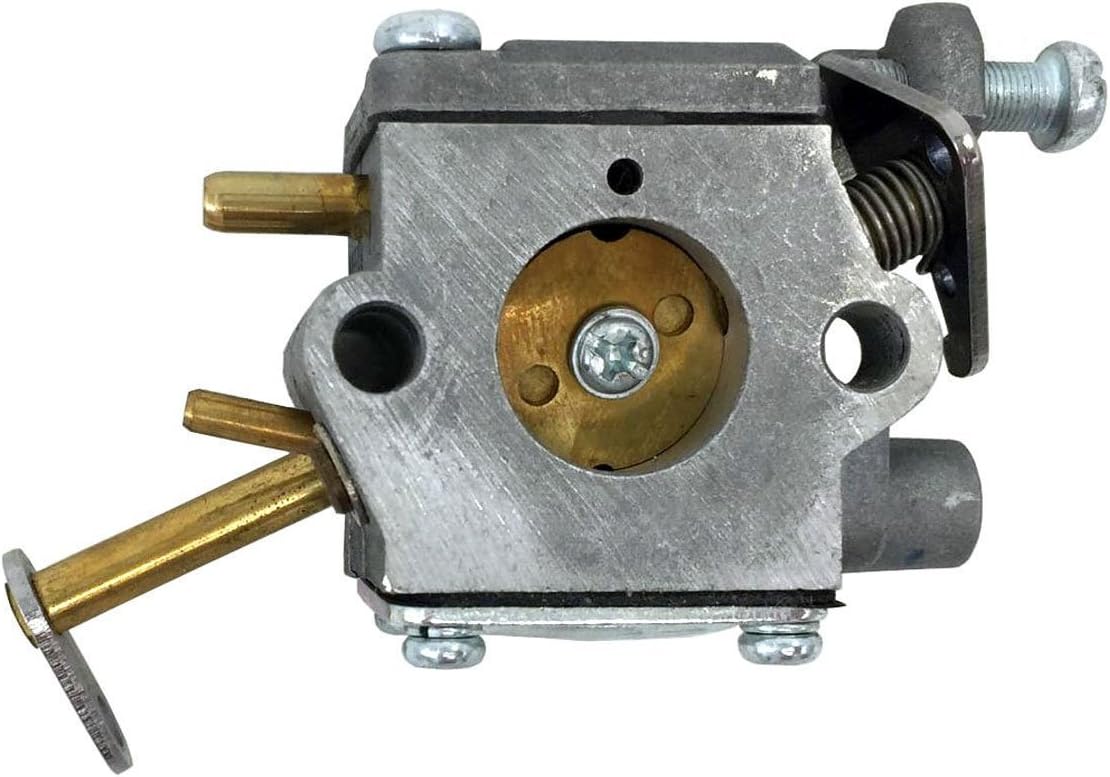
Figure 3: Top view of the CTS Carburetor, showing the adjustment screws and fuel lines.
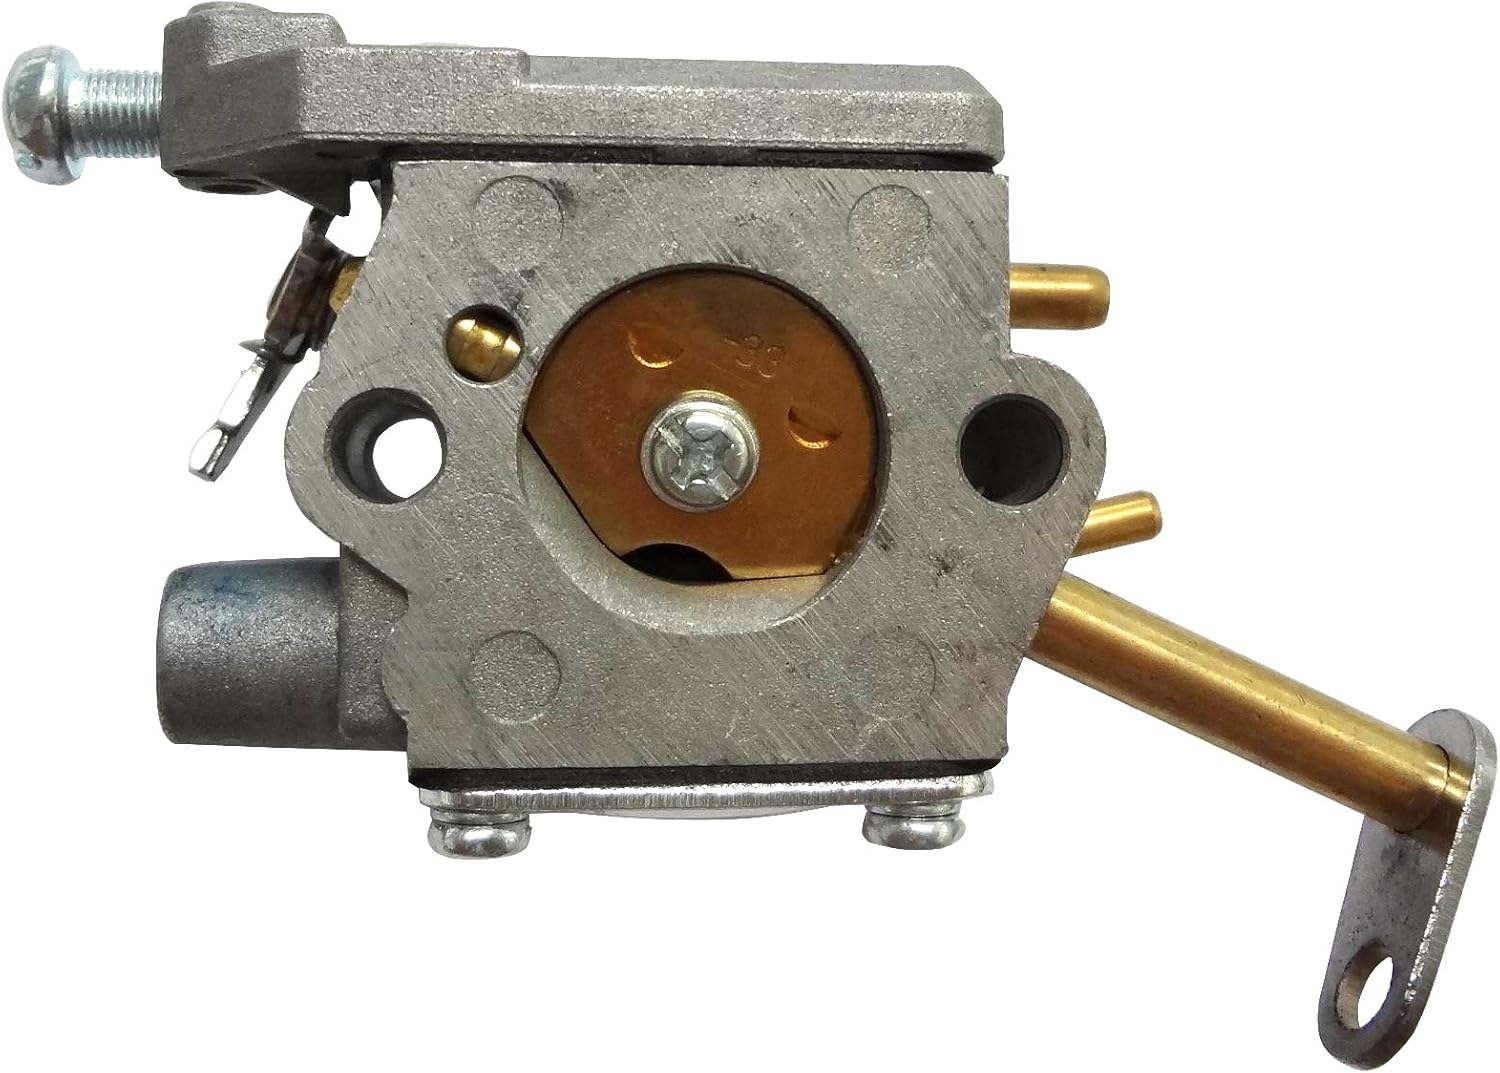
Figure 4: Angled view of the CTS Carburetor, providing a comprehensive look at its components.

Figure 5: Bottom view of the CTS Carburetor, showing the mounting points.

Figure 6: Another side view of the CTS Carburetor, showing additional details of the assembly.
Video 1: A 360-degree view of the CTS Carburetor, showcasing its design and various components from all angles. This video provides a detailed visual inspection of the product.
4. Compatibility
This CTS Carburetor is compatible with a range of Homelite and Ryobi chainsaw models. Please verify your model number against the list below to ensure proper fitment.
Compatible Homelite Models:
- UT-10514 (33cc Chainsaw)
- UT-10516 (33cc Chainsaw)
- UT-10532
- UT-10779-A (D3300 Chain Saw)
- UT-10780 (D3800 Chain Saw)
- UT-10780-A (D3800 Chain Saw)
- UT-10781-A (23 Chain Saw)
- UT-10782 (Z3300 Chain Saw)
- UT-10782-A (20 Chain Saw)
- UT-10783 (D3800C Chain Saw)
- UT-10784 (D3300C Chain Saw)
- UT-10784-A (D3300C Chain Saw)
- UT-10785-A (23 W/Cc Chain Saw)
- UT-10786 (Z3300c Chain Saw)
- UT-10786-A (20 W/Cc Chain Saw)
- UT-10788 (PS33 Chainsaw)
- UT-10799-R (N3014 Chain Saw)
- UT-10799-R1 (N3014 W/Cc Chain Saw)
- UT-10800-R (N3316 Chain Saw)
- UT-10815 (23 W/Cc Chain Saw)
- UT-10817 (Chain Saw)
- UT-10818 (20 W/Cc Chain Saw)
- UT-10821 (D3300 Chain Saw)
- UT-10828 (D3300C Chain Saw)
- UT-10842 (23 W/Cc Chain Saw)
- UT-10847 (20) (33cc Chainsaw)
- UT-10853 (20w/CC) (33cc Chainsaw)
- UT-10854 (PS33) (33cc Chainsaw)
- UT-10855 (D3300) (Chainsaw)
- UT-10857 (D3300C) (33cc Chainsaw)
- UT-10870 (23w/CC) (38cc Chainsaw)
- UT-10880 (D3300) (33cc Chainsaw)
- UT-10881 (20) (33cc Chainsaw)
- UT-10882 (D3300C) (33cc Chainsaw)
- UT-10883 (20w/CC) (33cc Chainsaw)
- UT-10901 (33cc Chainsaw)
- UT-10901A (33cc-14" Chainsaw)
- UT-10926 (Ranger) (33cc-16" Chainsaw)
- UT-10932 (N3014 Chain Saw)
- UT-10933 (N3014 W/Cc Chain Saw)
- UT-10941 (B2216CC) (33cc Chainsaw)
- UT-10947 (33cc 16" Chainsaw)
- UT-10947A (Chainsaw)
- UT-10947D (33cc 16" Chainsaw)
- UT-74121B (33cc 14 Inch Chain Saw)
- UT-74121D (33cc 14 Inch Chain Saw)
Compatible Ryobi Models:
- RY74003D (33cc - 14 in. Chain Saw)
Replaces MPN: 300939002, 309365001, 000998271, 984922001, 984891001, A09159, A09159A, 300981002.
5. Setup (Installation)
Carburetor replacement requires mechanical aptitude. If you are not comfortable performing this procedure, it is recommended to seek professional assistance.
- Preparation: Ensure the chainsaw is turned off, cooled down, and the spark plug wire is disconnected. Drain any fuel from the tank.
- Access: Remove the air filter cover and air filter assembly to gain access to the carburetor.
- Disconnect: Carefully disconnect the fuel lines, throttle linkage, and choke linkage from the old carburetor. Note their positions for reassembly.
- Remove Old Carburetor: Unbolt the old carburetor from the engine manifold.
- Install New Carburetor: Mount the new CTS Carburetor, ensuring gaskets are properly seated. Secure it with the mounting bolts.
- Reconnect: Reconnect the fuel lines, throttle linkage, and choke linkage to the new carburetor. Double-check all connections for security.
- Reassemble: Reinstall the air filter assembly and cover.
- Refuel: Fill the fuel tank with the appropriate fuel mixture as specified by your chainsaw manufacturer.
- Initial Start-up and Adjustment: After installation, the carburetor may require fine-tuning. Refer to the "Operating Instructions" section for initial start-up and basic adjustment guidance.
6. Operating Instructions
After installing the new carburetor, follow these general steps for starting and operating your chainsaw. Always refer to your chainsaw's original owner's manual for specific starting procedures and safety guidelines.
- Prime the System: If your chainsaw has a primer bulb, press it several times until fuel is visible in the return line.
- Choke: Engage the choke lever to the "FULL CHOKE" position.
- Starting: Place the chainsaw on a firm, flat surface. Hold the front handle firmly and pull the starter cord until the engine "pops" or attempts to start.
- Half Choke: Once the engine "pops," move the choke lever to the "HALF CHOKE" or "RUN" position (depending on your model).
- Full Start: Pull the starter cord again until the engine starts and runs.
- Warm-up: Allow the engine to warm up for a few moments before engaging the throttle.
- Carburetor Adjustment (if necessary):
- Idle Speed (T screw): Adjust the 'T' screw to achieve a smooth, consistent idle without the chain moving.
- Low Speed (L screw): Adjust the 'L' screw for smooth acceleration from idle to full throttle. Turn clockwise for leaner, counter-clockwise for richer.
- High Speed (H screw): Adjust the 'H' screw for maximum engine RPM under load. Turn clockwise for leaner, counter-clockwise for richer. Caution: Improper adjustment of the H screw can cause engine damage. It is recommended to have this adjusted by a professional.
7. Maintenance
Regular maintenance of your chainsaw and its carburetor will extend its lifespan and ensure reliable operation.
- Air Filter: Regularly clean or replace the air filter to prevent dirt and debris from entering the carburetor.
- Fuel Filter: Inspect and replace the fuel filter periodically to ensure clean fuel supply to the carburetor.
- Fuel Quality: Always use fresh, clean fuel mixed to the manufacturer's specifications. Stale or improperly mixed fuel can clog the carburetor.
- Storage: For long-term storage, drain the fuel tank and run the engine until it stops to clear fuel from the carburetor, or use a fuel stabilizer.
- External Cleaning: Keep the exterior of the carburetor clean from dirt, sawdust, and oil residue.
8. Troubleshooting
If your chainsaw experiences issues after carburetor replacement, consider the following common problems and solutions. Always ensure safety precautions are followed before troubleshooting.
| Problem | Possible Cause | Solution |
|---|---|---|
| Engine won't start | No fuel, clogged fuel filter, incorrect choke setting, spark plug issue, improper carburetor adjustment. | Check fuel level and quality. Inspect/replace fuel filter. Verify choke position. Check spark plug. Adjust carburetor (L screw). |
| Engine runs rough or stalls | Improper carburetor adjustment (L or H screw), dirty air filter, old/bad fuel, vacuum leak. | Adjust L/H screws. Clean/replace air filter. Use fresh fuel. Check for loose connections or damaged gaskets. |
| Lack of power or poor acceleration | Clogged fuel filter, dirty air filter, improper H screw adjustment, worn spark plug. | Inspect/replace fuel filter. Clean/replace air filter. Adjust H screw (professional recommended). Replace spark plug. |
| Fuel leaks | Loose fuel lines, damaged gaskets, cracked fuel tank/lines. | Tighten fuel line clamps. Replace damaged gaskets. Inspect fuel system for cracks. |
If these steps do not resolve the issue, it is recommended to consult a professional chainsaw repair service.
9. Specifications
Key specifications for the CTS Carburetor:
- Product Dimensions: 5 x 1.2 x 3 inches
- Item Weight: 3.92 ounces
- Replaces MPN: 300939002, 309365001, 000998271, 984922001, 984891001, A09159, A09159A, 300981002
- Compatible Engine Displacement: Primarily 33cc (also 38cc for some models)
10. Warranty and Support
For information regarding warranty coverage or technical support, please contact the seller directly. Keep your purchase receipt as proof of purchase.
Seller: C•T•S
For further assistance, you may visit the CTS Store on Amazon.
Related Documents - UT-10514, UT-10779, UT-10788, UT-10799R, UT-10815, UT-10883, UT-10532, UT-10926, RY74003D
 |
Unitech Secondary Equipment Status Monitoring and Control This document details Unitech's solutions for secondary equipment status monitoring and control, covering product features, system composition, technical specifications, and typical applications. It highlights devices like the UT-0350 series status monitoring device and UT-0358 series secondary remote control device, designed for industrial automation and power system management. |
 |
UNI-T UT-PR2060 Low-Noise Power Rail Probe User Manual User manual for the UNI-T UT-PR2060 Low-Noise Power Rail Probe. Details features, specifications, application scenarios, operating procedures, and maintenance for high-speed electronic system power integrity analysis. |
 |
UNI-T UT320D Mini Single Input Thermometer User Manual User manual for the UNI-T UT320D Mini Single Input Thermometer, detailing features, safety instructions, structure, operation, and specifications for accurate temperature measurement. |
 |
GoodWe UT Series Grid-Tied PV Inverter User Manual Explore the official User Manual for GoodWe UT Series Grid-Tied PV Inverters. This guide details installation, electrical connections, safety protocols, system commissioning, and maintenance for models like GW250KH-UT, GW320K-UT, and GW350KH-UT. Essential reading for solar professionals and system operators. |
 |
GoodWe UT Series Grid-Tied PV Inverter User Manual This user manual provides comprehensive information on the GoodWe UT Series Grid-Tied PV Inverter, covering product overview, safety precautions, installation, electrical connection, commissioning, maintenance, and technical parameters. It is intended for trained technical professionals. |
 |
UT320D Mini Single Input Thermometer User Manual | UNI-T Comprehensive user manual for the UNI-T UT320D Mini Single Input Thermometer. Learn about features, operation, specifications, and safety instructions for this K/J thermocouple thermometer. |