1. Introduction
This instruction manual provides essential information for the safe and effective installation, operation, and maintenance of your Technical Precision Replacement Light Bulb, model CV300. This bulb is designed as a direct replacement for the SUNPAK CV300 light bulb. Please note that this bulb is not manufactured by SUNPAK.
Read this manual thoroughly before installation and retain it for future reference.
2. Safety Information
Always follow these safety precautions to prevent injury or damage:
- Power Off: Always ensure the power supply to the fixture is turned off and disconnected before attempting to install, remove, or clean the light bulb.
- Cool Down: Allow the bulb to cool completely before handling. Light bulbs, especially halogen types, can become extremely hot during operation and cause severe burns.
- Handle with Care: Avoid touching the glass part of the bulb directly with bare hands. Oils from your skin can create hot spots on the glass, leading to premature failure or shattering. Use a clean cloth or gloves when handling.
- Proper Disposal: Dispose of old or broken bulbs according to local regulations.
- Correct Voltage: Ensure the fixture's voltage matches the bulb's voltage (12 Volts). Using an incorrect voltage can damage the bulb or the fixture.
- Indoor Use Only: This bulb is intended for indoor use in appropriate fixtures.
3. Package Contents
Your package should contain the following item:
- 1 x Technical Precision Replacement Light Bulb (Model CV300)
4. Setup and Installation
Follow these steps to safely install your replacement light bulb:
- Turn Off Power: Locate the light fixture's power switch and turn it to the OFF position. For added safety, turn off the circuit breaker supplying power to the fixture.
- Allow Cooling: If replacing an old bulb, allow sufficient time for the old bulb to cool down completely before touching it.
- Remove Old Bulb: Carefully remove the old bulb from the fixture. For MR11 bulbs with a two-prong (GU4/GZ4) base, gently pull the bulb straight out from its socket. Avoid twisting if it feels resistant.
- Prepare New Bulb: Using a clean cloth or gloves, carefully remove the new Technical Precision CV300 bulb from its packaging. Avoid touching the glass reflector or bulb capsule with bare hands.
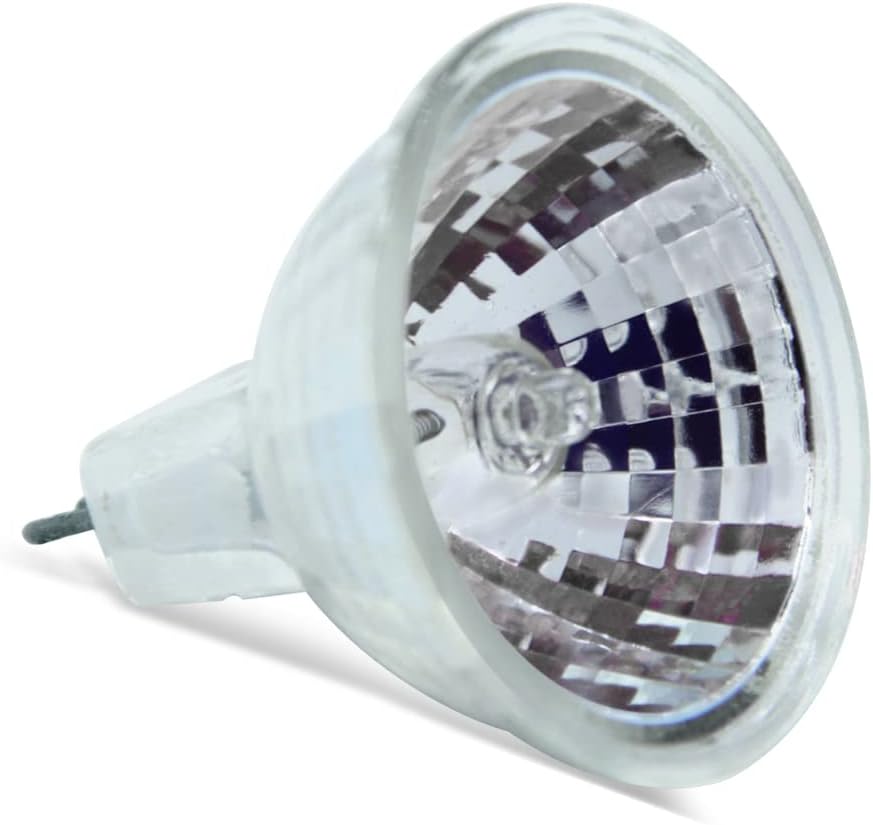
Figure 1: Front view of the Technical Precision CV300 replacement light bulb, showing the reflector and bulb capsule.
- Insert New Bulb: Align the two prongs of the new bulb with the corresponding holes in the fixture's socket. Gently push the bulb straight into the socket until it is firmly seated. Do not force the bulb.

Figure 2: Close-up view of the two-prong base (GU4/GZ4) on the Technical Precision CV300 bulb, ready for insertion into a compatible socket.
- Restore Power: Once the bulb is securely installed, restore power to the fixture by turning on the circuit breaker and the light switch.
- Test: Turn on the light to ensure the new bulb is functioning correctly.
5. Operating Instructions
Once installed, the Technical Precision CV300 replacement light bulb operates like any standard light bulb in a compatible fixture. Simply use the fixture's switch to turn the light ON or OFF.
This bulb is designed for consistent performance within its specified voltage and wattage limits. Avoid frequent switching if possible, as this can sometimes reduce bulb lifespan.
6. Maintenance
Minimal maintenance is required for this light bulb:
- Cleaning: If the bulb becomes dusty, ensure the power is OFF and the bulb is completely cool. Gently wipe the glass reflector with a soft, dry, lint-free cloth. Do not use liquid cleaners directly on the bulb.
- Handling: Always handle the bulb by its base or with a clean cloth/gloves to avoid transferring skin oils to the glass.
- Inspection: Periodically inspect the bulb and fixture for any signs of damage or wear.
7. Troubleshooting
If your replacement bulb is not functioning as expected, consider the following:
- Bulb Not Lighting:
- Ensure the power switch is ON and the circuit breaker is not tripped.
- Verify the bulb is securely seated in the socket. Remove and re-insert if necessary, ensuring prongs are correctly aligned.
- Check if the fixture itself is working by testing with another known-good bulb (if available and compatible).
- Confirm the fixture's voltage matches the bulb's 12V requirement.
- Short Lifespan:
- Excessive voltage can significantly reduce bulb life. Ensure the power supply is stable.
- Frequent switching (turning on and off rapidly) can stress the filament.
- Improper handling (touching the glass with bare hands) can cause premature failure.
- Poor ventilation in the fixture can lead to overheating.
If issues persist after troubleshooting, consult a qualified electrician or contact Technical Precision customer support.
8. Specifications
| Brand | Technical Precision |
| Model Number | CV300 |
| Light Type | Halogen (Replacement for SUNPAK CV300) |
| Wattage | 35 Watts |
| Voltage | 12 Volts |
| Bulb Shape Size | MR11 |
| Bulb Base | Prong (GU4/GZ4) |
| Color Temperature | 2925 Kelvin |
| Light Source Operating Life | 2000 Hours |
| Material Type | Glass |
| Indoor/Outdoor Usage | Indoor |
9. Warranty Information
This Technical Precision replacement light bulb is covered by a 1-year manufacturer's warranty from the date of purchase. This warranty covers defects in materials and workmanship under normal use.
The warranty does not cover damage resulting from improper installation, misuse, abuse, accidents, unauthorized repairs, or normal wear and tear. Please retain your proof of purchase for warranty claims.
10. Support
For further assistance, technical inquiries, or warranty claims, please contact Technical Precision customer support. Refer to your purchase documentation or the Technical Precision website for contact details.
When contacting support, please have your product model (CV300) and purchase information readily available.