1. Introduction
This manual provides detailed instructions for the installation, operation, and maintenance of your SANSCO 4-Channel 1080P CCTV Security System. This comprehensive wired surveillance kit includes a Smart DVR with a pre-installed 1TB hard drive, two 1080p 2MP bullet cameras, and two 1080p 2MP dome cameras. The system is designed for both home and business security, offering 24/7 monitoring with advanced features like motion detection and remote access.
Please read this manual thoroughly before setting up and operating your system to ensure proper functionality and to maximize its capabilities.
2. Package Contents
Verify that all items listed below are included in your package. If any items are missing or damaged, please contact SANSCO customer support.
- 1x 4-Channel 1080P Smart DVR (with 1TB Hard Disk pre-installed)
- 2x 1080p 2MP Bullet Cameras
- 2x 1080p 2MP Dome Cameras
- 4x 60ft (18.3m) Video + Power Cables for Cameras
- 2x Power Adapters
- 2x 1-to-4 Power Splitter Cables for Cameras
- 1x USB Mouse
- 4x Screw Sets for Cameras
- 1x 1M Ethernet Cable
- 1x User Manual (this document)

Image: Overview of the SANSCO CCTV Security System package contents, including DVR, cameras, cables, power adapters, mouse, and manual.
3. System Setup
Follow these steps to set up your SANSCO CCTV Security System.
3.1 DVR Connection
- Connect to a Monitor: Connect the DVR to a TV or monitor using an HDMI or VGA cable. Ensure your display supports at least 1080p resolution for optimal viewing.
- Connect USB Mouse: Plug the included USB mouse into one of the USB ports on the DVR.
- Network Connection (Optional for Remote Access): For remote viewing via smartphone or PC, connect the DVR to your router using the provided Ethernet cable.
- Power On: Connect the DVR power adapter to the DVR and then to a power outlet. The DVR will power on automatically.

Image: The SANSCO DVR connected to a monitor, showing a multi-camera live view layout.
3.2 Camera Installation and Connection
- Mount Cameras: Choose suitable locations for your bullet and dome cameras. Bullet cameras are typically used for outdoor, directional surveillance, while dome cameras are versatile for both indoor and outdoor use. Use the provided screw sets to securely mount the cameras.
- Connect Video/Power Cables: Connect one end of the 60ft video/power cable to each camera. The BNC connector is for video, and the DC connector is for power.
- Connect to DVR: Connect the BNC end of the camera cables to the corresponding BNC input ports on the back of the DVR.
- Power Cameras: Use the 1-to-4 power splitter cables to connect the DC power ends of the camera cables to the power adapters. Plug the power adapters into electrical outlets.


Image: Left: A close-up view of a SANSCO bullet camera. Right: A SANSCO bullet camera mounted outdoors, demonstrating its waterproof design.
3.3 Initial Configuration
Upon first power-on, the DVR will guide you through an initial setup wizard. Follow the on-screen prompts to:
- Set language and time zone.
- Create an administrator password.
- Configure network settings (if connected to the internet).
- Format the hard drive (if prompted, though 1TB is pre-installed).
4. Operating Instructions
4.1 Live View
After initial setup, the DVR will display the live feeds from all connected cameras on your monitor. You can switch between single-camera view, multi-camera grid view, and customize the display layout using the DVR's on-screen menu and mouse.
4.2 Recording
The system supports continuous recording, scheduled recording, and motion-triggered recording.
- Continuous Recording: Records 24/7, overwriting the oldest footage when the hard drive is full.
- Motion Detection Recording: Records only when motion is detected, saving hard drive space. Configure motion detection zones and sensitivity in the DVR settings.
- Scheduled Recording: Set specific times for recording.
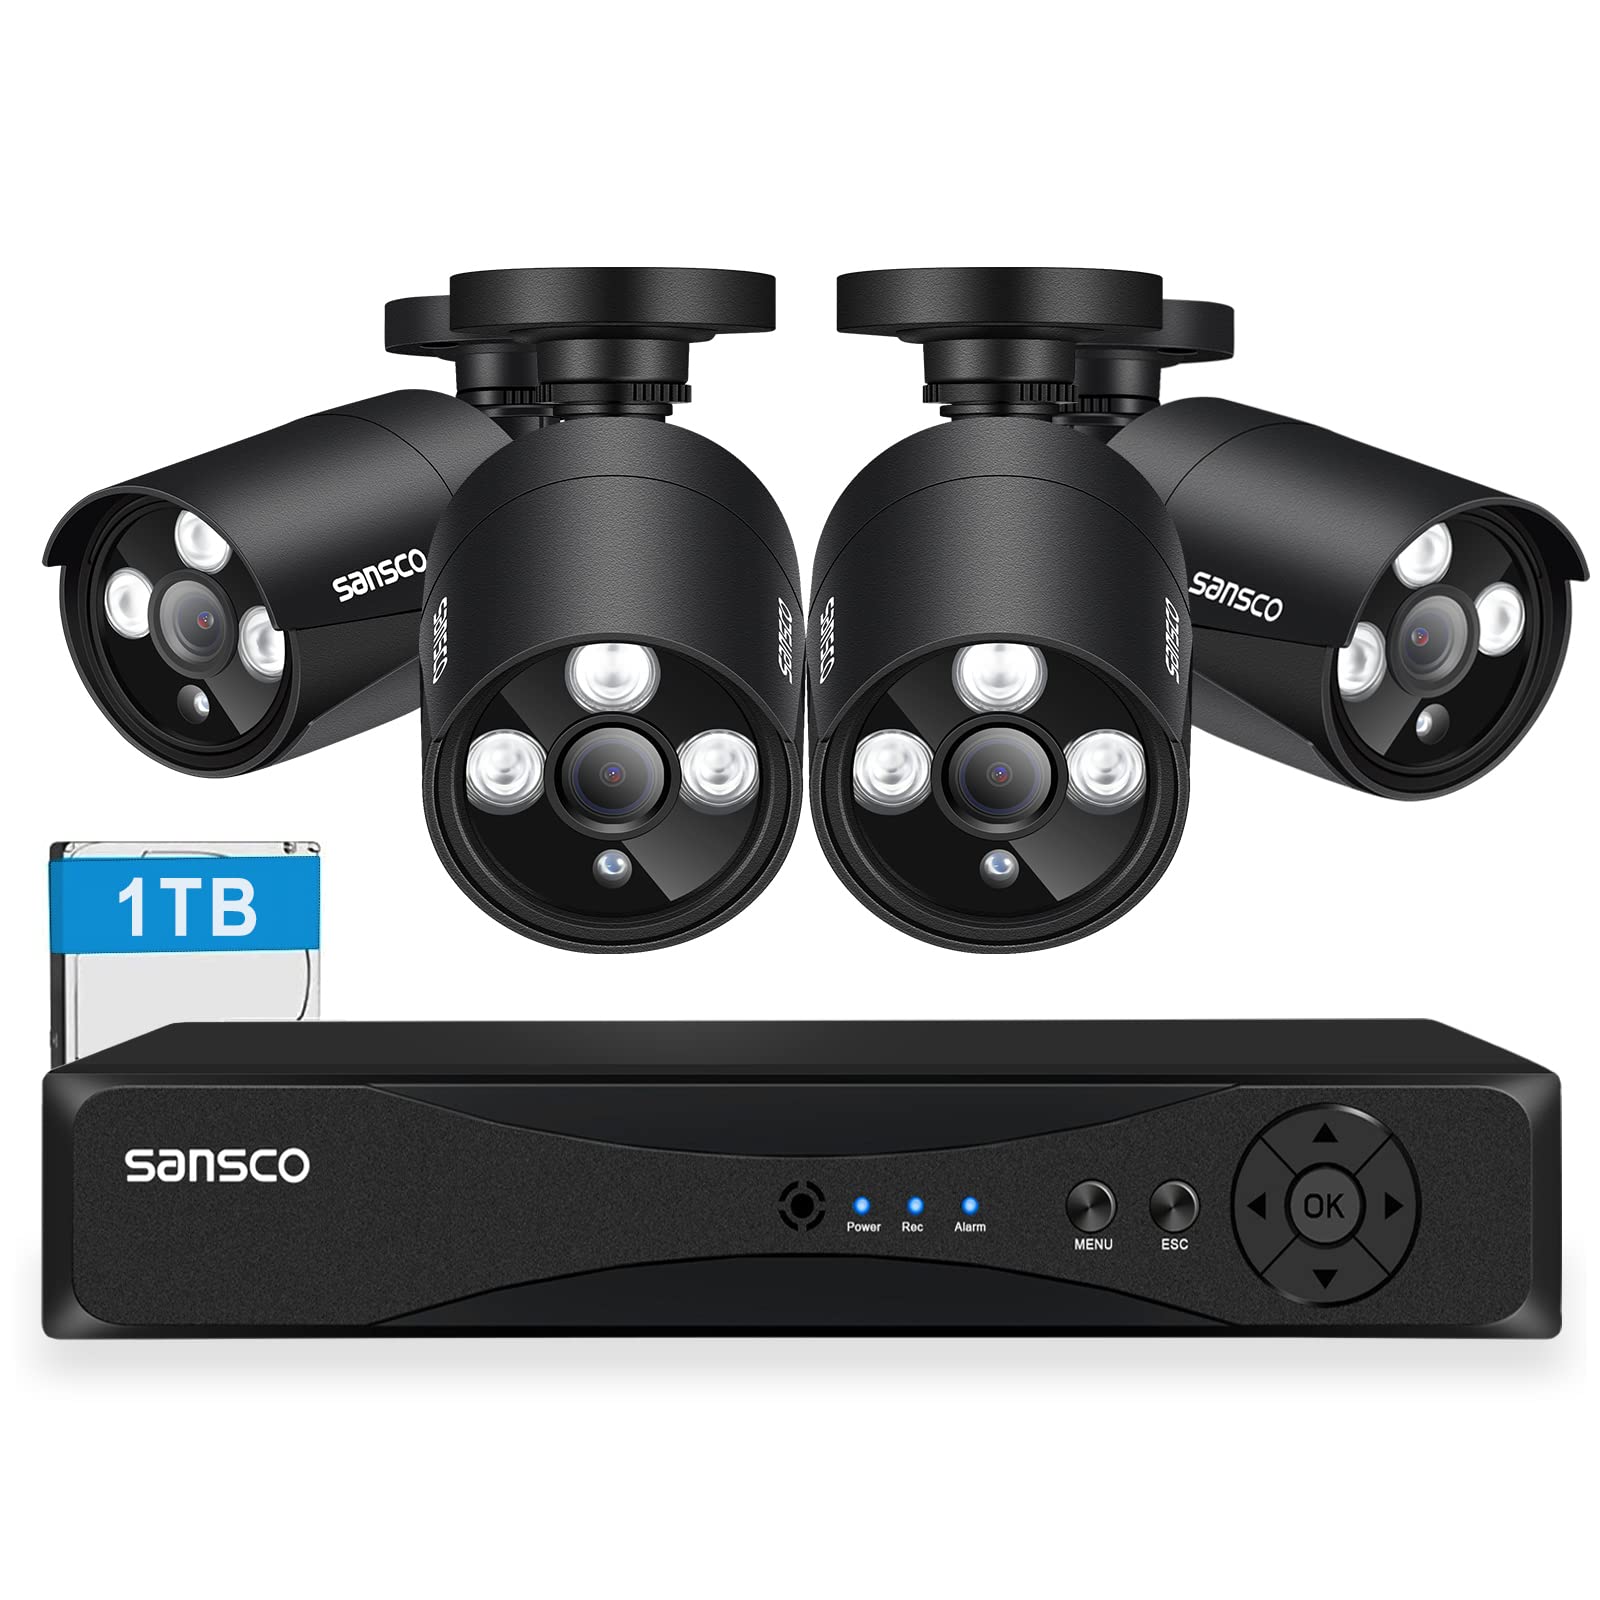
Image: A SANSCO security system displaying alerts for detected persons and vehicles in a monitored area.
4.3 Playback
To review recorded footage:
- Access the 'Playback' menu from the DVR interface.
- Select the desired date and camera channel.
- Use the timeline to navigate through recorded events.
4.4 Night Vision
The cameras are equipped with IR LEDs for automatic night vision, providing clear black and white images in low-light or no-light conditions up to 15-20 meters.

Image: A split image showing the clear daytime view from a camera and its effective black and white night vision view.
4.5 Remote Monitoring (Xmeye App)
To access your security system remotely:
- Download App: Download the 'Xmeye' app from your smartphone's app store (iOS/Android).
- Register Account: Create an account within the app.
- Add Device: Use the app to scan the QR code displayed on your DVR (found in the network settings) or manually enter the device ID to add your DVR.
- View Live/Playback: Once added, you can view live feeds, play back recordings, and receive instant alerts directly on your smartphone or tablet.


Image: Left: A smartphone displaying a clear, high-definition live feed from a SANSCO camera. Right: A smartphone receiving an instant alert notification for detected motion.
5. Maintenance
Regular maintenance ensures the longevity and optimal performance of your security system.
- Camera Cleaning: Periodically clean the camera lenses with a soft, damp cloth to remove dust, dirt, or water spots that may obstruct the view. Do not use harsh chemicals.
- Cable Inspection: Check all cables for wear, damage, or loose connections, especially for outdoor installations.
- Hard Drive Management: The 1TB hard drive will automatically overwrite old footage. Regularly back up important footage to an external device if needed. You can also check the hard drive status in the DVR settings.
- Firmware Updates: Check the SANSCO website or the DVR's system settings for available firmware updates. Updates can improve performance and add new features.
6. Troubleshooting
If you encounter issues with your SANSCO security system, refer to the following common troubleshooting steps:
- No Video Display:
- Ensure the DVR and monitor are powered on and properly connected via HDMI/VGA.
- Check that all cameras are receiving power and their video cables are securely connected to the DVR.
- Verify the correct input source is selected on your monitor.
- No Recording:
- Check the hard drive status in the DVR settings to ensure it is detected and formatted.
- Verify recording schedules and motion detection settings are correctly configured.
- Ensure there is sufficient space on the hard drive.
- Remote Access Issues:
- Confirm the DVR is connected to the internet via Ethernet cable and has a valid IP address.
- Check your router's internet connection.
- Ensure the 'Xmeye' app is updated to the latest version and the device is correctly added.
- Disable any VPNs on your mobile device that might interfere with the connection.
- Motion Detection Not Triggering:
- Adjust the motion detection sensitivity and detection zones in the DVR settings.
- Ensure there are no obstructions in the camera's field of view.
For further assistance, please refer to the SANSCO support website or contact their customer service.
7. Specifications
7.1 Digital Video Recorder (DVR)
| Feature | Specification |
|---|---|
| Channels | 4-Channel (supports up to 8-CH 1080P cameras) |
| Video Compression | H.264 |
| Video Output | HDMI, VGA (1080p) |
| Video Input | 4CH BNC input |
| Audio Input/Output | 4CH RCA input, 1CH RCA output |
| Hard Drive | 1TB SATA (supports up to 4TB) |
| Network Interface | RJ45 10M / 100M Ethernet |
| Mobile App Support | Xmeye (iOS, Android) |
| Browser Support | IE, Firefox, Chrome |
| Dimensions (L x W x H) | 33 x 29.5 x 17.5 cm (approx. 12.99 x 11.61 x 6.89 inches) |
| Weight | 4.17 kg |
7.2 Cameras (Bullet & Dome)
| Feature | Specification |
|---|---|
| Image Sensor | 1/4 inch color CMOS |
| Resolution | 1080p (2.0 Megapixels) |
| TV System | NTSC / PAL |
| Night Vision | IR LEDs (Bullet: 36 LEDs, Dome: 24 LEDs), up to 15-20m range |
| Indoor/Outdoor Use | Outdoor (Waterproof) |
| Material | Metal |
| Power Source | Corded Electric |
8. Warranty and Support
SANSCO products are designed for reliability and performance. For warranty information, technical support, or service inquiries, please visit the official SANSCO website or contact their customer support team directly. Keep your purchase receipt as proof of purchase for warranty claims.
Manufacturer: SANSCO


