1. Introduction
This manual provides comprehensive instructions for the installation, operation, maintenance, and troubleshooting of your Fresca Nano 24-inch Drop-in Acrylic Bathroom Sink, Model FVS8006WH. Please read this manual thoroughly before beginning installation or use to ensure proper function and longevity of your product. Retain this manual for future reference.
2. Safety Information
Observe the following safety guidelines during installation and use:
- Always wear appropriate personal protective equipment (PPE) such as safety glasses and gloves during installation.
- Ensure all plumbing connections are secure and watertight to prevent leaks.
- Do not overtighten fasteners, as this may damage the sink or countertop.
- If you are unsure about any part of the installation process, consult a qualified professional plumber.
- Keep small parts and tools out of reach of children.
3. Package Contents
Verify that all components are present and undamaged before proceeding with installation. If any parts are missing or damaged, contact customer support.
- Fresca Nano 24-inch Drop-in Acrylic Bathroom Sink (Model FVS8006WH)
- Mounting hardware (clips/brackets, screws)
- Installation template (if applicable)
- Instruction Manual
4. Product Specifications
| Brand | Fresca |
| Model Number | FVS8006WH (ASIN: B06XG5X5G3) |
| Material | Acrylic |
| Color | White |
| Product Dimensions (Overall) | 23.38" W x 18.75" D x 3.5" H |
| Bowl Dimensions | 20-1/4" W x 13" D (approximate, based on product title and general sink design) |
| Installation Type | Drop-in / Vessel |
| Overflow | Integrated |
 Figure 4.1: Sink Dimensions. This image illustrates the overall dimensions of the sink, including width, depth, and height, crucial for proper installation planning.
5. Setup and Installation
5.1 Pre-Installation Checklist
- Confirm all package contents are present and undamaged.
- Ensure the countertop opening is correctly sized for the sink. Refer to the dimensional drawing.
- Verify that water supply lines and drain connections are accessible and properly roughed-in.
- Turn off the main water supply before starting any plumbing work.
5.2 Tools Required
- Adjustable wrench
- Screwdriver (Phillips and flathead)
- Silicone sealant (plumber's putty optional for drain)
- Measuring tape
- Pencil
- Safety glasses and gloves
5.3 Step-by-Step Installation
- Prepare the Countertop: Ensure the countertop opening is clean, dry, and free of debris. If cutting a new opening, use the provided template (if included) and follow manufacturer guidelines for your countertop material.
- Apply Sealant: Apply a continuous bead of silicone sealant around the perimeter of the countertop opening where the sink will rest. This creates a watertight seal.
- Position the Sink: Carefully lower the sink into the countertop opening. Ensure it is centered and aligned correctly. Press down firmly to engage the sealant.
 Figure 5.1: Angled view of the sink. This image provides a general perspective of the sink's design and features.
 - Secure the Sink: From underneath the countertop, attach the mounting clips or brackets to the sink rim and tighten them evenly. Do not overtighten.
 Figure 5.2: Front view of the sink. This view shows the profile of the sink from the front.
 - Install Faucet and Drain: Install your chosen faucet according to its manufacturer's instructions, securing it through the pre-drilled faucet hole. Install the drain assembly into the sink's drain opening, using plumber's putty or silicone sealant as recommended by the drain manufacturer to ensure a watertight seal.
 Figure 5.3: Top view of the sink. This image displays the overall shape of the basin from above.
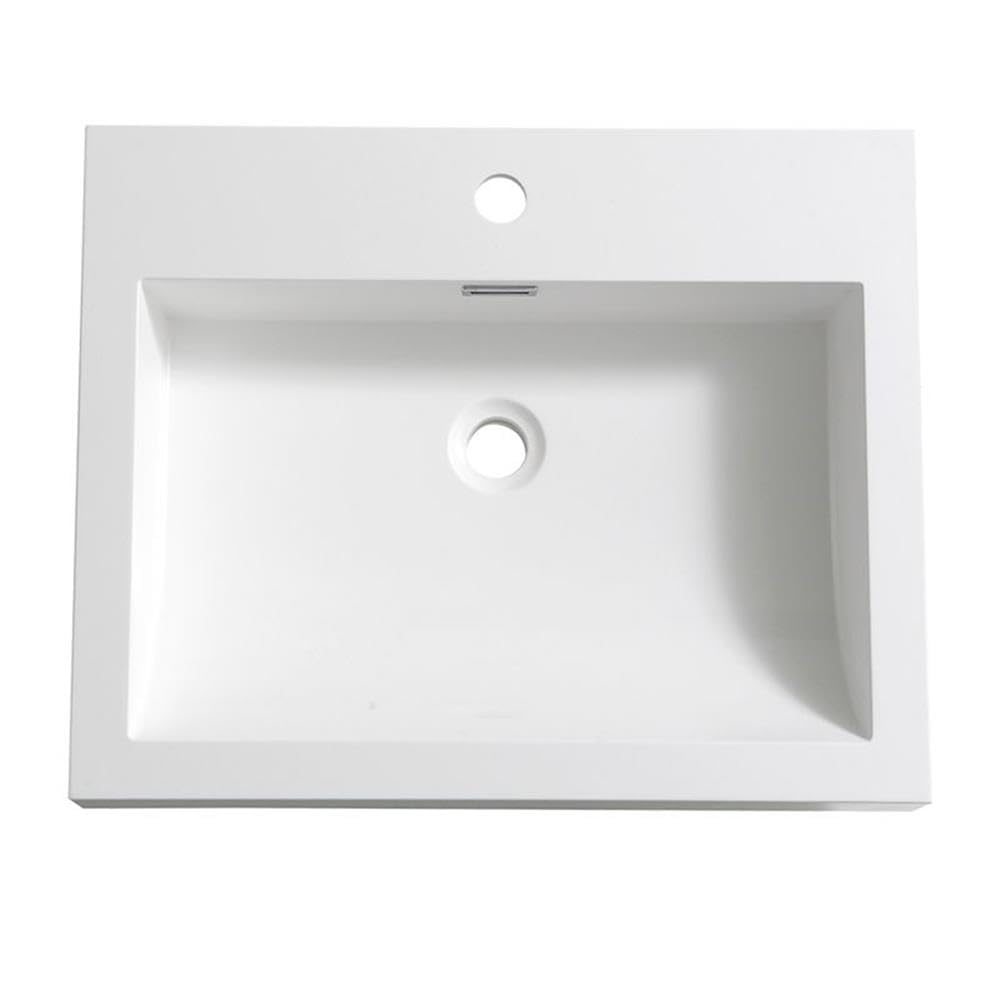 Figure 5.4: Detailed top view of the sink. This image highlights the faucet hole, overflow, and drain opening.
 - Connect Plumbing: Connect the faucet's hot and cold water supply lines to the corresponding shut-off valves. Connect the drain assembly to the P-trap and wall drain pipe. Hand-tighten connections, then use an adjustable wrench for a final snug turn. Do not overtighten.
- Test for Leaks: Turn on the main water supply. Open the faucet and allow water to run for several minutes. Carefully inspect all plumbing connections (faucet supply lines, drain assembly, P-trap) for any signs of leaks. Tighten connections as needed.
- Cure Sealant: Allow the silicone sealant to cure for at least 24 hours before heavy use, or as recommended by the sealant manufacturer.
6. Operation
The Fresca Nano bathroom sink is designed for standard residential use. Operate your faucet according to its manufacturer's instructions to control water flow and temperature. The integrated overflow helps prevent accidental spills if the drain is closed and the water level rises too high.
7. Maintenance and Care
Proper care will help maintain the appearance and extend the life of your acrylic sink.
- Regular Cleaning: Clean the sink regularly with a soft cloth or sponge and mild, non-abrasive soap and water. Rinse thoroughly after cleaning.
- Avoid Harsh Chemicals: Do not use abrasive cleaners, scouring pads, strong acids, alkalis, or solvents (e.g., paint thinner, acetone) as these can damage the acrylic surface.
- Stain Removal: For stubborn stains, a diluted solution of white vinegar or a non-abrasive bathroom cleaner can be used. Test on an inconspicuous area first.
- Prevent Scratches: Avoid dropping heavy or sharp objects into the sink. Do not use the sink as a cutting surface.
- Drain Maintenance: Periodically remove and clean the drain stopper to prevent buildup and ensure proper drainage.
8. Troubleshooting
Refer to the table below for common issues and their potential solutions.
| Problem | Possible Cause | Solution |
|---|---|---|
| Water Leakage | Loose plumbing connections; improperly sealed drain or sink rim. | Check and tighten all water supply and drain connections. Reapply silicone sealant around the sink rim or drain if necessary. |
| Slow Drainage | Clogged drain. | Remove the drain stopper and clean any hair or debris. Use a plumbing snake or a chemical drain cleaner (follow product instructions carefully). |
| Water Stains/Mineral Buildup | Hard water deposits. | Clean regularly with a diluted white vinegar solution or a specialized hard water stain remover safe for acrylic surfaces. |
9. Warranty and Support
9.1 Warranty Information
Fresca products are manufactured to high-quality standards and are backed by a manufacturer's warranty. Specific warranty terms and conditions may vary. Please refer to the warranty card included with your purchase or visit the official Fresca website for detailed information regarding your product's warranty coverage.
9.2 Customer Support
If you have any questions, require assistance with installation, or need to report a missing or damaged part, please contact Fresca customer support. Contact information can typically be found on the Fresca website or on your product packaging.
For more information, you may visit the Fresca Store on Amazon.