Worth Without Casters
Worth Garden 4-Tier Mini Greenhouse Instruction Manual
Model: Without Casters | Brand: Worth
1. Introduction
This manual provides comprehensive instructions for the assembly, operation, and maintenance of your Worth Garden 4-Tier Mini Greenhouse. Designed for both indoor and outdoor use, this portable greenhouse offers a protected environment for cultivating plants, flowers, and seedlings. Its sturdy construction and PVC cover provide optimal conditions for plant growth across various seasons.
2. Safety Information
- Ensure all components are securely connected during assembly to prevent collapse.
- Do not overload shelves beyond the recommended 23.4 lb (10.6 kg) weight capacity per tier.
- Place the greenhouse on a flat, stable surface to prevent tipping.
- In windy conditions, secure the greenhouse to prevent it from blowing over. Consider using additional anchors or weights.
- Keep the PVC cover away from sharp objects to prevent tears.
- Supervise children and pets around the greenhouse.
3. Package Contents
Before assembly, verify that all parts are present and undamaged. Refer to the assembly diagrams for visual identification of components.
| Component | Description | Quantity |
|---|---|---|
| Steel Frame Poles | Vertical and horizontal support poles for the structure. | Varies by model |
| Plastic Connectors | Joints for connecting steel poles. | Varies by model |
| Wire Shelves | Four removable shelves for plant placement. | 4 |
| PVC Cover | Transparent plastic cover with zippered roll-up door. | 1 |
| Tie Straps/Zip Ties | For securing shelves and cover. | Included |
| Instruction Manual | This document. | 1 |
4. Setup and Assembly
Assembly requires no tools and can typically be completed by one person. Follow these steps for proper setup:
- Step 1: Assemble the Base Frame. Connect the shortest steel poles (C) to the plastic base connectors (A) to form the bottom rectangle. Insert the vertical poles (B) into the designated slots on the base connectors. Ensure all poles are fully inserted into the connectors for stability.
- Step 2: Build the Tiers. Continue adding vertical poles and connecting them with horizontal poles and plastic connectors to build up the frame tier by tier. For a 4-tier model, you will create three intermediate levels and a top level.
- Step 3: Place Wire Shelves. Once each tier of the frame is complete, place a wire shelf (E) onto the support bars of that tier. Ensure the shelves are seated securely. You may use the included zip ties to further secure the shelves to the frame, especially if you plan to move the greenhouse frequently or place heavy items.
- Step 4: Install the PVC Cover. Carefully drape the PVC cover (G) over the assembled frame. Ensure the zippered opening is facing the front. Pull the cover down completely so it reaches the bottom of the frame. Secure the cover to the frame using the integrated ties or additional zip ties if necessary, especially at the top and corners.

Figure 4.1: Base Frame Assembly. Connect poles (C) to base connectors (A) and insert vertical poles (B).

Figure 4.2: Full Frame Assembly. Continue building tiers and place shelves (E) on each level, with the top frame (D) completing the structure.

Figure 4.3: Completed Greenhouse with PVC Cover. The cover provides a protective environment for plants.
5. Operating Instructions
5.1 Placement
Choose a location that provides adequate sunlight for your plants. The greenhouse is suitable for balconies, decks, patios, or enclosed porches. For outdoor use, consider a sheltered spot to minimize exposure to strong winds.
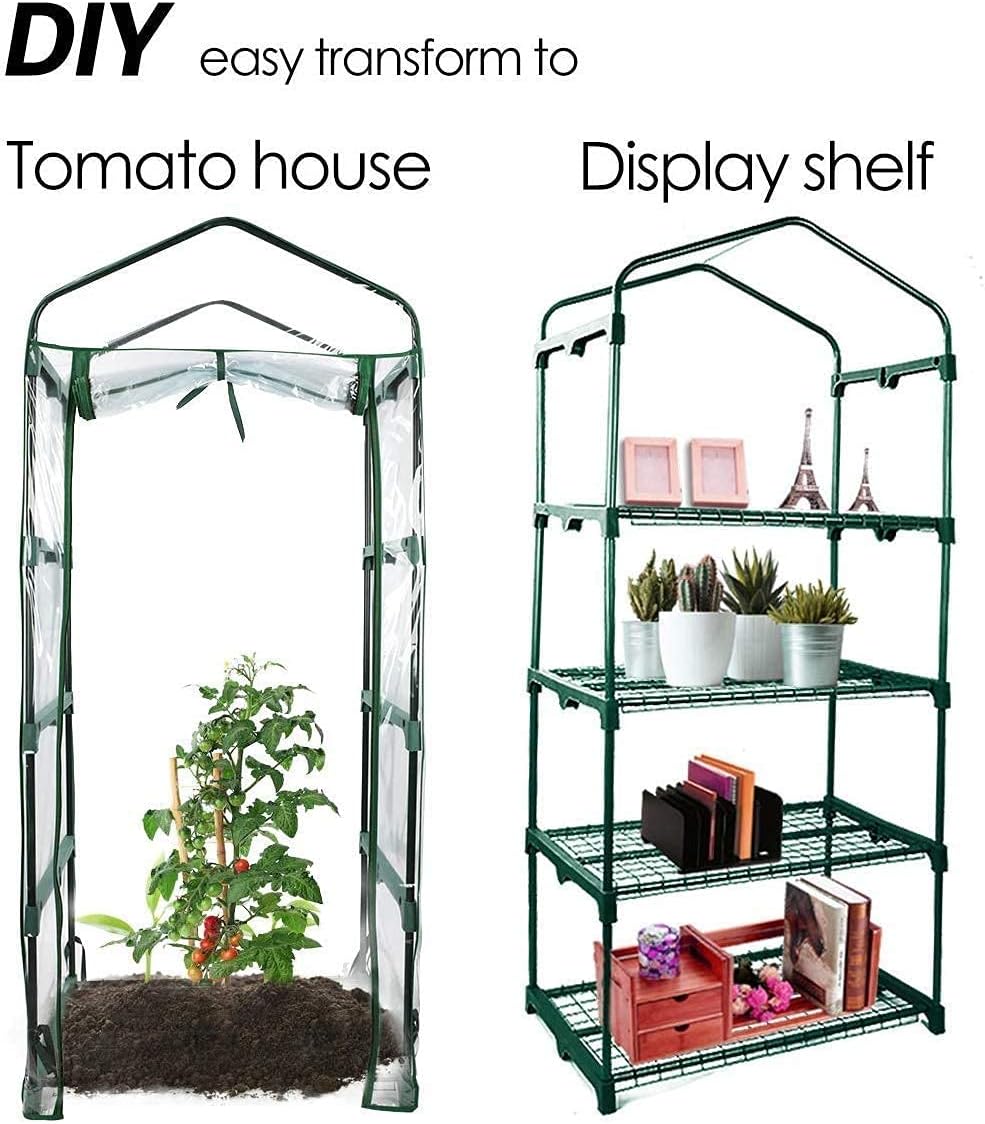
Image: Greenhouse on a balcony, ideal for compact spaces.
5.2 Plant Arrangement
Arrange plants on the shelves according to their light and space requirements. Taller plants can be placed on lower shelves or the top shelf if the cover is rolled up. The 13-inch storey height provides ample vertical space for most potted plants.

Image: Arranging plants within the greenhouse.
5.3 Ventilation and Humidity Control
The zippered roll-up door allows for easy access and ventilation. Open the door during warm periods to prevent overheating and ensure proper air circulation. Close the door to retain heat and humidity, especially during cooler temperatures or at night.

Image: Rolled-up cover for ventilation.
5.4 Seasonal Use
This greenhouse is designed for all-season use. It is particularly effective for protecting plants during winter, extending growing seasons, and starting seedlings in early spring.
6. Maintenance
- Cleaning: Wipe the PVC cover with a damp cloth and mild soap as needed to remove dirt and maintain light transmission. Avoid abrasive cleaners.
- Frame Inspection: Periodically check all pole connections and shelf placements to ensure they remain secure. Re-insert any loose poles firmly.
- Cover Care: Inspect the PVC cover for any tears or damage. Small tears can often be repaired with clear waterproof tape.
- Storage: When not in use, the greenhouse can be easily disassembled and folded for compact storage. Store the frame and cover in a dry, cool place away from direct sunlight to prolong their lifespan.
7. Troubleshooting
| Problem | Possible Cause | Solution |
|---|---|---|
| Greenhouse feels unstable/wobbly. | Poles not fully inserted into connectors; uneven ground. | Press firmly on all pole connections to ensure they are fully seated. Move to a level surface or use shims to stabilize. |
| Shelves sag or collapse. | Overloaded shelves; shelves not properly seated; missing zip ties. | Reduce weight on shelves. Ensure shelves are correctly placed on all support bars. Use included zip ties to secure shelves to the frame. |
| PVC cover does not fit properly. | Frame not fully assembled or misaligned; cover oriented incorrectly. | Double-check all frame connections for proper assembly and alignment. Ensure the cover is placed with the zippered opening facing the front. |
| Excessive heat buildup inside. | Insufficient ventilation. | Roll up the zippered door to allow for air circulation. Consider partially opening it during peak sunlight hours. |
| Greenhouse blows over in wind. | Not adequately secured. | Place in a more sheltered location. Use additional weights (e.g., bricks on the bottom shelf) or anchor the greenhouse to the ground using stakes (not included). |
8. Specifications
- Model: Without Casters (4-Tier)
- Dimensions (L x W x H): 27 inches x 19 inches x 63 inches (68.58 cm x 48.26 cm x 160.02 cm)
- Item Weight: 10.33 pounds (4.7 kg)
- Frame Material: Alloy Steel
- Cover Material: PVC (0.12mm nominal wall thickness)
- Number of Tiers: 4
- Shelf Weight Capacity: 23.4 lbs (10.6 kg) per tier
- Number of Doors: 1 (zippered roll-up)
- Number of Vents: 1 (integrated with door)

Image: Product dimensions overview.
9. Warranty and Support
For any questions, concerns, or support needs regarding your Worth Garden Mini Greenhouse, please contact our customer service team. We are committed to providing assistance and ensuring your satisfaction.
Contact: Email anytime for support.
Warranty: Please refer to your purchase documentation for specific warranty terms and conditions.
Ask a question about this manual
Ask about setup, troubleshooting, compatibility, parts, safety, or missing instructions. Manuals+ will review the question and use this page’s manual context to help answer it.