1. Introduction
This manual provides comprehensive instructions for the proper use and maintenance of your Presidium Instruments Gem Indicator (PGI). The PGI is a handheld device designed to assist in identifying diamonds and common colored gemstones based on their thermal and electrical conductivity properties. Please read this manual thoroughly before operating the device to ensure accurate results and prolong its lifespan.

Figure 1: Presidium Gem Indicator (PGI) handheld tester shown with its protective case.
2. Safety Information
- Keep the device away from water and other liquids.
- Do not attempt to open or repair the device yourself. Refer to qualified service personnel.
- Avoid dropping the device or subjecting it to strong impacts.
- Store the device in its protective case when not in use to prevent damage to the probe tip.
- Use only the specified power source (USB) or batteries.
3. Package Contents
Verify that all items are present in the package:
- Presidium Gem Indicator (PGI) unit
- Protective carrying case
- USB cable
- User manual (this document)
4. Setup
4.1 Powering the Device
The PGI can be powered via a USB connection or internal batteries. Ensure the device is adequately powered before use.
- USB Power: Connect the provided USB cable to the USB port on the PGI and to a compatible USB power adapter or computer port.
- Battery Power: (If applicable, refer to the battery compartment for specific battery type and installation instructions. The product description mentions USB for alternative power, implying primary battery power.)
4.2 Initial Inspection
Before first use, carefully inspect the retractable probe tip for any damage. Ensure it is clean and free from debris.

Figure 2: Close-up of the retractable probe tip, designed for consistent pressure during testing.
5. Operating Instructions
5.1 Power On/Off
Press and hold the power button (usually marked with a power symbol ⏻) located on the device until the screen illuminates. To power off, press and hold the power button again until the screen turns off.
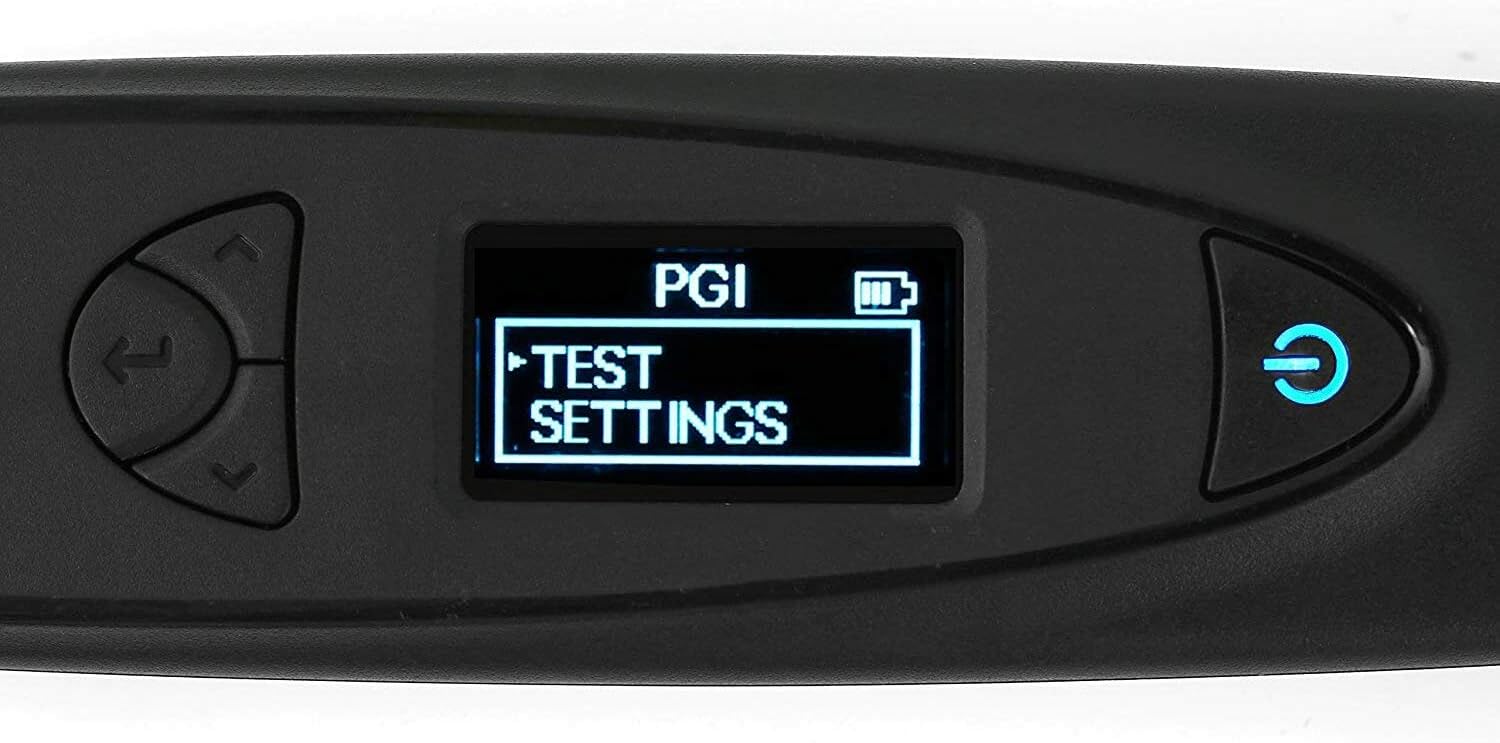
Figure 3: The PGI's digital LED screen showing the main menu with 'TEST SETTINGS' highlighted.
5.2 Performing a Gemstone Test
The PGI utilizes thermal and electrical conductivity to differentiate between various gemstones. For accurate results, ensure the gemstone is clean and at room temperature.
- Prepare the Gemstone: Ensure the gemstone is clean and dry. For mounted stones, ensure the probe tip only touches the stone and not the metal setting.
- Hold the Device: Hold the PGI firmly and vertically. It is crucial to maintain a straight angle between the probe tip and the gemstone surface. Inconsistent angles can lead to inaccurate readings.
- Apply Probe Tip: Gently press the retractable probe tip onto the surface of the gemstone. The retractable design ensures consistent pressure. Hold steady for a few seconds.
- Read Results: The digital LED screen will display the test results, typically within 6 seconds. The device can test an extended range of 31 different gemstones.

Authenticate Genuine Diamonds

Differentiate Colored Gemstones

Verify Diamonds and Simulants
5.3 Using the Color Input Function
The PGI includes a color input function to enhance accuracy, especially for colored gemstones. This feature allows you to input the approximate color of the gemstone being tested, which helps the device narrow down possibilities and provide more precise results.
- Navigate to the 'TEST SETTINGS' menu using the navigation buttons.
- Select the 'Color Input' option.
- Choose the color that best matches your gemstone from the available options.
- Proceed with the test as described in Section 5.2.

Figure 4: The PGI device shown alongside various colored gemstones, illustrating its application.
Note: While the PGI is a sophisticated tool, a basic understanding of gemstones is beneficial for interpreting results, especially when differentiating between similar materials. Additional resources and charts for gemstone properties can often be found on the manufacturer's website.
6. Maintenance
6.1 Cleaning the Probe Tip
A clean probe tip is essential for accurate readings. After each use, gently wipe the probe tip with a soft, lint-free cloth. For stubborn residue, a small amount of isopropyl alcohol on the cloth can be used, ensuring no liquid enters the device.
6.2 Storage
Always store the PGI in its provided protective carrying case when not in use. This protects the delicate probe tip from damage and keeps the device free from dust and debris.
6.3 Battery Care
If the device uses rechargeable batteries, ensure they are charged regularly. If using disposable batteries, replace them when the low battery indicator appears on the screen. Remove batteries if the device will not be used for an extended period to prevent leakage.
7. Troubleshooting
| Problem | Possible Cause | Solution |
|---|---|---|
| Device does not power on. | Low battery or no power. | Charge the device via USB or replace batteries. |
| Inconsistent or inaccurate readings. |
|
|
| "Slip Detected" error message. | Probe tip not making proper contact or moving during test. | Ensure firm, steady contact with the gemstone. Avoid movement during the test. Clean the probe tip. |
| Screen is blank or unresponsive. | Device malfunction or severe low battery. | Charge the device. If problem persists, contact customer support. |
8. Specifications
| Feature | Detail |
|---|---|
| Model Number | PGI |
| Dimensions | 8.1 x 3.4 x 2.4 inches (Package) |
| Item Weight | 11.2 ounces |
| Power Source | USB (alternative power), Internal Battery (type not specified, user to check device) |
| Probe Tip | Retractable thermoelectric |
| Display | Digital LED screen |
| Gemstone Range | Tests an extended range of 31 different gemstones |
9. Warranty and Support
For warranty information, technical support, or service inquiries, please refer to the official Presidium website or contact their customer service department. Keep your purchase receipt as proof of purchase for warranty claims.
Presidium Official Website: www.presidium.com.sg (Example link, actual link may vary)


